Modern Display Solutions
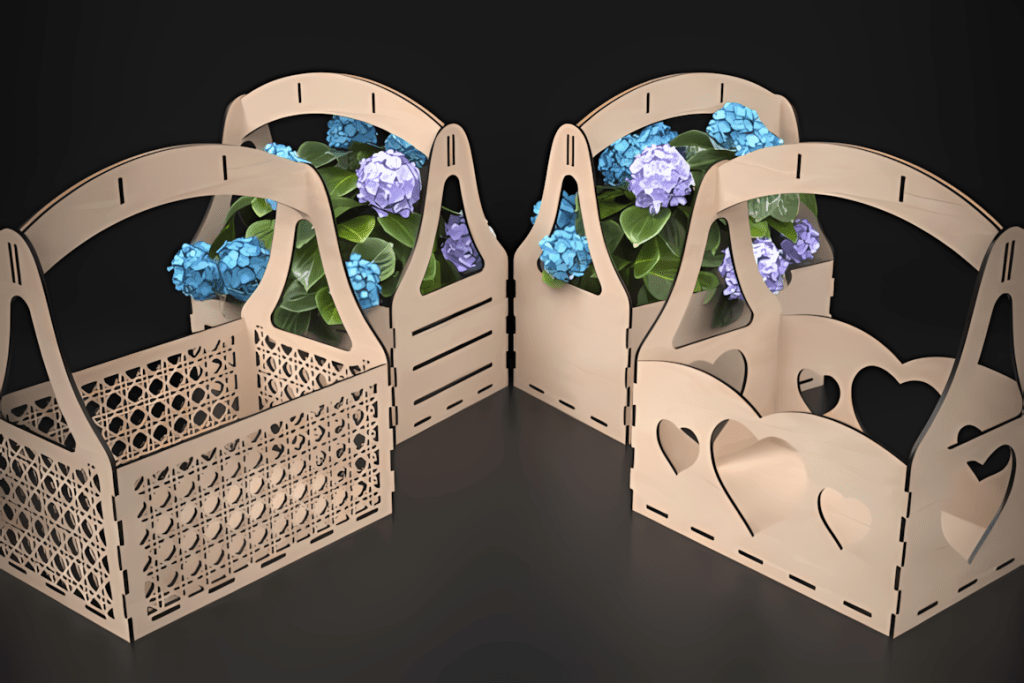
Laser-cut stands & holders give a clean, modern way to showcase products at markets or at home. From earring displays and phone docks to sign holders and risers, you can cut them on CO₂/Glowforge/diode from 3 mm plywood or 2–3 mm cast acrylic. Additionally, mask with transfer tape and use Air Assist for crisp edges – then browse ready-to-cut SVGs and grab the starter kit.
Laser Cut Stands & Holders: SVGs, Materials & Quick Setup
Create press-fit display stands for phones, earrings, cards, signs, and tablets. Cut 3 mm (1/8″) cast acrylic or laser-grade plywood on CO₂ / Glowforge / diode. For cleaner edges, mask with transfer tape and enable Air Assist. Dial kerf, then slot together – glue optional (acrylic cement for permanent bonds).
This post contains affiliate links. As an Amazon Associate, we may earn from qualifying purchases.
Types of Laser Cut Stands & Holders
Phone Stands
Simple slots, cable-friendly bases.
Tablet & iPad Stands
Adjustable angles, thicker material.
Earring & Card Displays
Market racks, peg boards, logo headers.
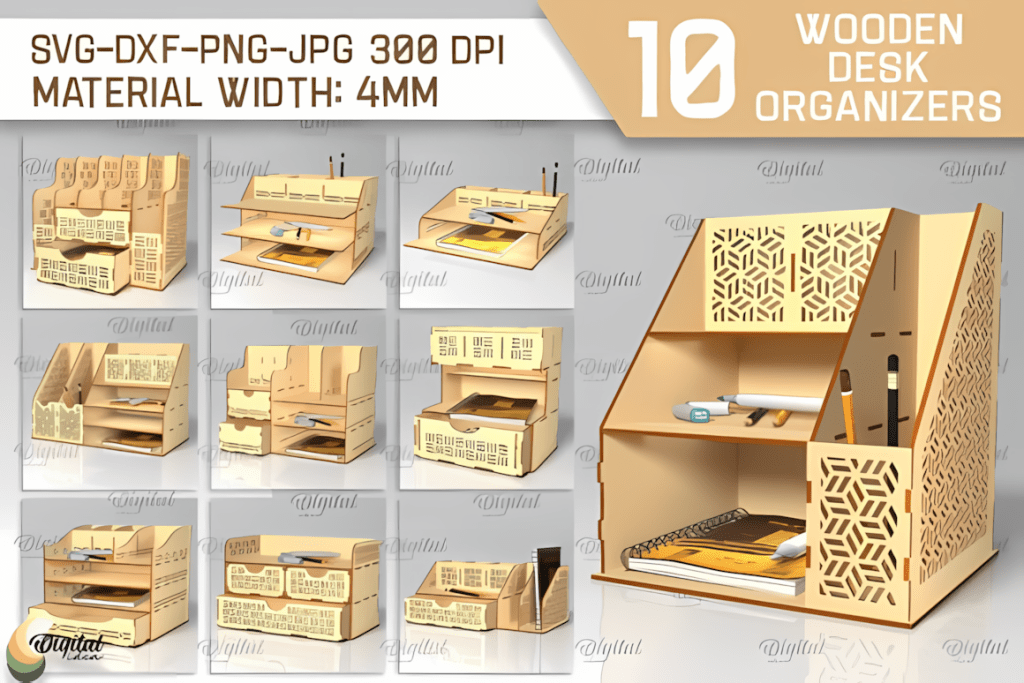
Business Card Holders
Desk trays, tiered pocket styles.
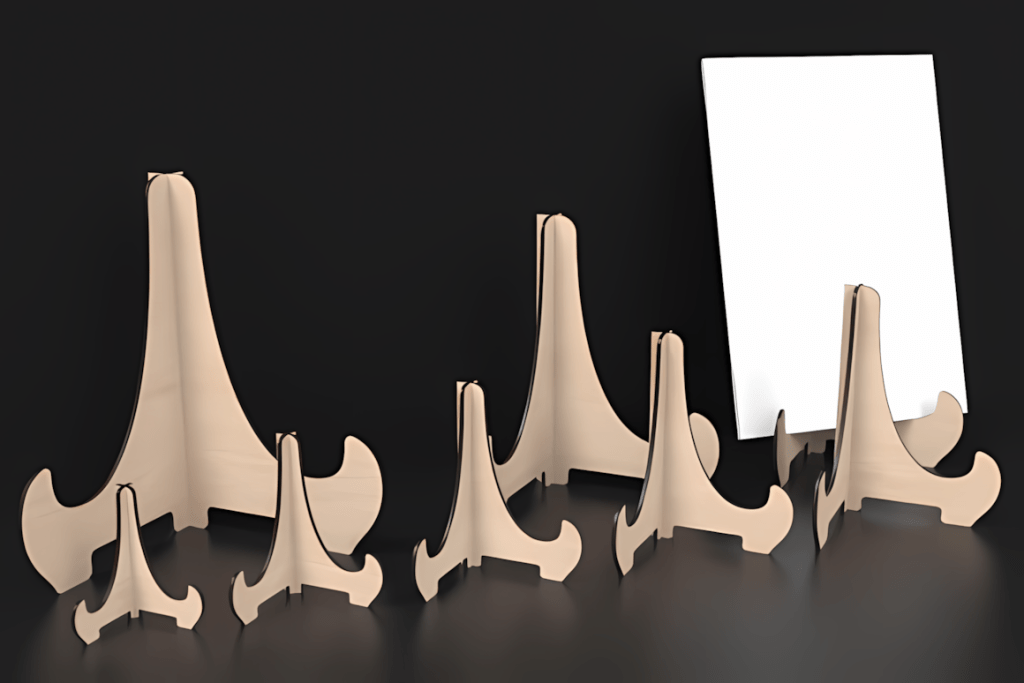
Sign & Menu Stands
Acrylic bases, clamp & slot frames.
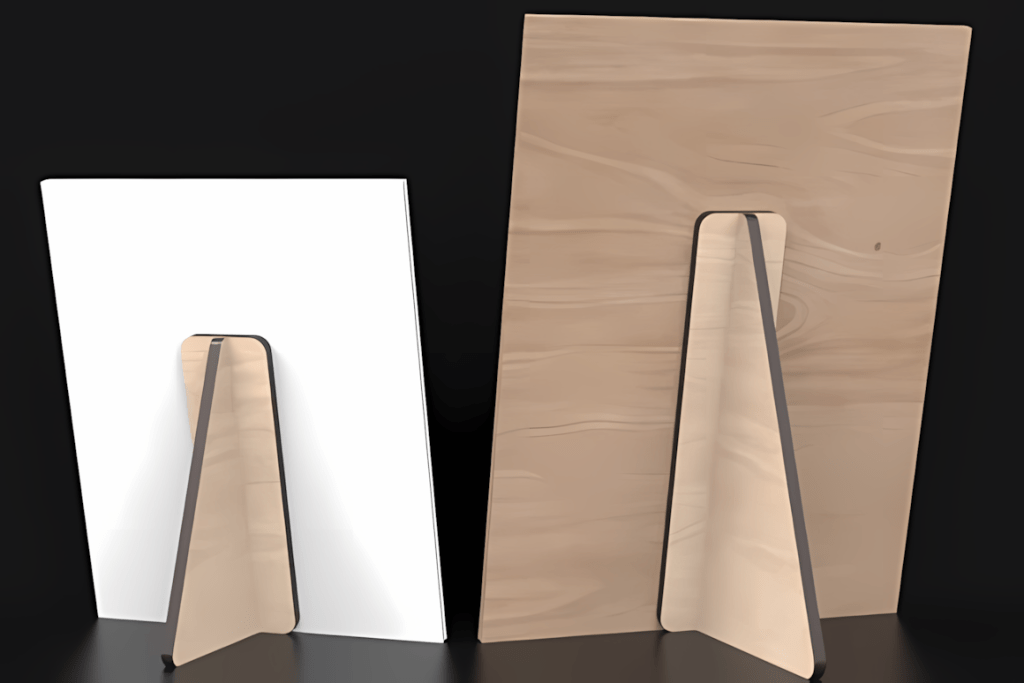
Recipe / Book Stands
Kickstand backs, page lip supports.
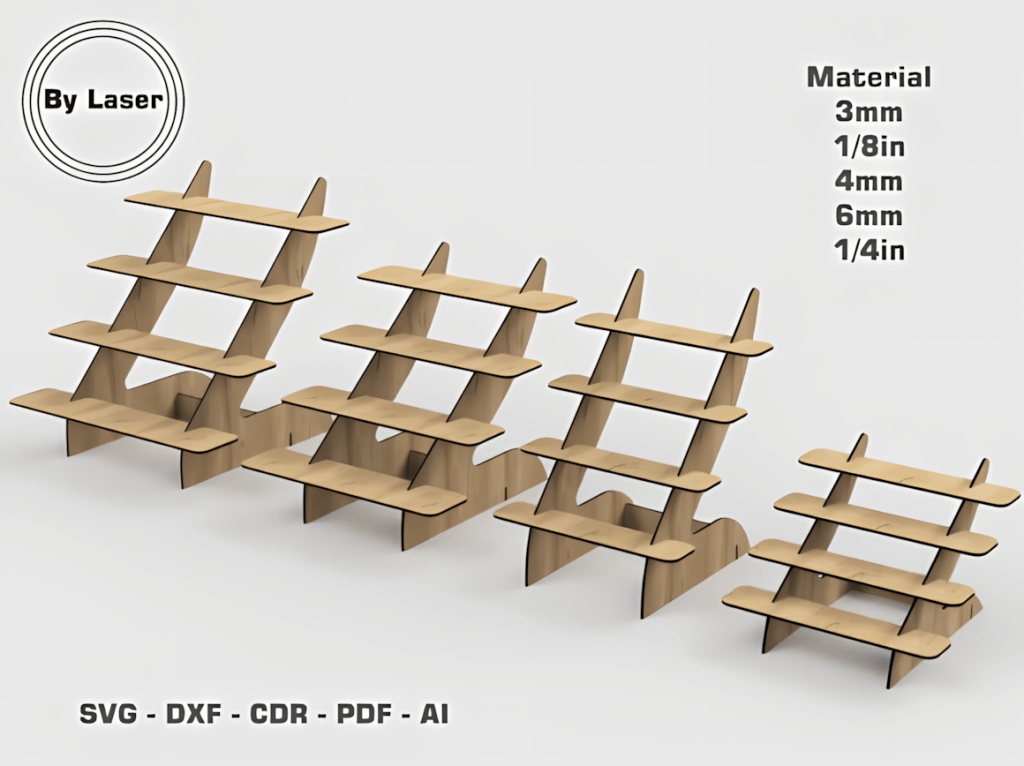
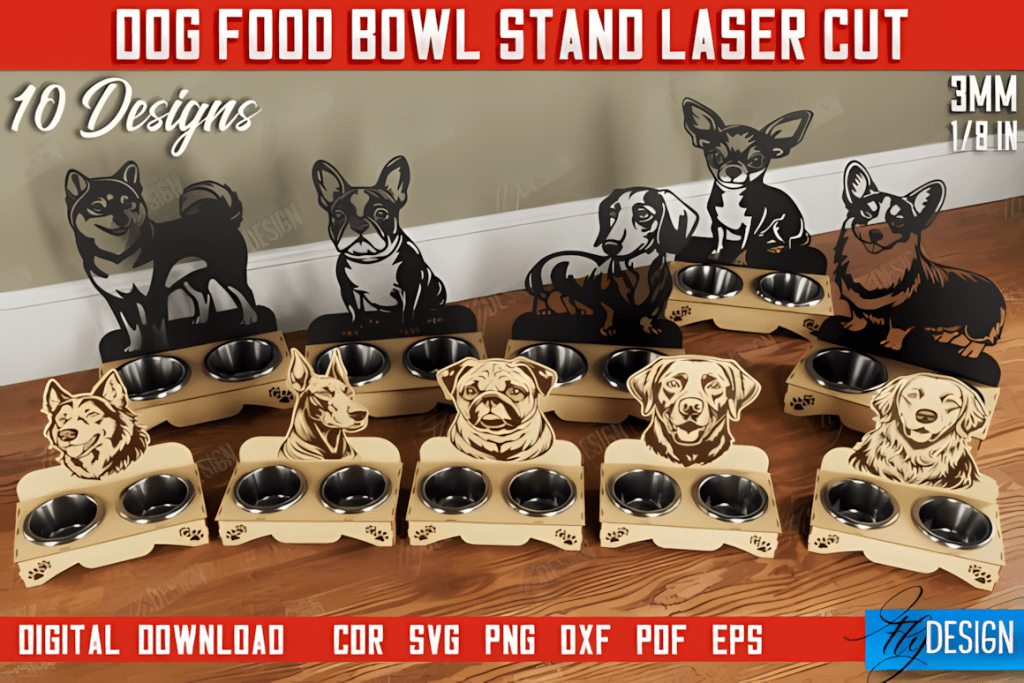
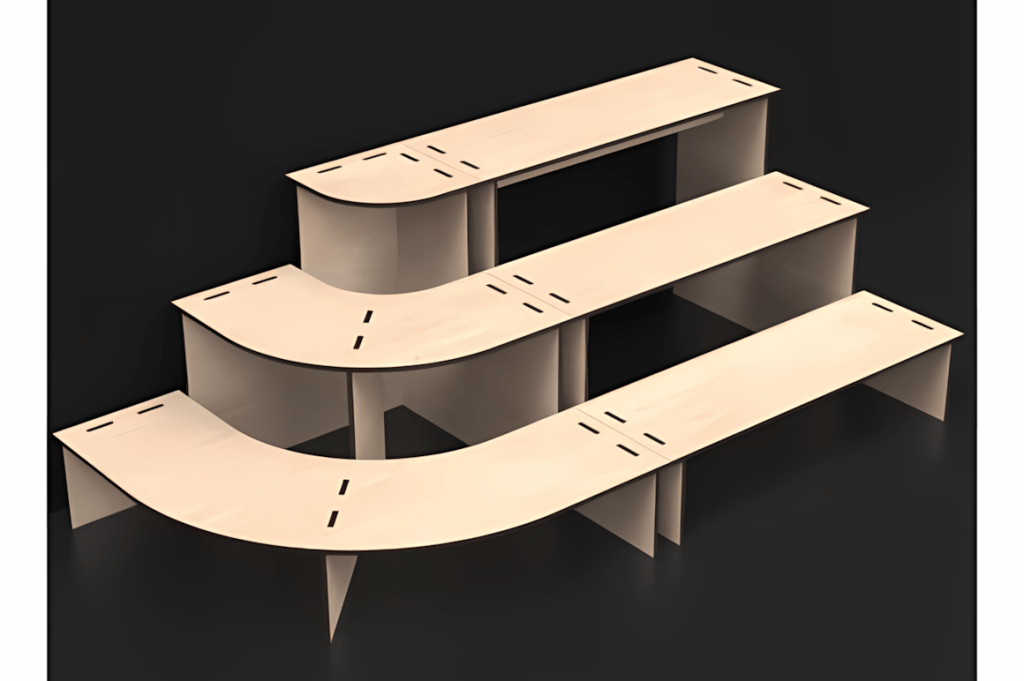
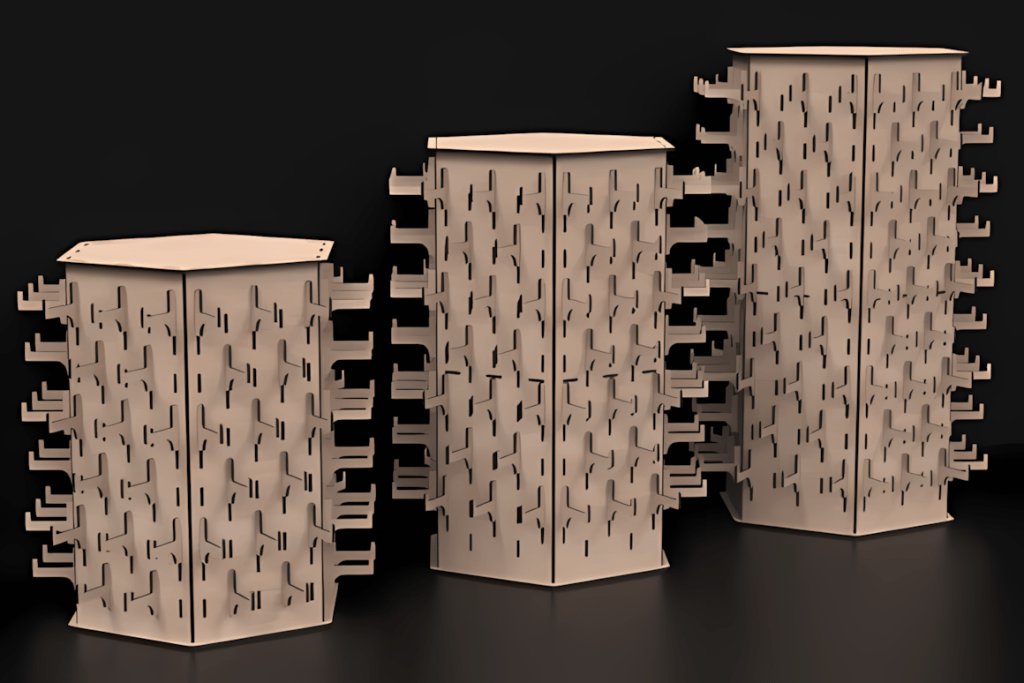
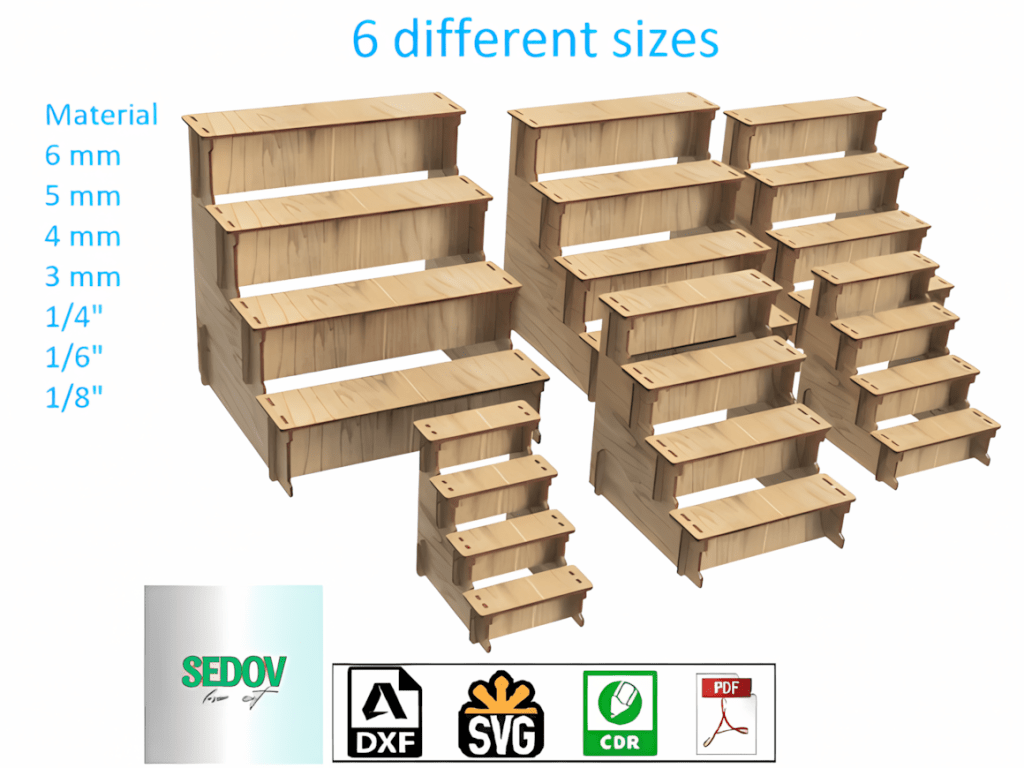
Tiered Display Risers
Market tables, step risers for sets.
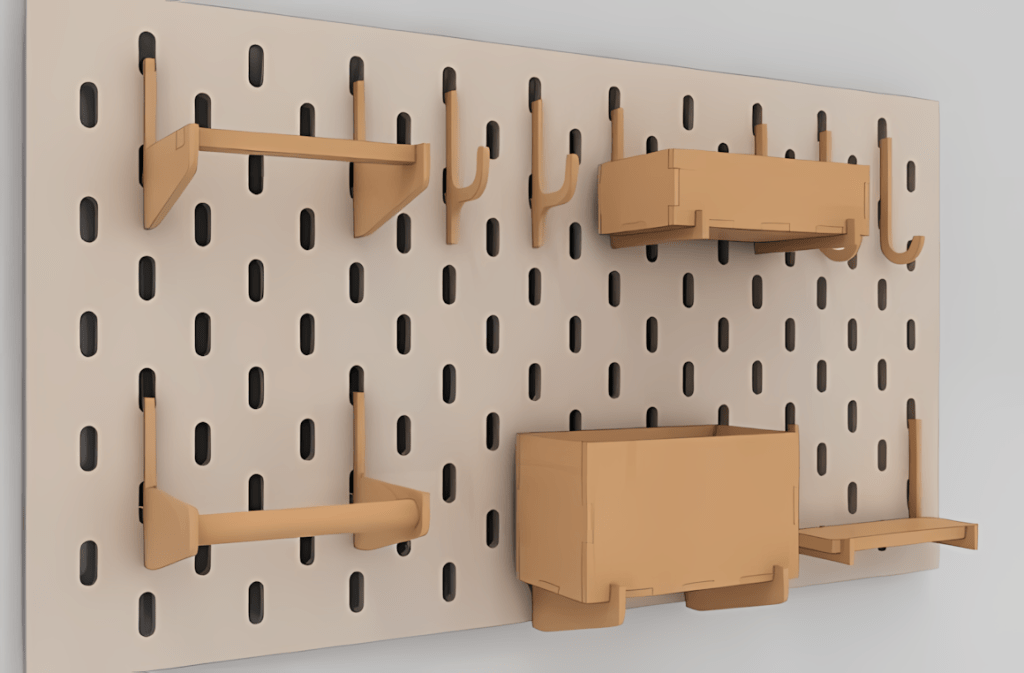
Pegboard Stands & Hooks
Freestanding boards, modular hooks.
Why Choose Precision-Cut Stands?
- Customization: Laser technology allows for intricate patterns and personalized branding, making each stand truly unique.
- High Accuracy: Sharp lines and clean edges ensure a polished look that traditional cutting methods can’t match.
- Variety of Materials: From wood and acrylic to metal and MDF, you can select the perfect medium to complement your décor.
- Durability: Despite their delicate appearance, most laser-cut designs are surprisingly sturdy when assembled correctly.
How to Make Laser Cut Stands & Holders
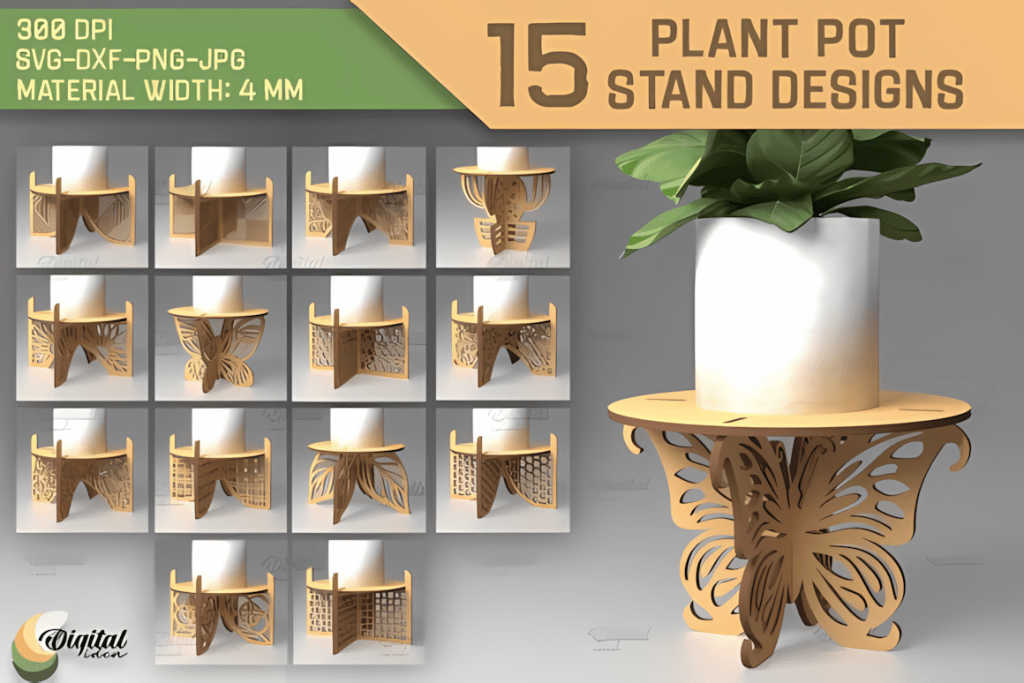
- 1Material & thickness. Use 3–5 mm Baltic birch/laser plywood or 3 mm cast acrylic. Measure actual thickness (see calipers) and set slot width to thickness + 0.1–0.2 mm for a snug press-fit. For wood, mask faces with transfer tape to keep edges clean.
- 2Test & kerf. Run a LightBurn test grid, then cut a quick slot fit test. Dial kerf/offset (typical ~0.05–0.20 mm) until the tabs push-fit without wobble.
- 3Cutting. Enable Air Assist, keep optics clean, and ensure flat focus. For 5 mm ply use slower speed or 2 passes; for acrylic prefer single clean pass. Remove masking and deburr edges.
- 4Assembly & finish. Press-fit. For wood use CA or PVA; for acrylic use acrylic cement (capillary). Add rubber feet for grip, lightly sand wood (320–600 grit) or polish acrylic edges. Check balance with the intended item.
Popular Uses
- Product Displays: Elevate merchandise at craft shows or retail counters with stands that draw attention to featured items.
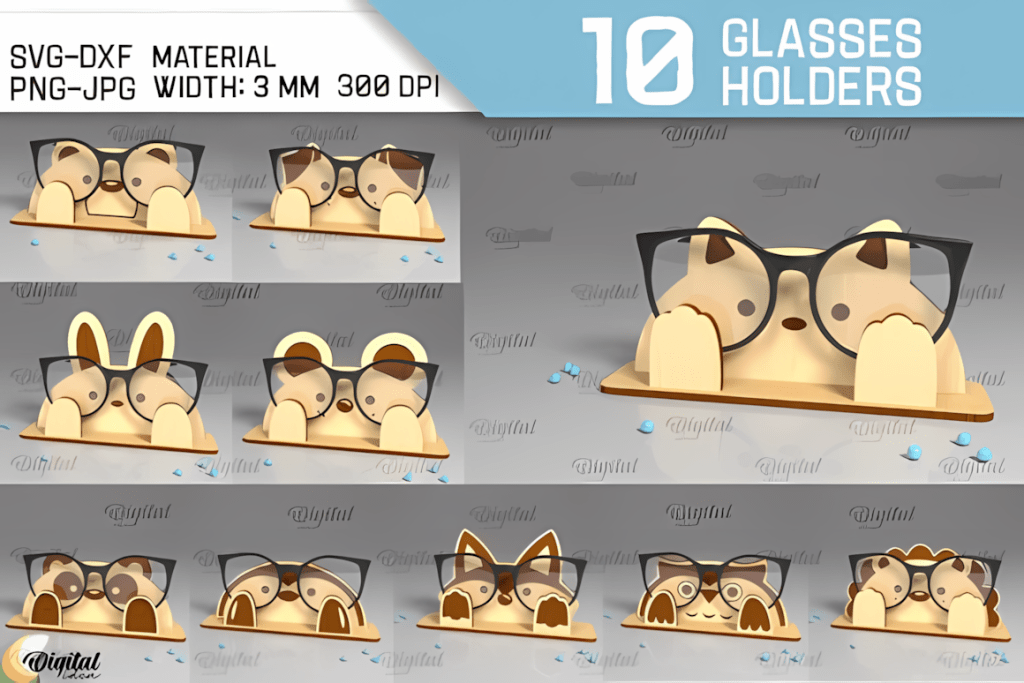
- Home Organization: Keep jewelry, makeup, or small electronics neatly arranged on decorative racks.
- Events and Parties: Present desserts, name cards, or favors in a stylish, coordinated manner.
- Showcases for Collectibles: Proudly display figurines, model kits, or memorabilia on multi-tiered platforms.
Stand Materials & Hardware
Where to Find Laser Cutting Designs
To explore ready-made templates or find inspiration for your next stand project, visit our Laser Cut Files page. We also partner with Creative Fabrica, which offers a vast library of design resources, from geometric patterns to elegant script fonts, ensuring your stands are both functional and visually appealing.
LightBurn Test Grid – Free Download
Use this grid to dial in clean cuts for stands & holders – especially slot/tenon fits. Test on your actual material (e.g., 3 mm cast acrylic or 3 mm plywood) and note kerf before cutting final parts.
Tips for Choosing the Right Stand
- Consider Your Items: Heavier objects might need thicker materials or reinforced bases.
- Measure Carefully: Ensure the final dimensions fit both your display space and the items you’re showcasing.
- Test Assembly: Some stands require interlocking pieces or hardware – practice assembly before the big day.
- Personalize with Engraving: Add names, logos, or unique designs to make your stands truly one-of-a-kind.
Need a custom stand/holder SVG?
Get a tab-and-slot design sized to your material – fast turnaround, commercial use ok.
Tip: share base width/height, material & thickness (e.g., 3 mm acrylic / 3 mm plywood), target slot width after kerf, and preferred display angle.

Laser Cut Cell Phone Stand SVG Bundle
Creative Fabrica – Best Stand & Holder SVGs
Display bases for phones, earrings, cards, signage and more.
Tip: CF runs frequent promos (e.g., “first 10 downloads free”). Grab them while they’re live.
Add a Touch of Modern Elegance
With laser-cut display stands, you can transform any space into a neat, eye-catching environment. Their precise construction and limitless customization options let you create a cohesive look that reflects your personal or professional brand. Whether for retail, home, or events, these stands offer a modern, artistic twist on traditional shelving and displays.
Laser Starter Kit
A mini kit for your first 10–15 projects: safety, fixtures, measuring.
Tools
Materials
Browse by Category
FAQ
What material thickness works best for stands & holders?
Most small stands: 3 mm (1/8″) plywood or cast acrylic. Heavy/tall displays or risers: 4–6 mm. MDF is fine but seal edges.
How do I size press-fit slots?
Measure sheet thickness with calipers and run a kerf test (typical ~0.05–0.20 mm). Start with slot ≈ thickness − kerf for a snug fit; add 0.10–0.20 mm clearance if gluing.
Will a diode laser work for acrylic stands?
It cuts dark/opaque cast acrylic; clear/white acrylic is difficult. For clear acrylic, prefer CO₂ for clean edges.
How do I keep tall signs from tipping?
Use a deeper base (≈60–70% of height for slender signs), add rear gussets, and keep the center of gravity over the footprint.
What glues should I use?
Wood: PVA for long joints, CA gel to tack. Acrylic: solvent cement (Weld-On/SCIGRIP 3/4). Clean surfaces and remove masking before bonding.
Can I scale SVG files?
Artwork – yes; slots/tabs – recalculate for your real thickness and kerf. Small changes (±10%) are often fine; beyond that, update slots.
How deep should slots be for sign bases?
Rule of thumb: depth ≥ 1.5× thickness (3 mm sheet → 4.5–6 mm). Very tall/slender signs: ~2×. Leave ≥ 2–3 mm material below the slot; fillet inside corners or add small dog-bones; and size the base length to ~60–70% of sign height for stability.
Finishing tips
Wood: sand 320→600, clear coat. Acrylic: deburr, wet-sand 600→1000, polish (e.g., Novus). Keep masking on during cutting for cleaner faces.
What materials should I avoid?
Avoid PVC/chlorinated vinyls – corrosive and harmful gases. Stick to cast acrylic, laser-grade plywood/MDF, and paper/card.