Buying your first laser cutter is much easier now than it was a few years ago. Prices are lower, beginner-friendly desktop machines are better, and you no longer need a full workshop just to start making signs, ornaments, tags, earrings, or gift products. In this guide on how to choose a laser cutter, I’ll walk through the specs that actually matter, which laser type fits which materials, and what beginners usually get wrong before they buy.
One of the easiest ways to waste money is to shop by wattage alone. The better question is: what do you actually want to make? Thin plywood decor, earrings, layered signs, stickers, acrylic inserts, tumblers, or small-batch craft fair products all push you toward different setups. A good beginner machine is not always the biggest one — it is the one that fits your materials, your space, and your workflow.
Quick shortcuts if you already know your goal
If you are still deciding, these shortcuts will help you move faster:
Want ornaments, tags, earrings, and gift products? Start with diode options and beginner-friendly setups.
Comparing compact beginner machines? Jump to the xTool section below.
Need project ideas first? Browse ready-to-cut files, categories, and starter projects.
Planning acrylic signs or cleaner polished edges? A CO₂-style workflow may fit better.
Who This Guide Is For
This guide is for beginners, home crafters, gift makers, and small creative sellers who are choosing their first laser cutter and want to compare machine types, materials, workspace needs, and realistic starter setups before buying.
| Parameter | Hobby Minimum | Comfortable Tier |
|---|---|---|
| Power | 5 W diode | 10 W diode · 40 W CO₂ |
| Work Area | 300 × 300 mm | 400 × 400 mm |
| Cut Speed | 2,000 mm/min | 5,000 mm/min |
| Safety | Basic acrylic shield | Full enclosure + fire sensor |
| Connectivity | USB | USB + Wi-Fi + mobile app |
Pro tip: ignore “peak power” marketing. A branded 10 W diode with real optical output often performs better than a no-name “20 W” machine that is talking about electrical draw instead of laser output.
What to Compare Before You Buy
- Materials: wood, acrylic, leather, cardstock, metal marking
- Machine type: diode, CO₂, or fiber / IR depending on your main projects
- Workspace: compact desktop setup or larger workshop footprint
- Budget: machine cost plus venting, accessories, and starter materials
- Workflow: beginner convenience, speed, expansion options, and software comfort
Start With Materials, Not Marketing
The biggest beginner mistake is buying a machine first and thinking about materials later. If you mainly want to cut clear acrylic, a diode laser will frustrate you. If you mainly want to make wood ornaments, tags, simple signs, cardstock projects, and engraved gifts, a diode machine may be exactly the right starting point. Choosing well usually comes down to matching the machine to your most common jobs, not your dream project list.
Laser Types — At a Glance
Diode (5–40 W optical)
- Cuts: thin plywood, cardboard, leather, felt, dark acrylic
- Does not cut well: clear or white acrylic
- Pros: lower cost, compact footprint, easier beginner entry
- Cons: slower than CO₂ and more limited on demanding materials
- Best for: earrings, plywood decor, engraving, small gift products
CO₂ (40–100 W)
- Cuts: plywood, MDF, acrylic including clear acrylic, cardboard
- Pros: speed, cleaner acrylic edges, broader material range
- Cons: higher price, more cooling and venting needs, larger footprint
- Best for: acrylic signs, shadow boxes, thicker material work, faster small-batch production
Fiber / IR
- Marks or engraves: steel, aluminum, brass, and selected plastics
- Not for: wood, paper, or general acrylic craft cutting
- Best for: tags, tools, metal marking, jewelry engraving
Simple rule: need clear acrylic? Choose CO₂. Need budget, compact size, and craft flexibility? Start with diode.
Who Should Buy a Beginner Diode Laser?
- Buy a beginner diode if you want to make ornaments, earrings, tags, bookmarks, layered decor, stickers, and light gift products
- Buy it if your workspace is small and you want something more compact than a CO₂ setup
- Buy it if your focus is learning materials, testing ideas, and moving from SVG files to physical products
- Buy it if your first priority is affordability and versatility, not maximum speed
For many hobby crafters, the best first machine is not the “most powerful” one. It is the one that lets them actually start using it without needing a garage-sized setup, expensive cooling, and a more complicated learning curve on day one.
Who Should Skip a Beginner Diode?
- Skip it if clear acrylic is a core material for your projects
- Skip it if you expect higher-volume production every week from day one
- Skip it if most of your work involves thicker wood, faster throughput, or polished acrylic edges
- Skip it if you already know you will outgrow a compact diode setup quickly
If you already know you are buying for frequent batch work rather than learning and flexible crafting, it is often smarter to think long-term first instead of buying just because a smaller machine looks easier to start with.
Recommended Starter Setup
A practical beginner setup should not just include the machine. You will get better results much faster if you also budget for venting, test materials, and a few simple accessories right away.
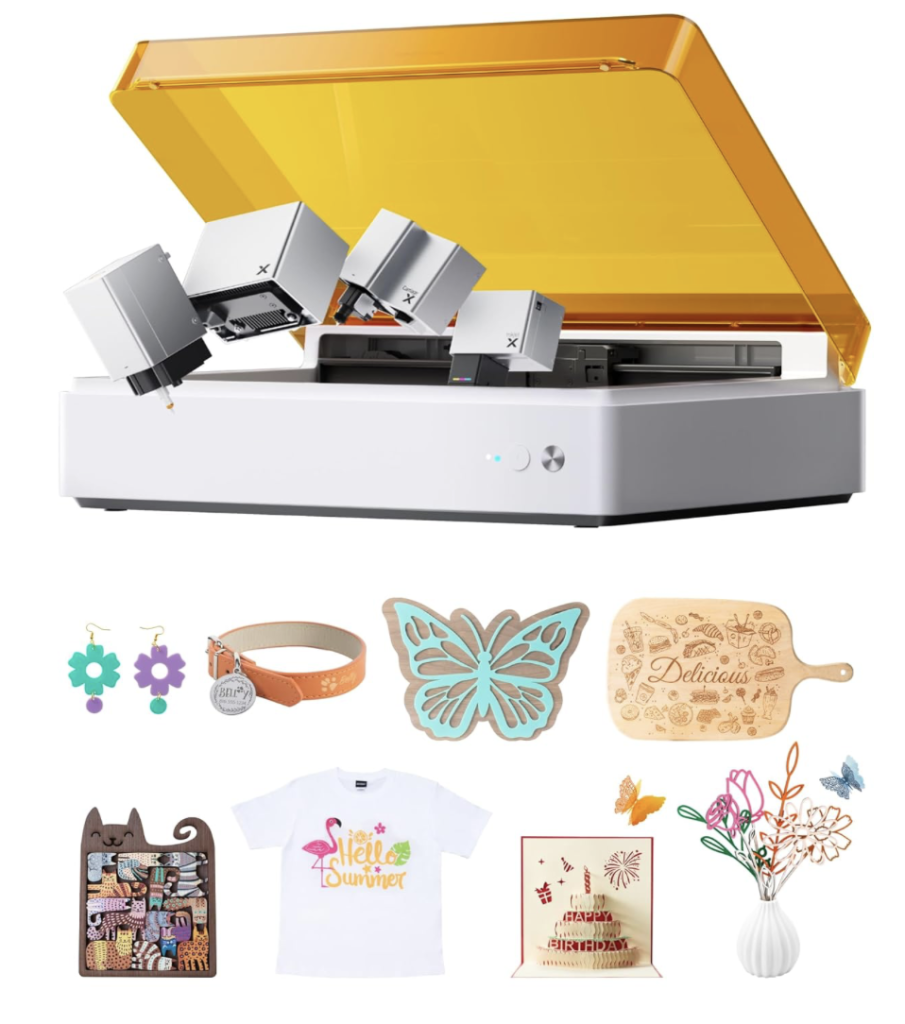
Starter laser (all-in-one craft option): xTool M1 Ultra desktop laser
| Item | Why It’s a Good First Pick |
|---|---|
| xTool M1 Ultra | Compact all-in-one workflow, camera alignment, good beginner experience, and room to expand with accessories. |
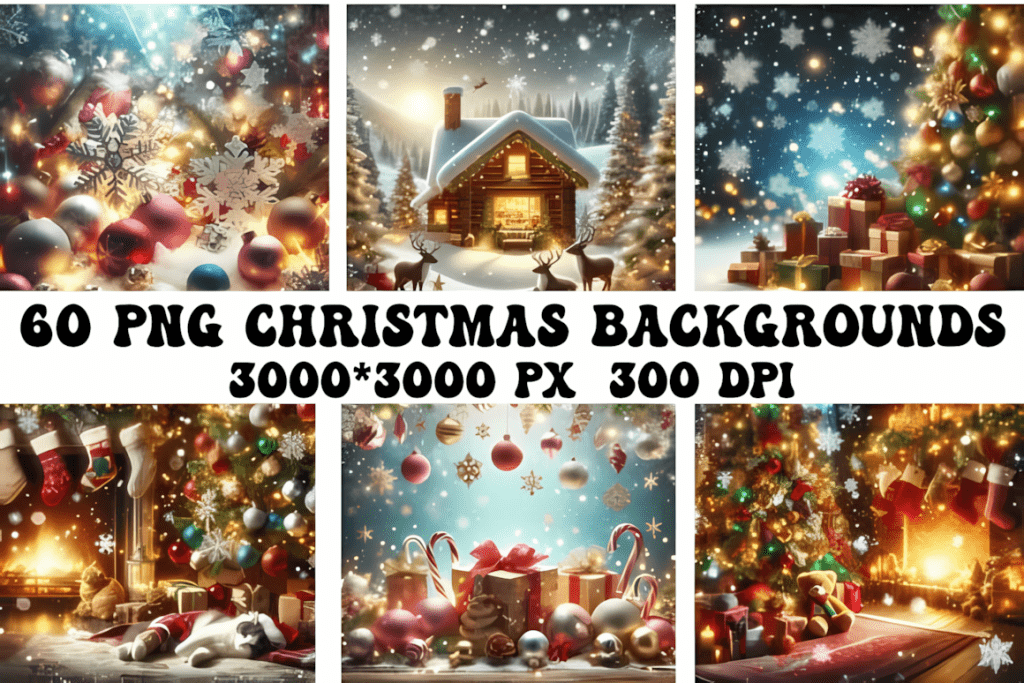
| “60 Christmas Ornaments” SVG bundle | Ready-to-cut layered files that are easy to test and easy to sell as gifts. |
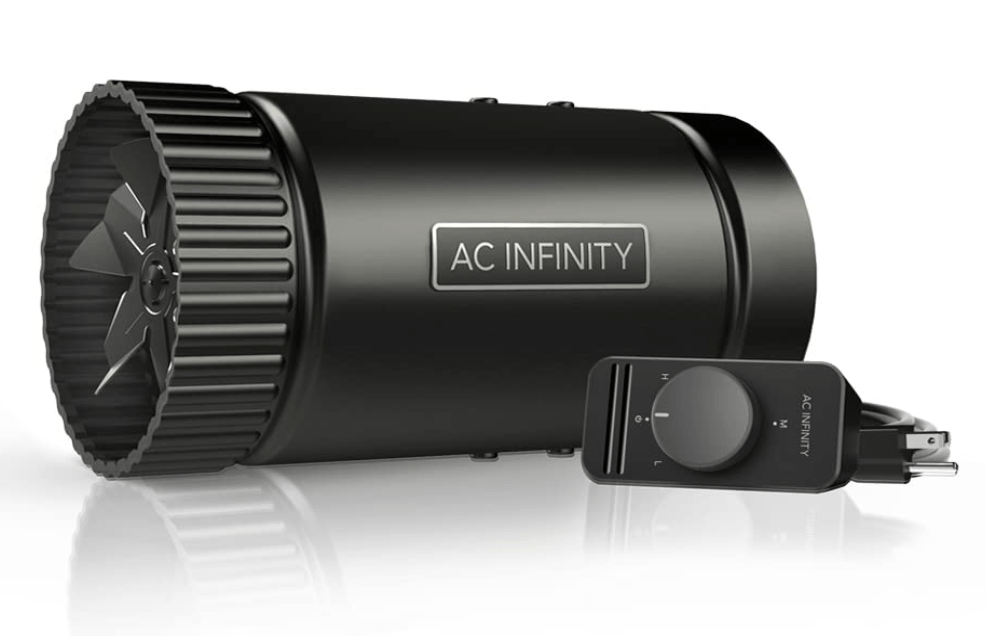
| AC Infinity RAXIAL S4 – 4″ Inline Booster Fan | Helps move smoke out of the room and makes home use much more comfortable. |
Approximate cost to get started: about US $850 for hardware plus about US $40 for starter files and extraction parts.
Which xTool M1 Fits You Better?
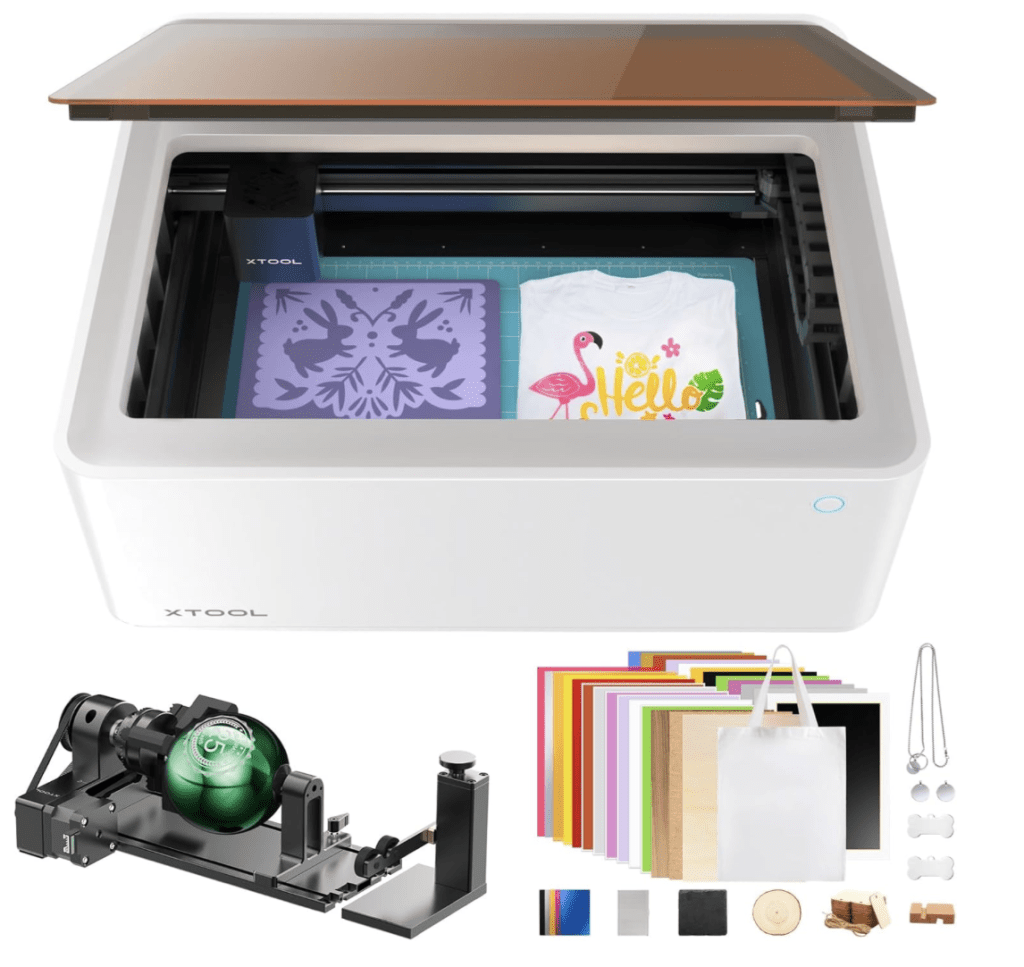
- Starter on a budget — xTool M1 10 W review here — a better fit if you want a simpler lower-cost entry into engraving, light cutting, and blade workflows.
- All-in-one flexibility — xTool M1 Ultra review here — a stronger choice if you want a broader creative workflow and more room to grow.
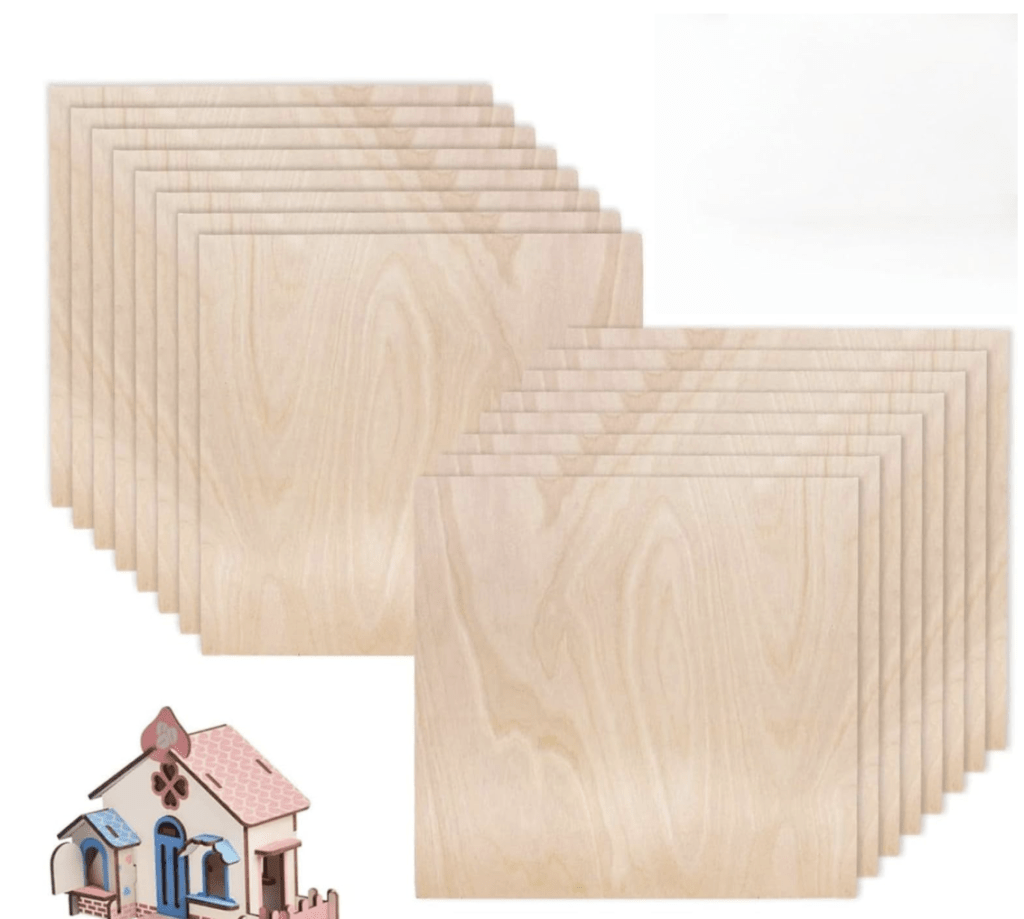
Pro tip: whichever model you choose, start with a forgiving material like 3 mm Baltic birch plywood. It is cheaper to learn on, easier to dial in, and far less frustrating than testing on expensive acrylic right away.
If you want a broader all-in-one workflow before choosing your first machine, read the full xTool M1 Ultra review for a closer look at the more flexible option.
Related Pages That Help You Decide Faster
This page helps you choose the right type of machine. These related pages help with the next step once you know your direction.
Pick by Use & Budget
Jewelry / Earrings (budget)
- Diode 10–20 W + earrings SVGs
- Best materials: 1.5–3 mm plywood, leather, felt, dark acrylic
Acrylic Signs / Shadow Boxes
- CO₂ 40–60 W, work area ≥ 300 × 500 mm
- See: signs and shadow boxes
Spec Decoder
- Power: compare optical output, not marketing-style input watts
- Work area: 300 × 300 mm is the minimum; 400 × 400 mm or larger is more comfortable
- Air Assist: a must-have for cleaner edges and more reliable cutting
- Venting: always budget for it, even on beginner machines
- Software: choose a machine whose workflow you will actually use, not just one with flashy specs
- Parts and support: check spare part access and user community before buying
Fume Extraction
Budget DIY bundle:
AC Infinity RAXIAL S4 — 4″ Inline Booster Fan
+
AC Infinity 4″ × 8 ft Aluminum Duct & Clamps
— a simple starter combination that can clear smoke from a small workspace without a major setup cost.
Five Day-1 Project Ideas
Many of these design bundles are available through Creative Fabrica.
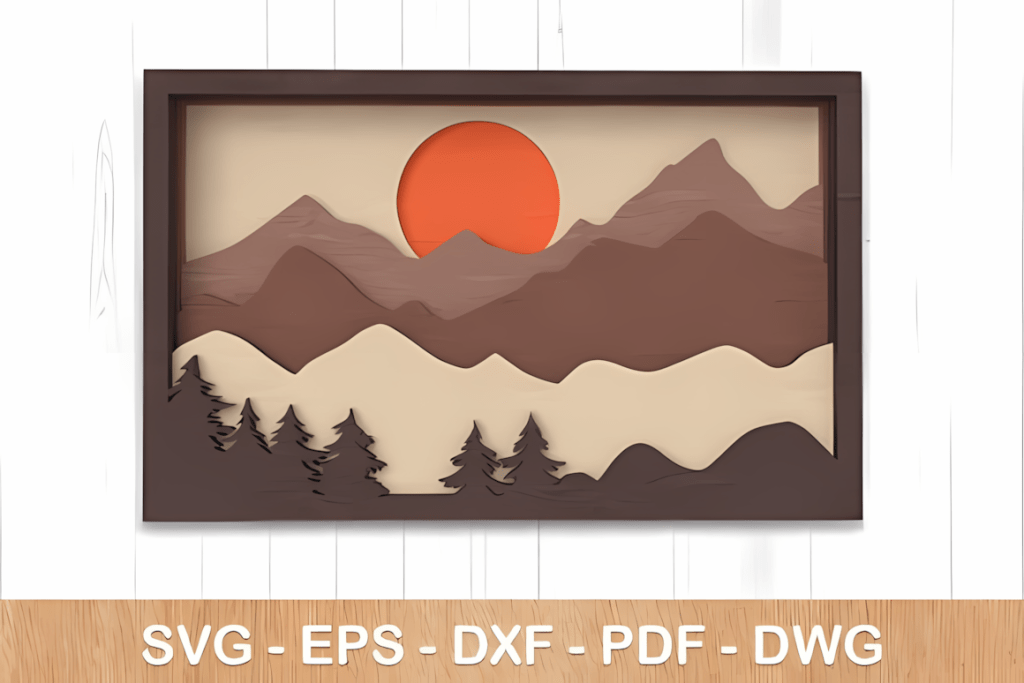
Layered mountain scene — a simple stacked plywood project that teaches alignment, paint layering, and clean edge finishing.
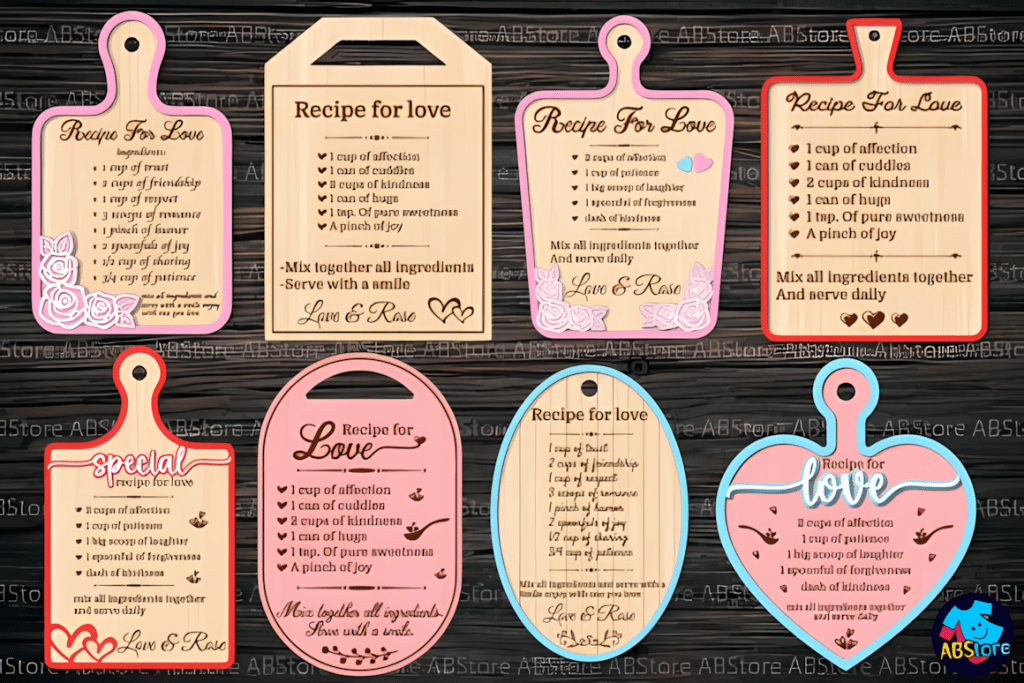
Recipe cutting board — a personal gift format that feels premium even on simple materials.
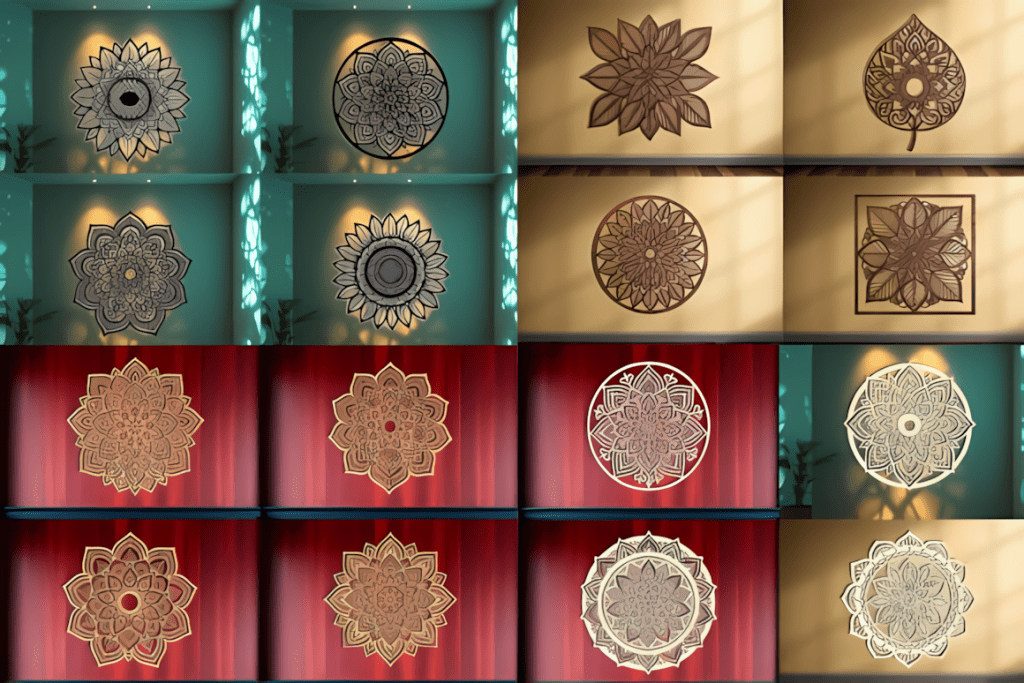
3-D layered mandala — a classic beginner-friendly way to learn stacked file depth and paint contrast.
Acrylic night-light insert — a good example of where engraving and personalization can matter more than heavy cutting power.
Coaster SVG pack — one of the easiest “small wins” for craft fairs, gifting, and repeatable beginner products.
Beginner Mistakes to Avoid
- Ignoring extraction. Even a diode machine needs airflow and smoke control.
- Cutting unsafe plastics. Avoid PVC and other materials that release toxic fumes.
- Skipping focus tests. Small setup errors can ruin both cut quality and speed.
- Running jobs blindly. Always preview your paths before committing to a real job.
- Buying for “future projects” instead of current ones. It is usually better to match your first machine to the materials and products you actually plan to make in the next few months.
Venting & Safety Add-ons
Decision Matrix — Choose by Use Case, Not Wattage
| Your Goal | Suggested Machine | Why |
|---|---|---|
| Stickers and paper crafts | 5 W diode | Cheap entry and enough for very light materials |
| 3 mm plywood decor | 10 W diode | Good balance of price, size, and capability |
| 6 mm plywood and acrylic signs | 40 W CO₂ | Cleaner edges and faster throughput |
| Frequent side-hustle production | 50 W CO₂ + chiller | Better stability for heavier use |
Safety & Workflow Checklist
- Keep a fire extinguisher within reach
- Use an enclosure or proper shielding where needed
- Run a test grid before real jobs
- Track your settings by material so you do not have to relearn them later
Final Thoughts
Choose the laser that matches your materials, space, and batch size — not just the one with the biggest watt number on the box. For many beginners, a compact diode setup is enough to start learning, testing products, and even making small sales. Once you understand your materials and workflow, upgrading becomes much easier and much less expensive than guessing wrong the first time.
Quick Decision
- Need clear acrylic? → CO₂
- Want budget-friendly plywood, leather, or cardstock projects? → diode 10–20 W + Air Assist
- Need metal marking? → fiber / IR
- Make large signs often? → larger-bed CO₂ setup
Best Choice by Use Case
- For ornaments, earrings, tags, and beginner gift projects: start with a 10–20 W diode machine.
- For clear acrylic signs, polished edges, and faster throughput: choose a CO₂ laser.
- For metal marking, tags, or jewelry engraving: look at fiber / IR machines.
- For cautious first-time buyers: choose the machine that fits your next 5–10 real projects, not the one with the biggest headline wattage.
FAQ
Is a 10–20 W diode enough to start?
Yes, for 1.5–3 mm plywood, felt, leather, cardstock, and many beginner-friendly engraving projects. For clear acrylic and faster heavy cutting, CO₂ is usually the better choice.
What work area do I need?
300 × 300 mm is the minimum. 400 × 400 mm or larger is more comfortable for signs and layered projects.
Do I need Air Assist?
Highly recommended. It improves edge quality, reduces scorch, and helps cutting consistency.
How do I handle venting in an apartment?
Use a 4″ inline fan with ducting to a window or a filter box setup, and always plan for airflow before you start cutting indoors.