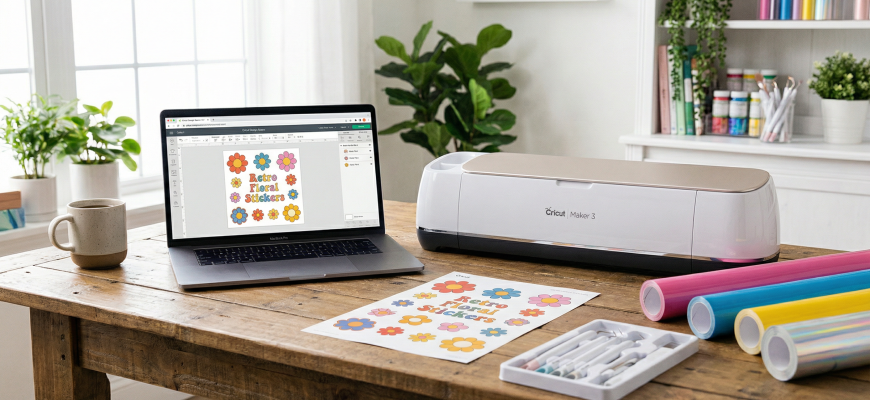
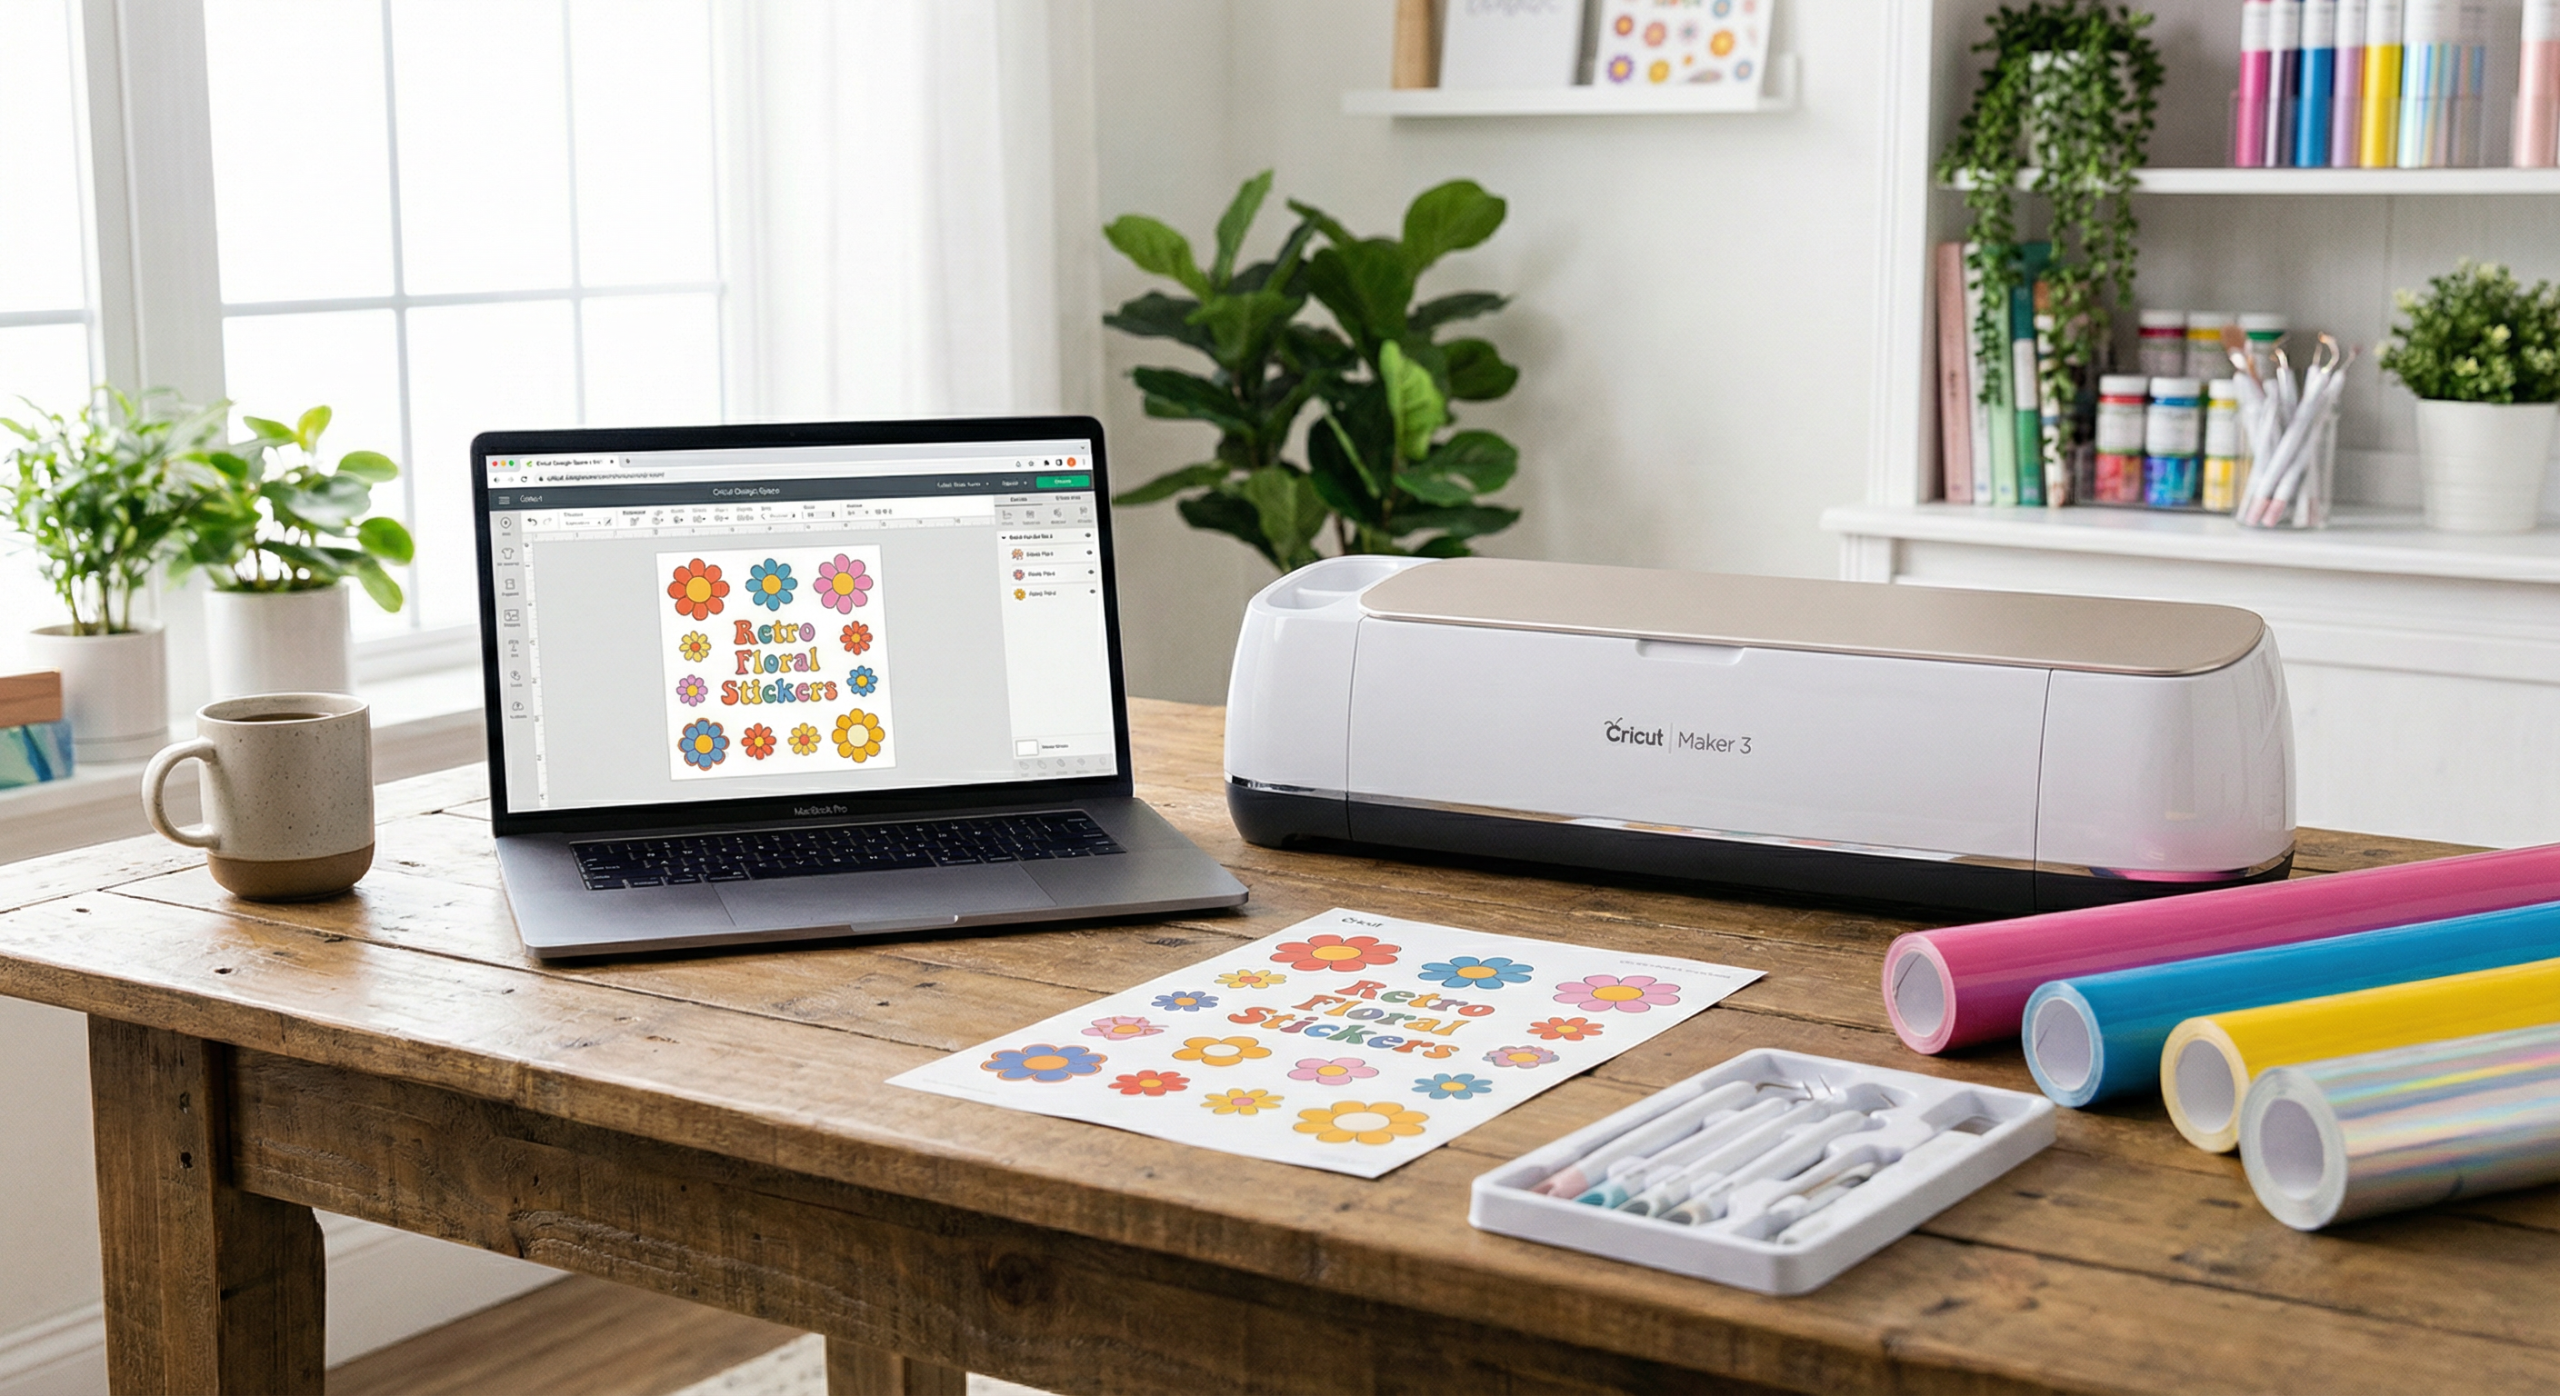
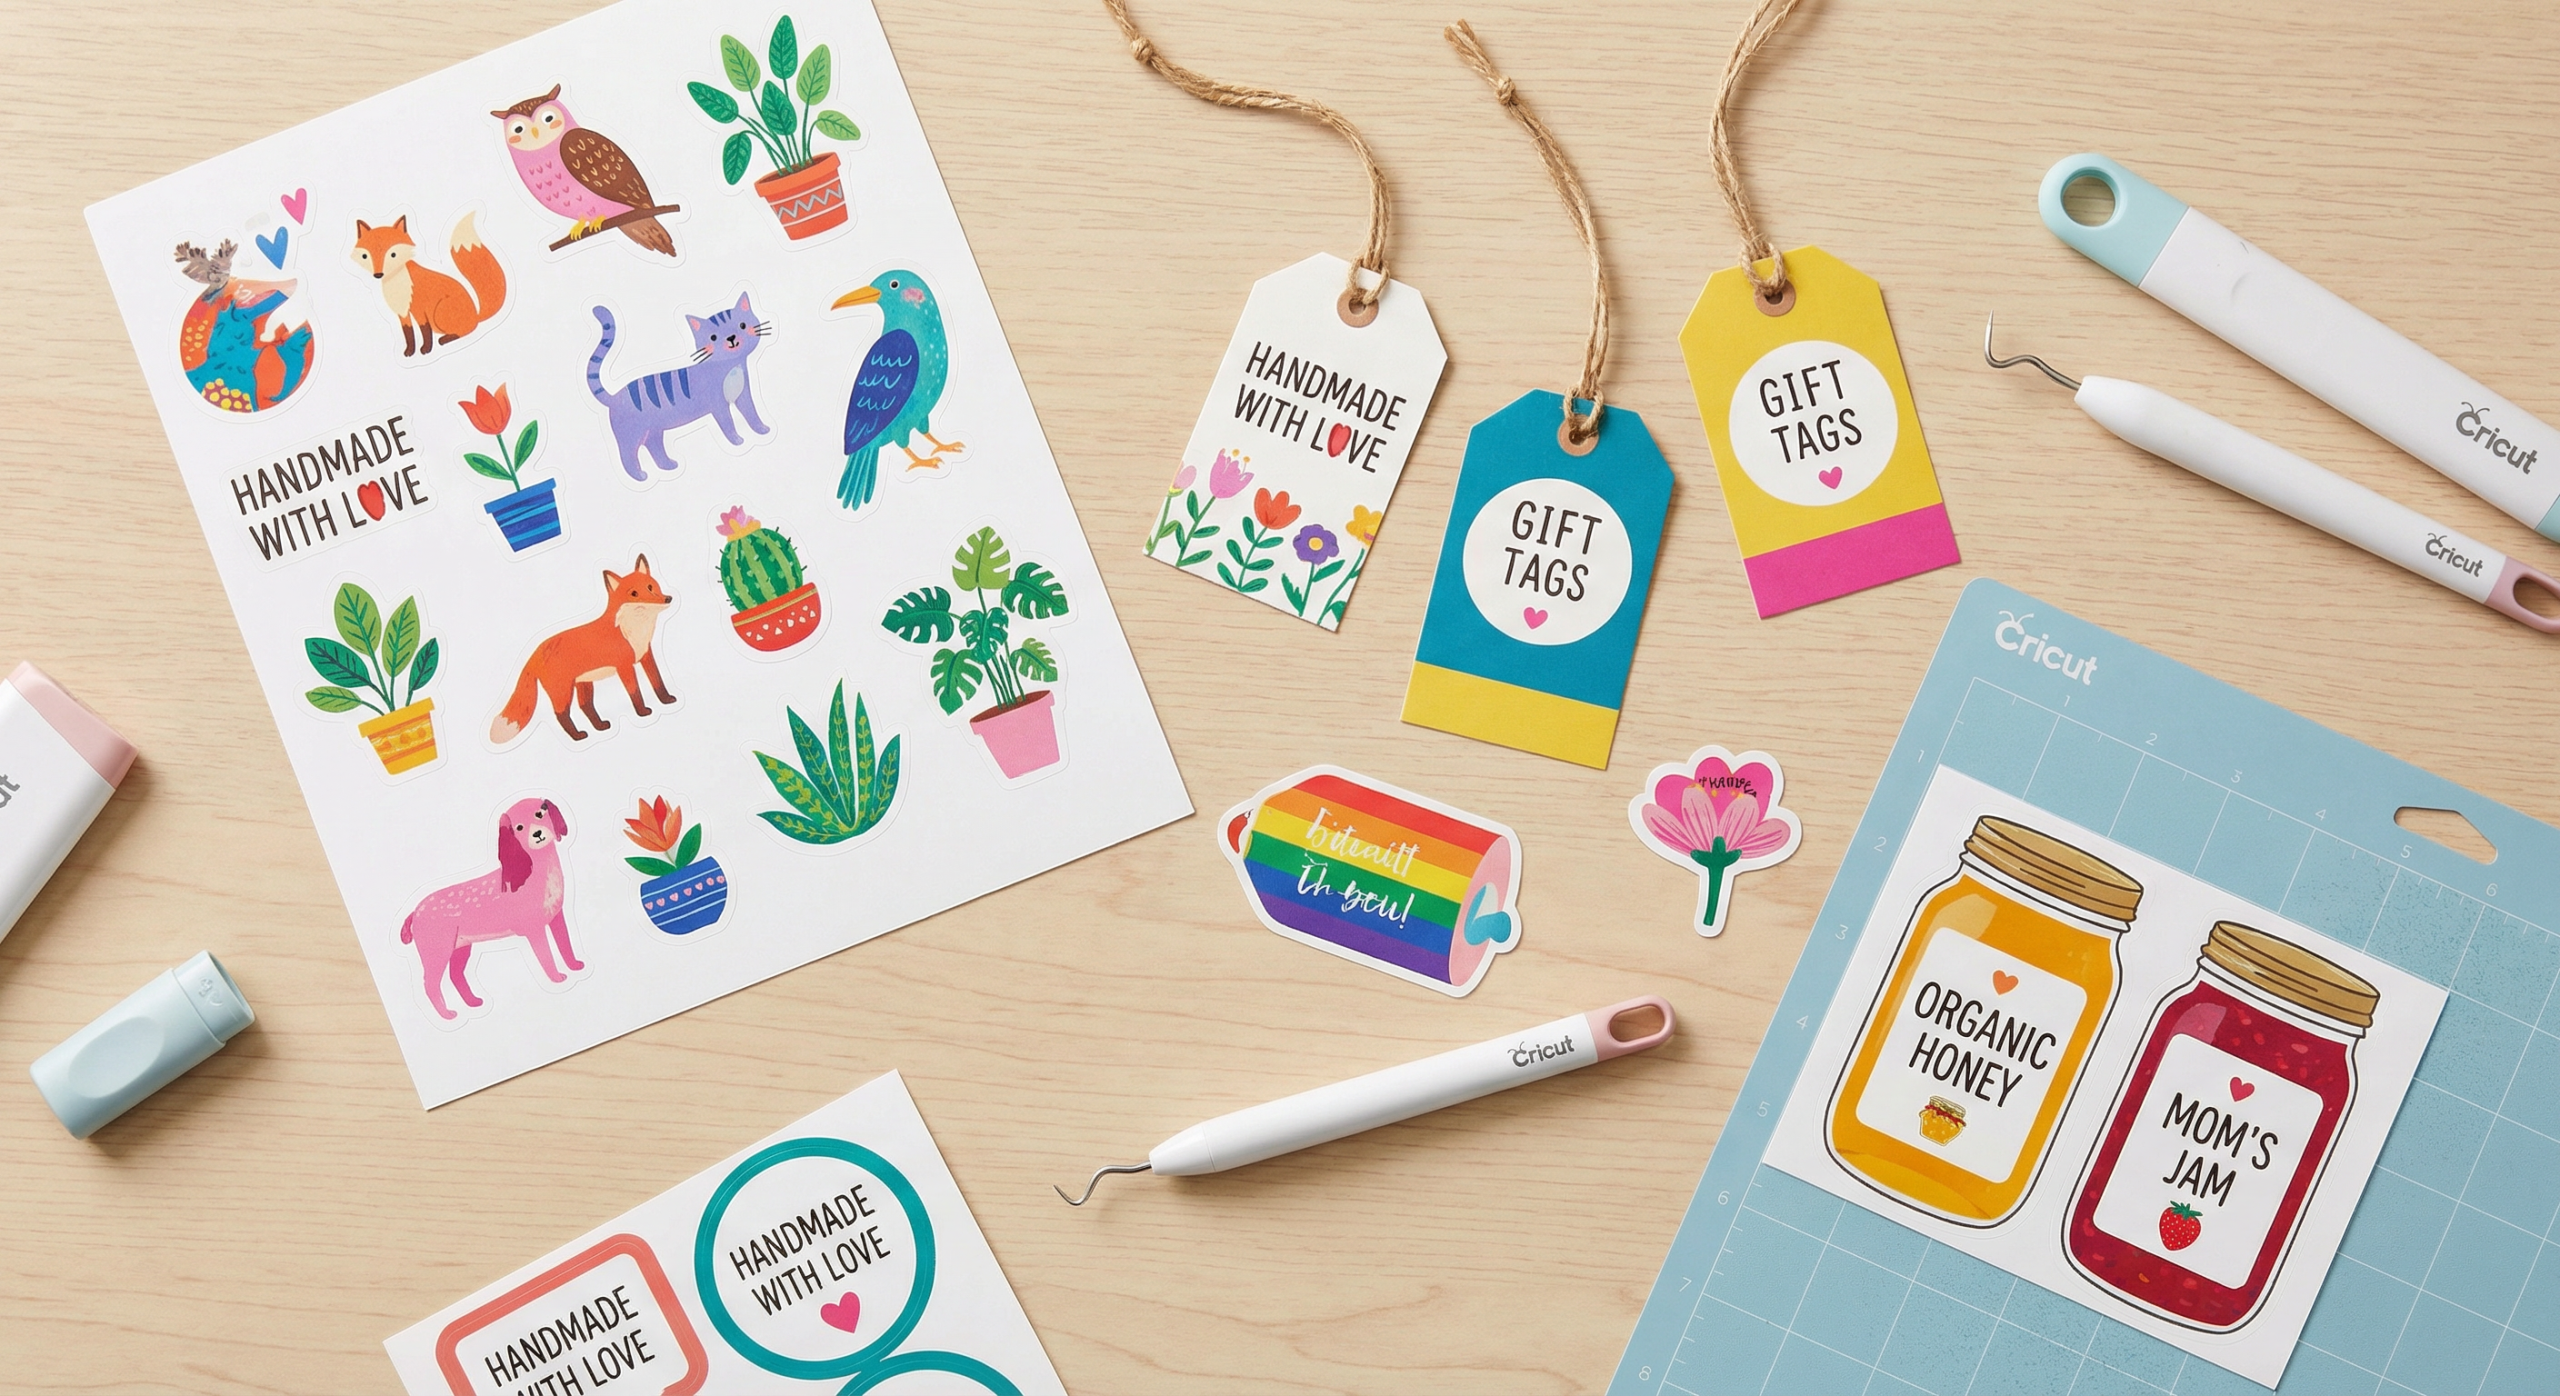
Print Then Cut Cricut is the feature that turns your home printer and Cricut into a sticker-making powerhouse. Instead of layering colored vinyl, you print your design in full color, then the machine cuts around it with precision. Whether you are making stickers, labels, gift tags, or printable vinyl for tumblers, this step-by-step guide walks you through the entire process from design to finished cut.
What Is Print Then Cut on Cricut?
Print Then Cut combines your printer and Cricut in one workflow. You design in Cricut Design Space, print the design (with registration marks) on sticker paper, cardstock, or printable vinyl, then load the printed sheet into the Cricut. The machine scans the black registration marks, locates your design, and cuts around it with a fine-point blade. The result: clean, professional stickers and labels without hand-cutting or layering multiple vinyl colors.
This method is ideal for full-color graphics, photos, watercolor-style designs, and anything that would require many layers of HTV. If you own a Cricut Joy Xtra, Cricut Maker 3, or any Explore or Maker model, Print Then Cut is included at no extra cost.
Print Then Cut Cricut: Step-by-Step Tutorial
Follow these steps to complete your first Print Then Cut project.
Step 1: Create or Upload Your Design
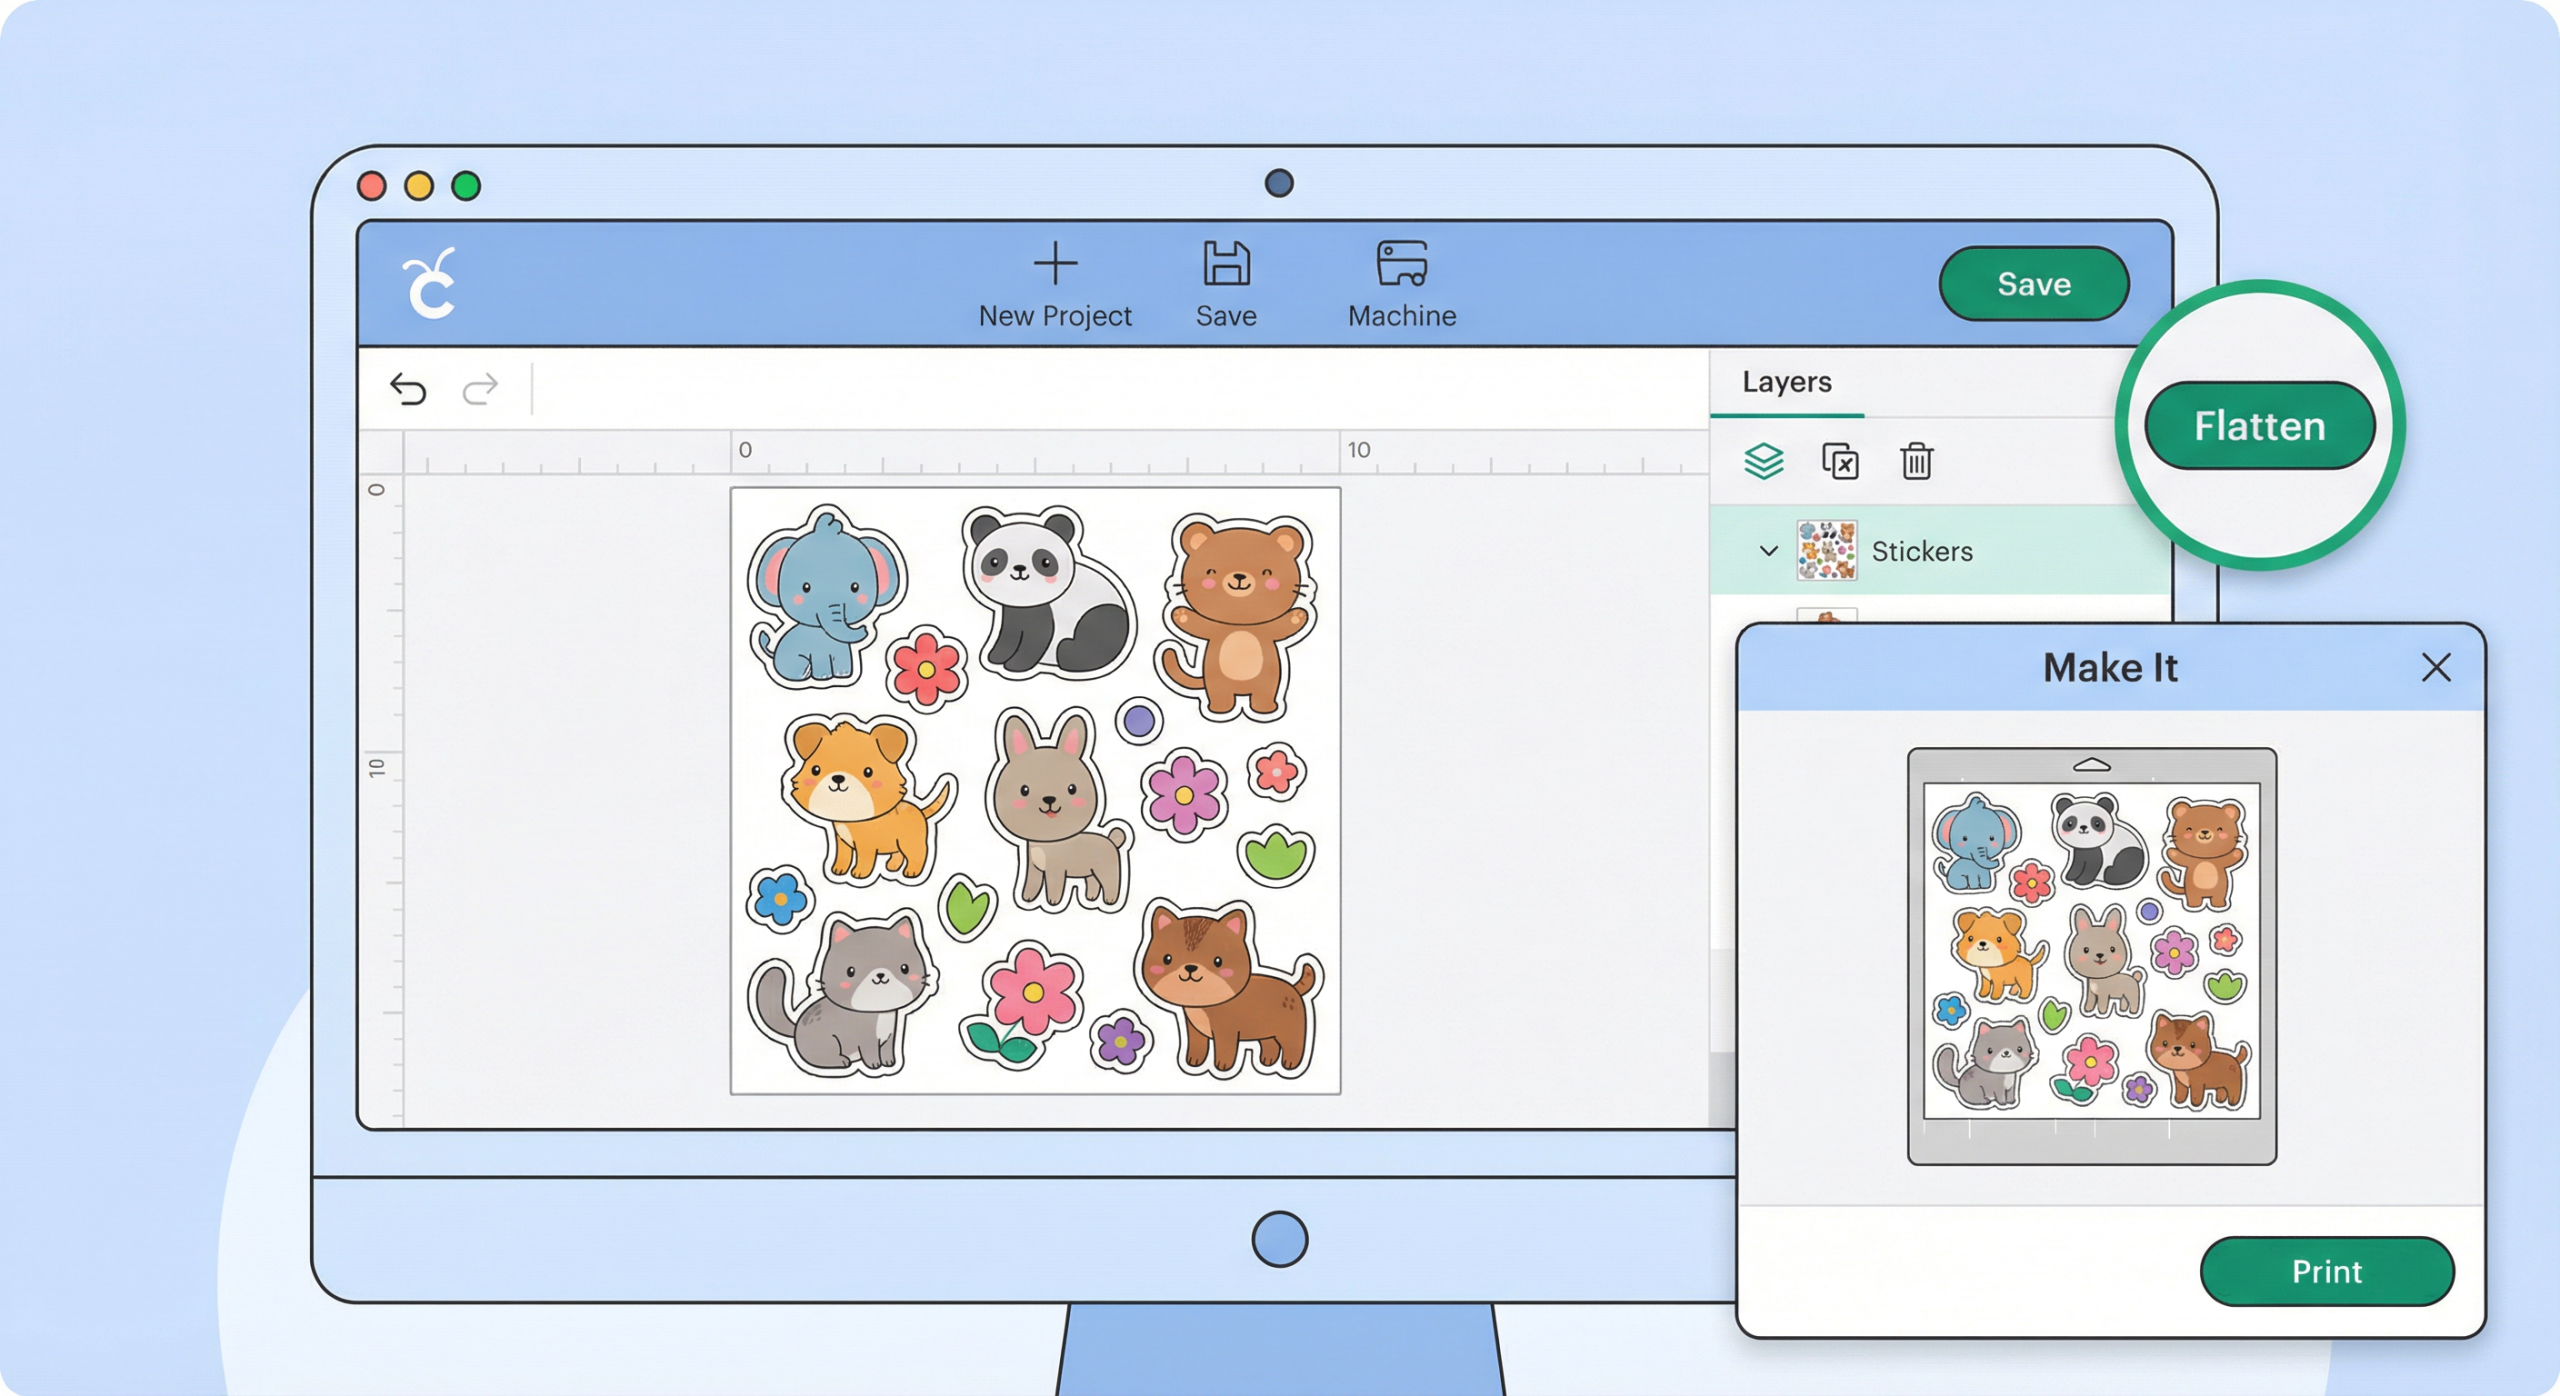
Open Cricut Design Space and either choose a design from the library or upload your own image. PNG and JPG work best for Print Then Cut because they support full color. For cut-only projects, SVG files are preferable. If your design has multiple layers, use the Flatten tool to merge them into a single printable layer.
Step 2: Set Operation to Print Then Cut
Select your design on the canvas. In the Edit bar at the top, change the operation from “Basic Cut” to Print Then Cut. A printer icon will appear on the layer. Size your design within the maximum printable area: 9.25 x 6.75 inches.
Step 3: Print with Registration Marks
Click Make It. Design Space will add black registration marks around your design. Enable Bleed for smoother edges. Choose your printer and click Print. Use matte sticker paper or cardstock for best sensor detection. Glossy paper can cause the Cricut to miss the marks.
Step 4: Load the Mat and Cut
Place the printed sheet flat on a StandardGrip or LightGrip mat. Load the mat into the Cricut. Select the correct material (e.g., “Sticker Paper” or “Printable Vinyl”) and press Go. The machine will scan the marks, then cut around your design. Wait for the cut to finish before removing the mat.
Best Materials for Print Then Cut
Not every printable material works equally well. The table below compares common options:
| Material | Best For | Notes |
|---|---|---|
| Matte sticker paper | Stickers, labels | Best sensor detection, easy to weed |
| Printable vinyl | Water bottles, tumblers | Durable, waterproof when laminated |
| Cardstock | Gift tags, cards | Cheap, good for practice |
| Printable HTV | T-shirts, tote bags | Full-color heat transfer; requires mirroring |
| Glossy sticker paper | Photo stickers | Can cause sensor issues; test first |
Print Then Cut vs. Sublimation vs. HTV
Understanding when to use each method saves time and materials. Print Then Cut is best for stickers, labels, and paper-based projects. Sublimation excels on polyester and coated blanks like tumblers and mugs. Heat transfer vinyl (HTV) works on cotton and mixed fabrics for single or layered color designs. Our sublimation designs guide covers when to choose sublimation over Print Then Cut.
Where to Find Print Then Cut Designs
You need designs formatted for full-color printing. Creative Fabrica offers thousands of sticker sheets, label sets, and printable graphics in PNG format. Browse by style: kawaii, minimalist, floral, or business labels. For custom work, Fiverr designers can create unique Print Then Cut designs. Our images and graphics hub lists more sources for craft-ready files.
Tips for Perfect Print Then Cut Results
Once you master the basics, these tips improve consistency and quality. Always let the printed sheet dry for a few minutes before placing it on the mat to avoid smudging. Use a lint roller on the mat to remove dust that can shift the paper. For stickers you plan to laminate, print at highest quality and use waterproof laminate sheets. If you sell stickers or labels, pair Print Then Cut with a quality sticker paper and consider a Cricut EasyPress Mini or heat laminator for professional durability.
Troubleshooting Print Then Cut Issues
If the Cricut fails to read the registration marks, try these fixes:
- Enable Bleed in the print settings so the marks print fully.
- Use matte paper; glossy or metallic finishes can reflect light and confuse the sensor.
- Complete the workflow in one session; closing and reopening Design Space can change mark sizing.
- Calibrate your machine via Cricut Help if cuts are misaligned.
- Check printer margins; some printers cut off the registration marks. Adjust margins or use “Scale to Fit.”
For font and cut-file tips, see our Cricut and Silhouette fonts guide.
Recommended Tools for Print Then Cut
- Cricut Joy Xtra – Compact machine with Print Then Cut support. Read Review
- Cricut Maker 3 – Versatile smart cutter for heavy use. Read Review
- Cricut Cutaway Cards – Pre-scored cards compatible with Print Then Cut. Read Review
For more tutorials and resources, visit our Creative Learning Hub.
FAQ
What is Print Then Cut on Cricut?
Print Then Cut is a Cricut Design Space feature that lets you print a full-color design from your home printer, then have the Cricut machine cut around it with precision. It is ideal for stickers, labels, gift tags, and multi-colored designs without layering multiple vinyl sheets.
What is the maximum Print Then Cut size on Cricut?
The maximum Print Then Cut area is 9.25 x 6.75 inches. This limit is set by the Cricut’s sensor, which scans registration marks around the printable area.
Do I need to mirror my design for Print Then Cut?
No. Unlike heat transfer vinyl (HTV), Print Then Cut designs are printed right-reading and cut as-is. You do not mirror the design.
What materials work with Cricut Print Then Cut?
Print Then Cut works with printable sticker paper, printable vinyl, cardstock, printable HTV, and other materials that go through an inkjet or laser printer.
Why is my Cricut not reading the Print Then Cut registration marks?
Common causes include: printing with bleed disabled, registration marks cut off by printer margins, glossy or reflective paper, or doing the print and cut in separate Design Space sessions. Enable bleed and use matte paper for best results.
Can I use PNG files for Print Then Cut?
Yes. PNG and JPG files work well for Print Then Cut because they support full color and transparency. SVG is better for cut-only projects.