Why Laser Cutters Are Finally Affordable
Five years ago a desktop laser was a wallet-buster; today you can grab a capable 10 W diode unit for less than an iPhone. In this guide on how to choose a laser cutter, I’ll break down the specs that actually matter for hobby, side-hustle, and “prosumer” use.
Key Specs at a Glance
| Parameter | Hobby Minimum | Comfortable Tier |
|---|---|---|
| Power | 5 W diode | 10 W diode · 40 W CO₂ |
| Work Area | 300 × 300 mm | 400 × 400 mm |
| Cut Speed | 2 000 mm / min | 5 000 mm / min |
| Safety | Basic acrylic shield | Full enclosure + fire sensor |
| Connectivity | USB | USB + Wi-Fi + mobile app |
Pro-tip: Ignore “peak power” marketing. A branded 10 W diode with real optical output out-performs many no-name “20 W” machines that measure electrical draw, not laser light.
Laser Types — At a Glance
Diode (5–40 W optical)
- Cuts: thin plywood, cardboard, leather, felt, dark acrylic.
- Doesn’t cut: clear/white acrylic.
- Pros: budget, compact, simple venting.
- Cons: slower than CO₂, material limits.
- Best for: earrings, plywood decor, engraving.
CO₂ (40–100 W)
- Cuts: plywood/MDF 3–6 mm, acrylic (incl. clear), cardboard.
- Pros: clean acrylic edges, speed, versatility.
- Cons: price, cooling/venting, larger footprint.
- Best for: signs, shadow boxes, small-batch sales.
Fiber/IR (metals)
- Marks/engraves: steel, aluminum, brass, some plastics.
- Not for: cutting wood/acrylic.
- Best for: tags, tools, jewelry marking.
Simple rule: need clear acrylic? → CO₂. Need budget/compact? → diode.
Recommended Starter Setup
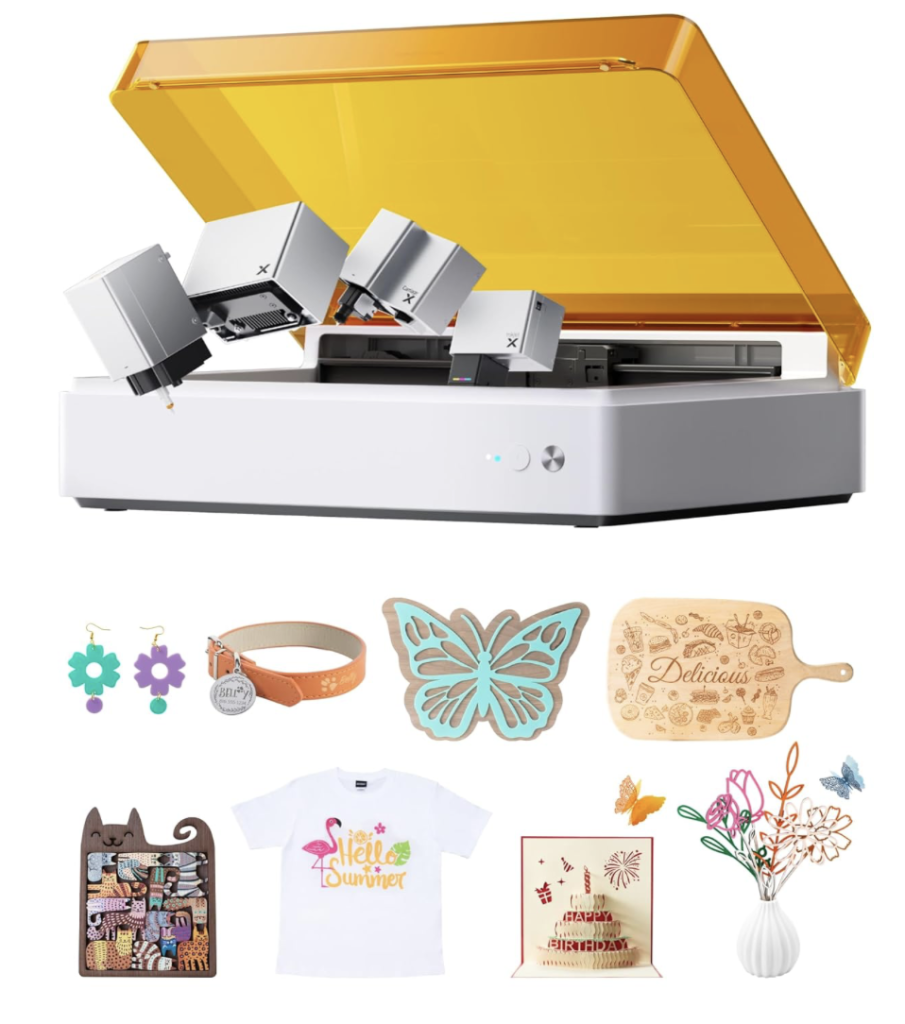
Starter laser (4-in-1): xTool M1 Ultra desktop laser
| Item | Why It’s a Good First Pick |
|---|---|
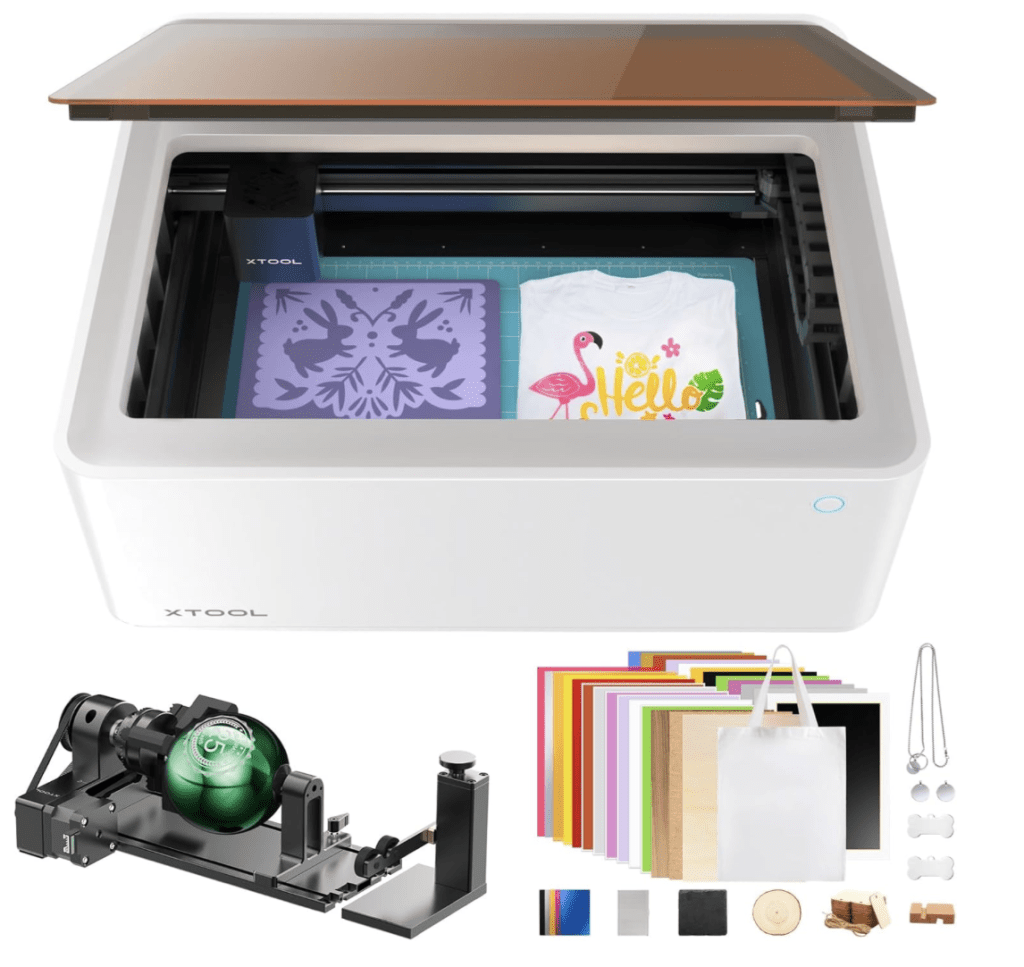
| xTool M1 (10 W diode) — hybrid cutter + engraver | Camera for auto-positioning, rotary add-on ready. |
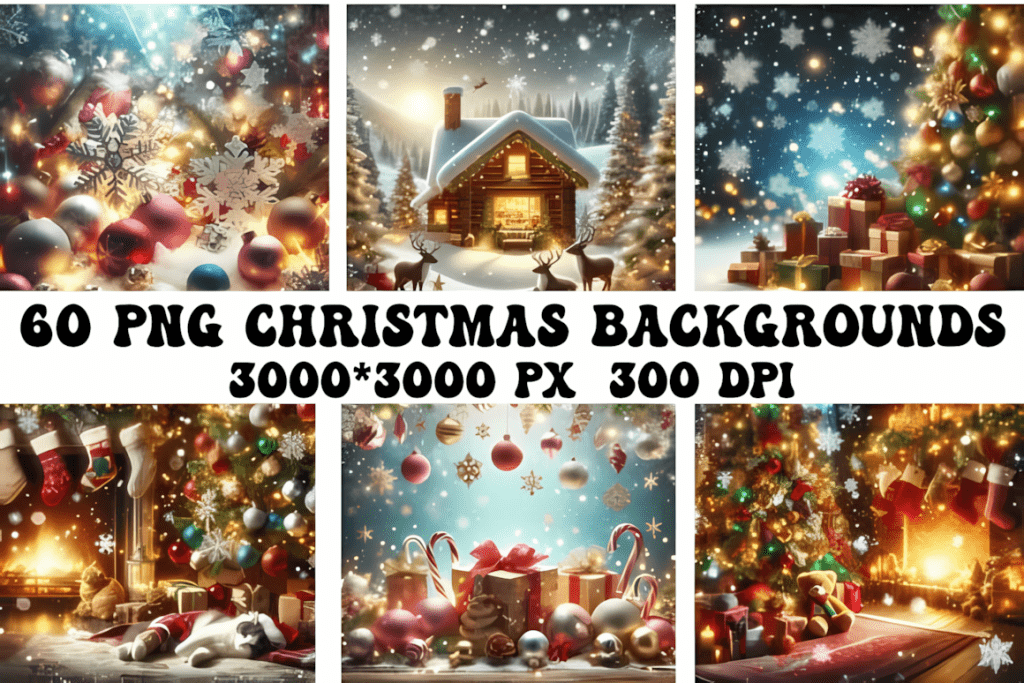
| “60 Christmas Ornaments” SVG bundle | Ready-to-cut layered files—earn back the machine selling gifts. |
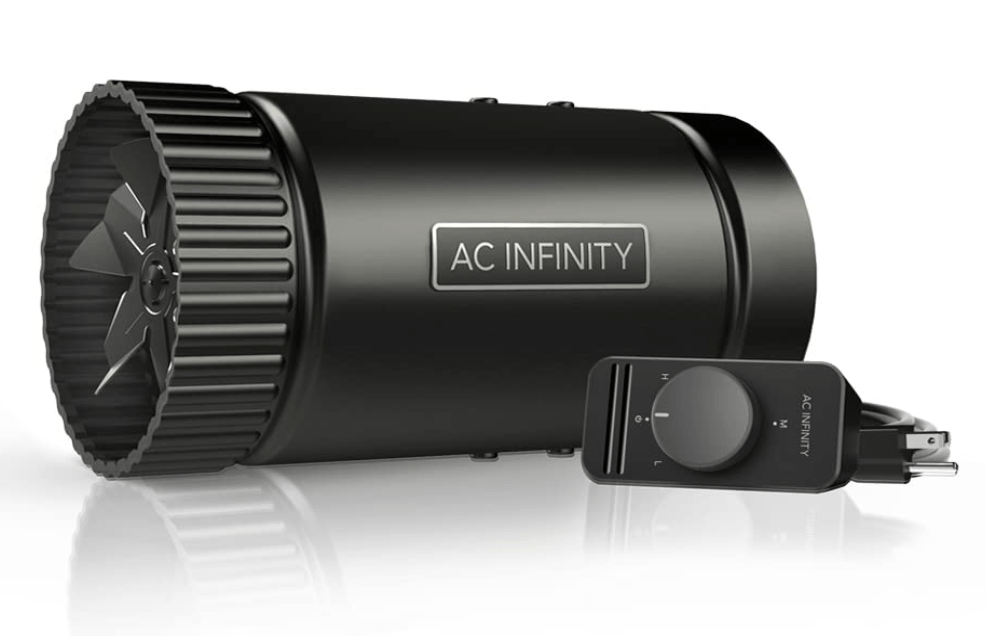
| AC Infinity RAXIAL S4 – 4″ Inline Booster Fan (195 CFM) | Keeps smoke out of the room; fits most 3-inch exhaust ports. |
Approx. cost to get going: US $850 for hardware + US $40 for files and extraction parts.
Which xTool M1 suits you?
- Starter on a budget – xTool M1 10 W diode + blade combo – perfect first machine: engrave wood & acrylic, kiss-cut stickers, even score leather. Avg. price ≈ $1 089.
- All-in-one power – xTool M1 Ultra 4-in-1 laser • inkjet • blade • pen – adds direct-to-substrate colour printing and pen-plotting for pro-grade craft kits. Usually $1 399.
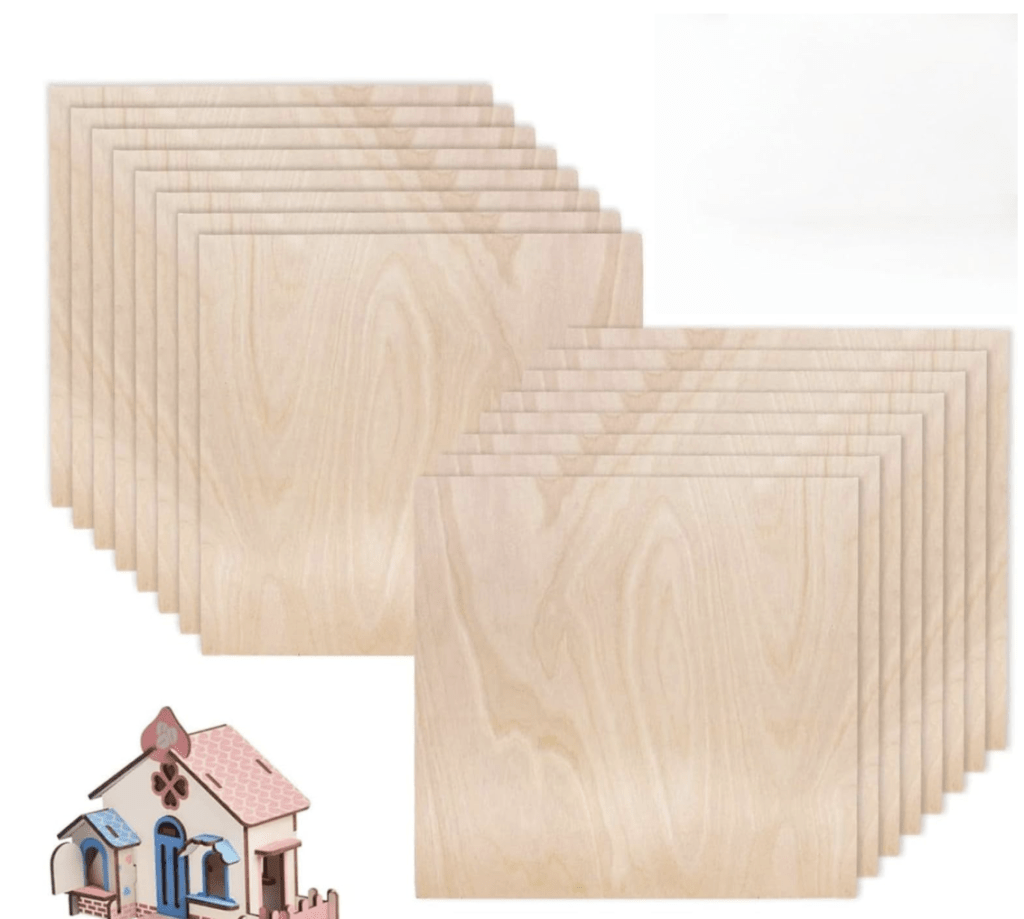
Pro-tip: whichever model you pick, grab a 16-pack of 3 mm Baltic-birch plywood (12″ × 12″) – cheap material that’s forgiving while you learn.
Pick by Use & Budget
Jewelry / Earrings (budget)
- Diode 10–20 W + earrings SVGs.
- Materials: 1.5–3 mm plywood, leather/felt, dark acrylic.
Acrylic Signs / Shadow Boxes
- CO₂ 40–60 W, work area ≥ 300×500 mm.
- See: signs and shadow boxes.
Spec Decoder
- Power (optical vs input): compare only optical power (beam output). Big “input watts” claims are often marketing.
- Work Area: 300×300 mm minimum; 400×400 mm+ is comfortable for signs.
- Air Assist: must-have for clean edges and speed.
- Venting: window duct or filter box — budget for it.
- Software: LightBurn is the flexible choice; closed ecosystems can limit workflows.
- Service/Parts: mirrors/lenses (CO₂), diode shields, spare parts availability.
Fume Extraction
Budget DIY bundle
AC Infinity RAXIAL S4 — 4″ Inline Booster Fan (195 CFM)
+
AC Infinity 4″ × 8 ft Aluminum Duct & Clamps – total under \$50, clears smoke in minutes.
Five Day-1 Project Ideas
All design bundles are available on Creative Fabrica
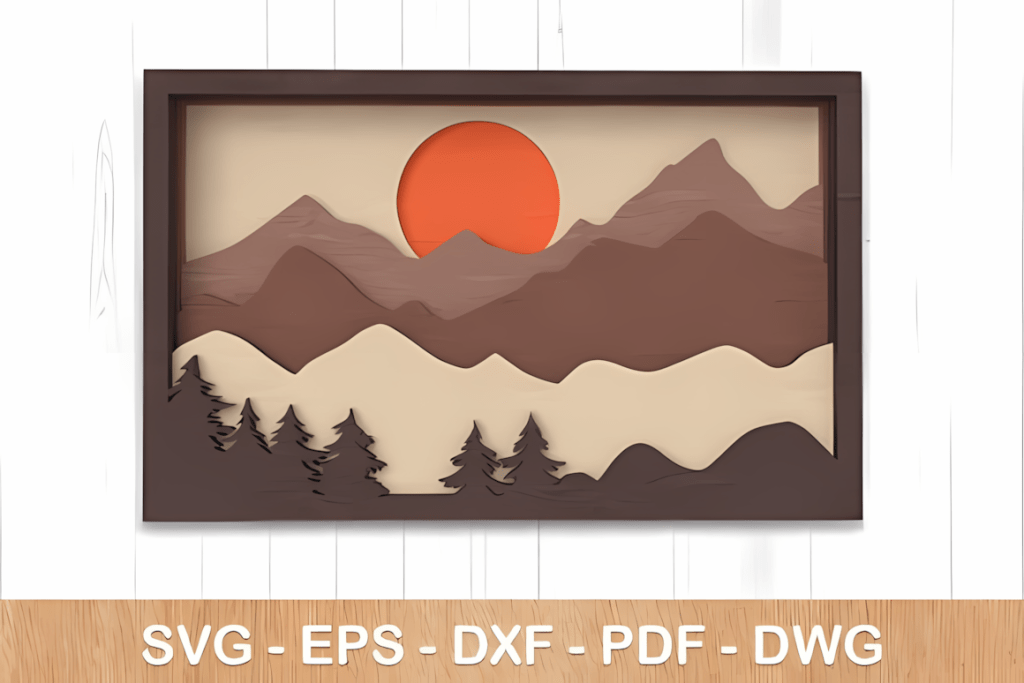
Layered Mountain Scene – five stacked plywood layers; paint only the backer for a neon-sign vibe.
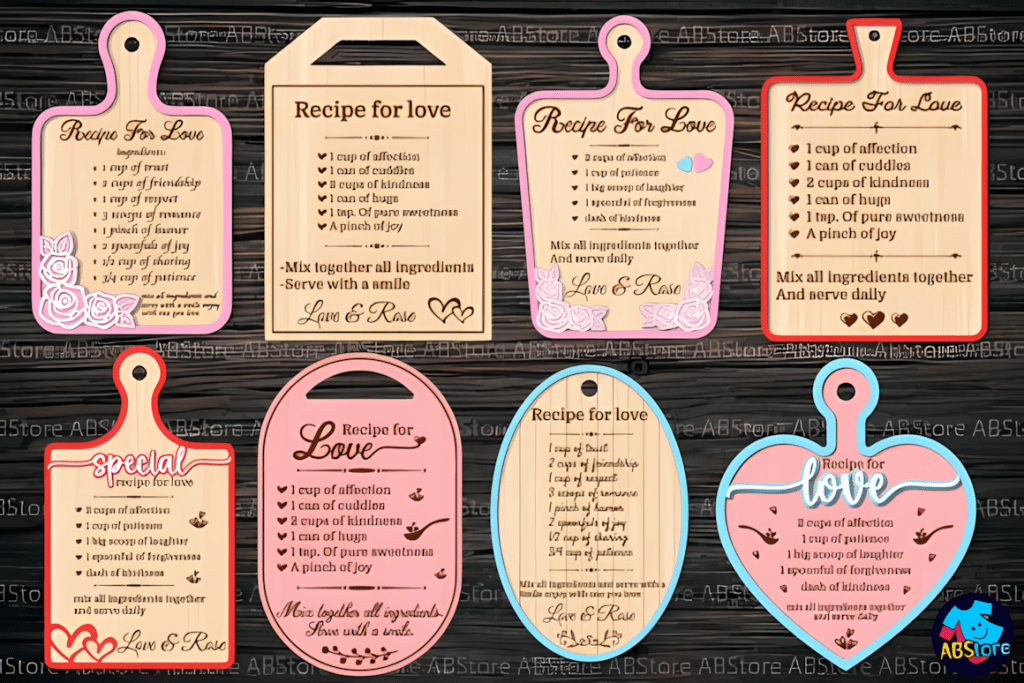
Recipe Cutting Board – engrave grandma’s handwriting on bamboo; a holiday best-seller.
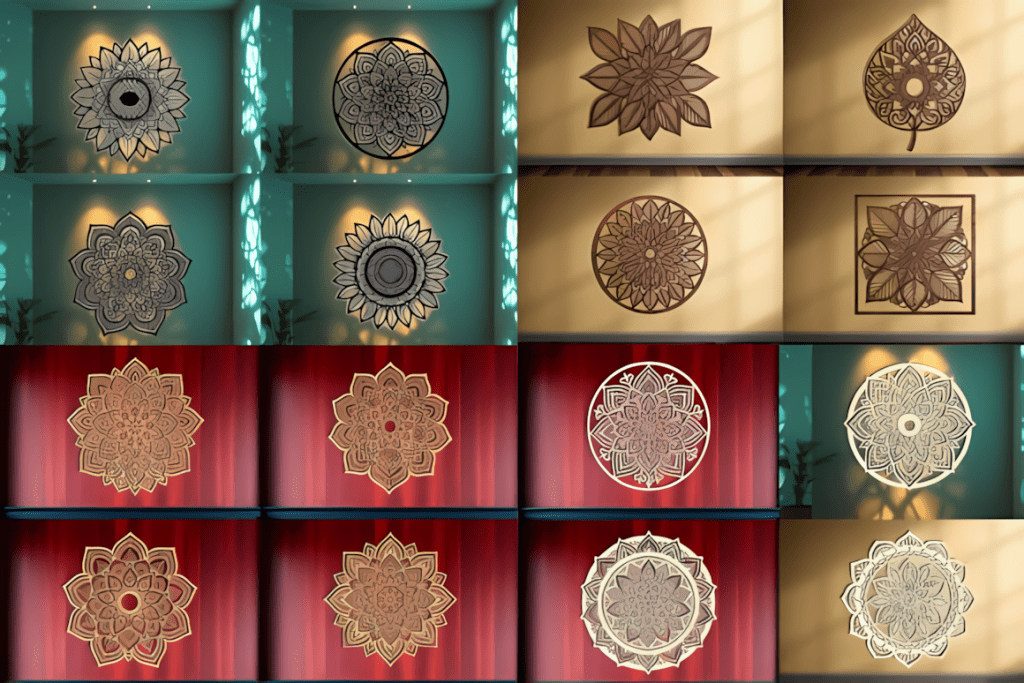
3-D Layered Mandala SVG Designer: SVG Moon – 3–8 stacked layers give a “shadow-box” depth effect that looks premium even on entry-level 3 mm plywood.
Acrylic Night-Light Insert – engrave a child’s name, slot into a $10 LED base (Amazon).
Coaster SVG Mega-Pack – 12 coaster patterns (geometric, floral) sized for Glowforge bed; perfect “easy win” product at craft fairs.
Beginner Mistakes to Avoid
- No extraction ⇒ burnt-toast smell. Even a diode needs an exhaust fan and cracked window.
- Cutting PVC. Releases chlorine gas that corrodes optics and lungs. Stick to plywood, acrylic, paper, leather.
- Skipping the focus test. A 0.5 mm mis-focus can double your engraving time.
- Running blind g-code. Always preview paths in LightBurn / LaserGRBL first.
Venting & Safety Add-ons
Decision Matrix — Choose by Use Case, Not Wattage
| Your Goal | Suggested Machine | Why |
|---|---|---|
| Stickers & paper crafts | 5 W diode | Clean edges on thin material, cheapest entry. |
| 3 mm plywood décor | 10 W diode | Single-pass cuts ≤ 3 mm, small footprint. |
| 6 mm plywood & acrylic signs | 40 W CO₂ | Smooth edges, half the production time. |
| Side-hustle production | 50 W CO₂ + chiller | Runs 8 h/day without thermal drift. |
Safety & Workflow Checklist
- Fire extinguisher within arm’s reach.
- Acrylic or poly-carb lid plus a webcam if you run unattended.
- Create a power-speed test grid on scrap before the real job.
- Log every material and setting in a spreadsheet—saves hours later.
Final Thoughts
Pick the laser that matches your materials and batch size, not just the biggest watt number. Once your machine arrives, grab a Creative Fabrica bundle and run the power-speed test—you’ll be selling (or gifting) precision cuts by the weekend. Happy cutting!
Quick Decision
- Need clear acrylic? → CO₂.
- Budget plywood/leather/cardboard? → diode 10–20 W + Air Assist.
- Lots of metal marking? → fiber/IR.
- Large signs often? → ≥ 400×600 mm work area, CO₂ 50–60 W.
FAQ
Is a 10–20 W diode enough to start?
Yes for 1.5–3 mm plywood, felt/leather and dark acrylic. For clear acrylic and faster cutting, go CO₂.
What work area do I need?
Minimum 300×300 mm; 400×400 mm or larger is more comfortable for signs and layered projects.
Do I need Air Assist?
Highly recommended: cleaner edges, less scorch, higher cutting speed.
How to handle venting in an apartment?
Use a 4″ inline fan with ducting through a window, or a filter box (replace filters regularly).