Want your wedding to feel cohesive—from invitations and signage to the photo corner? Start with a color palette, typefaces, and artwork. Then pick the wedding invitation supplies that match your style. Below is a practical guide…
On this page
- Shop the capsule (8 smart picks)
- Core tools & consumables
- Ribbon Width Guide
- Envelope Quick Guide
- Starter Quantities (cheat-sheet)
- FAQ
Quick Wedding Invitation Supplies Starter Kit (2 levels)
Smart Starter Kit (under 1 hour to assemble)
- A7 translucent vellum envelopes (pack of 50–60)
- Double-face satin ribbon, 1″–1.5″ (25–36 yards)
- 25 mm wax stamp + beads (≈2–3 beads per seal)
- Corner rounder punch (large)
- Glue dots + double-sided tape
- Matte or textured 120–150 gsm cardstock
- Acrylic sign stands (5×7 or 8×10, set of 10–12)
As an Amazon Associate, I earn from qualifying purchases.
Pro Studio Kit (looks luxe on photos)
- A7 vellum envelopes + matching A6 RSVP
- Premium satin ribbon (single tone + accent color)
- Wax seal kit with non-stick spoon, silicone mat & tealight set
- Self-sharpening rail trimmer (12″)
- Metallic wax beads (gold/copper/sage)
- Acrylic stands: mix 5×7 (table numbers) + 8×10 (menus)
- Clear label paper for addresses + fine-tip paint pen
Shop the Capsule (8 smart picks)
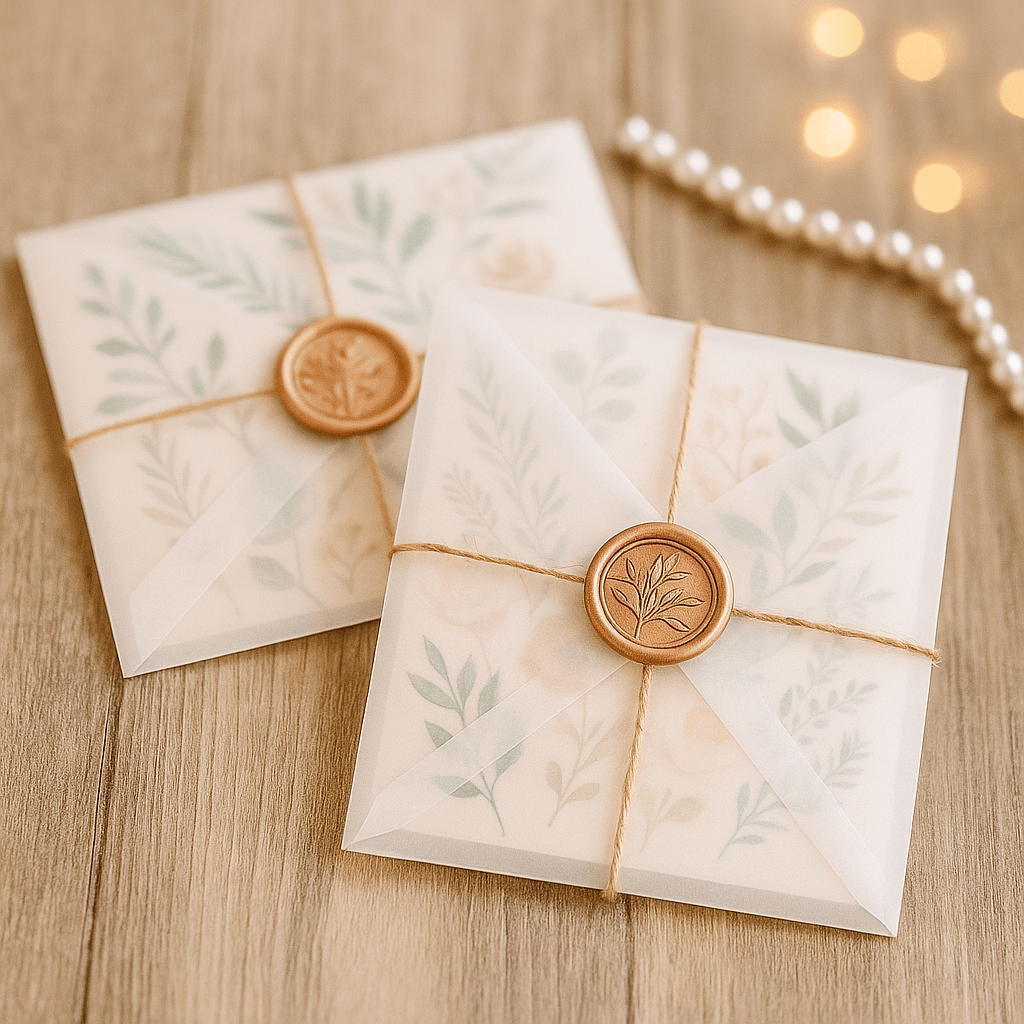
- Vellum Envelopes (A7) Translucent finish looks premium over printed invites or photo cards; hides ink smudges better than glassine.
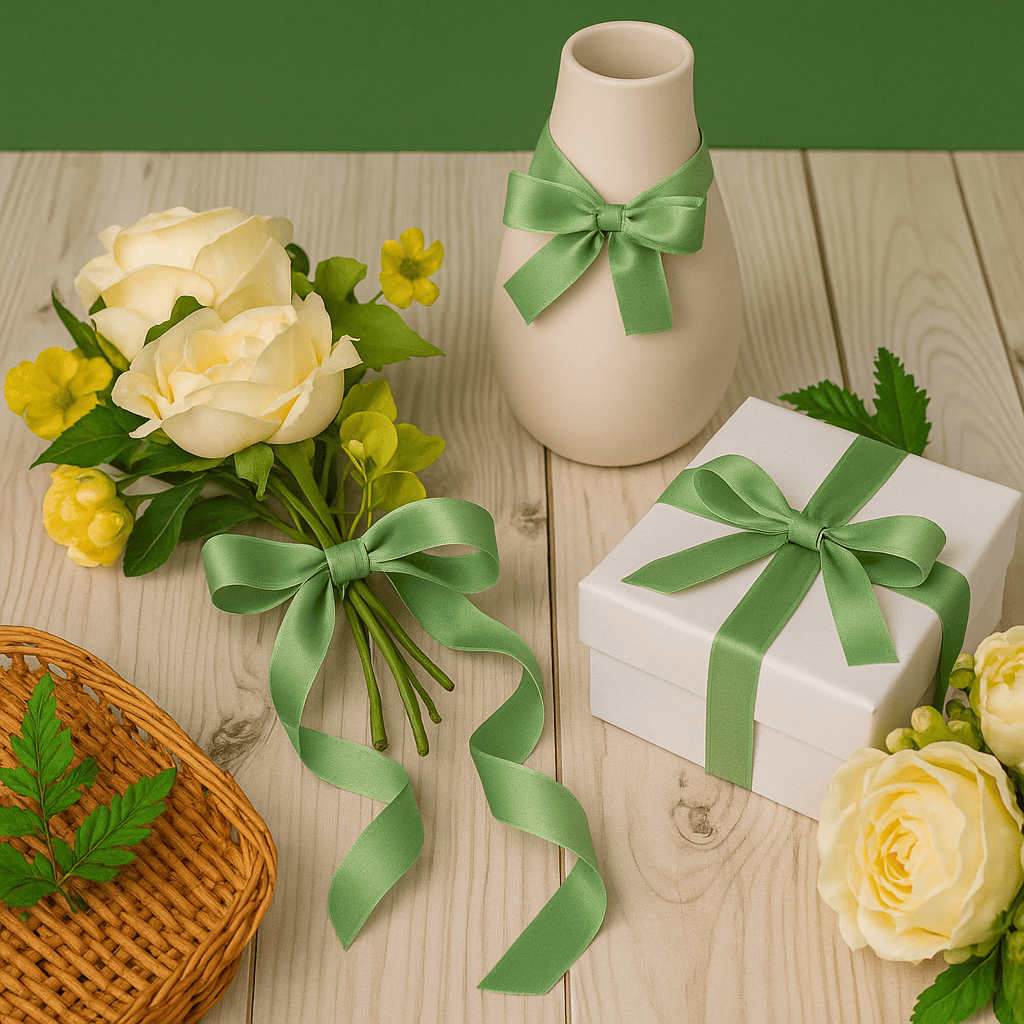
- Double‑Face Satin Ribbon (Sage/your color) Soft, drapey bow; double‑sided sheen photographs beautifully. Choose 1”–1.5” for invites and gift wraps.
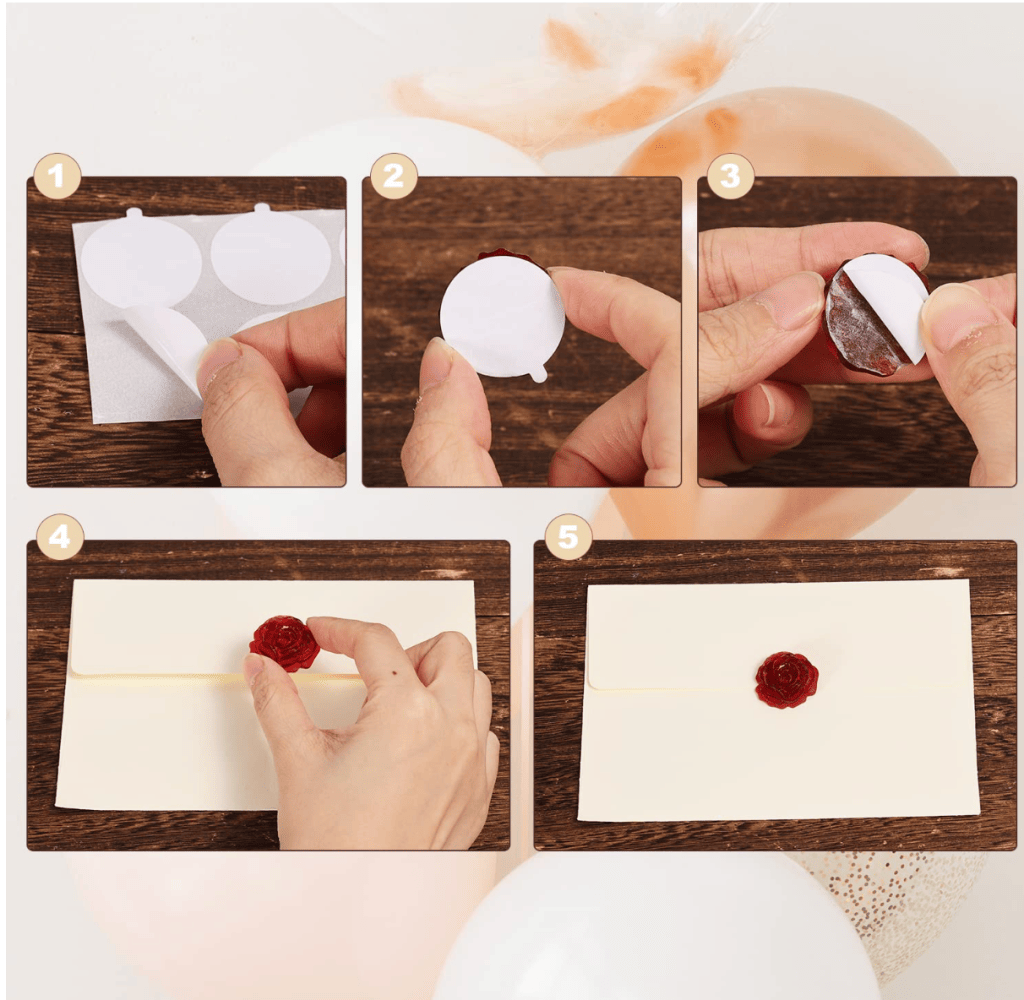
- Wax Seal Kit (with beads + 2 stamps) Easy, odor‑light beads melt cleanly; use for invite wraps, thank‑you notes, menus.
- Acrylic Sign Stands (5×7 and 8.5×11) Clear, modern look for table numbers, bar menus, and seating chart headers.
- Corner Rounder Punch (Large 10 mm) Instantly polishes DIY cards and menus; hides tiny cutting imperfections.
- Paper Trimmer (self‑sharpening rail) Straight, clean edges for invites, cards, and signage; faster than a craft knife.
- Glue Dots / Double‑Sided Tape Mess‑free adhesion for ribbon tails and wax‑seal placement.
- Matte Cardstock (80–110 lb) For menus, table numbers, escort cards; runs well through most home printers.
Tip: Build a small “style kit” box with your ribbon spool, wax beads, spare seals, glue dots, and a mini lighter. It saves 30–40 minutes per batch.
Style Recipes (pick one palette)
Sage & Warm Gray — sage ribbon, ivory cardstock, copper wax See matching ribbon & wax →
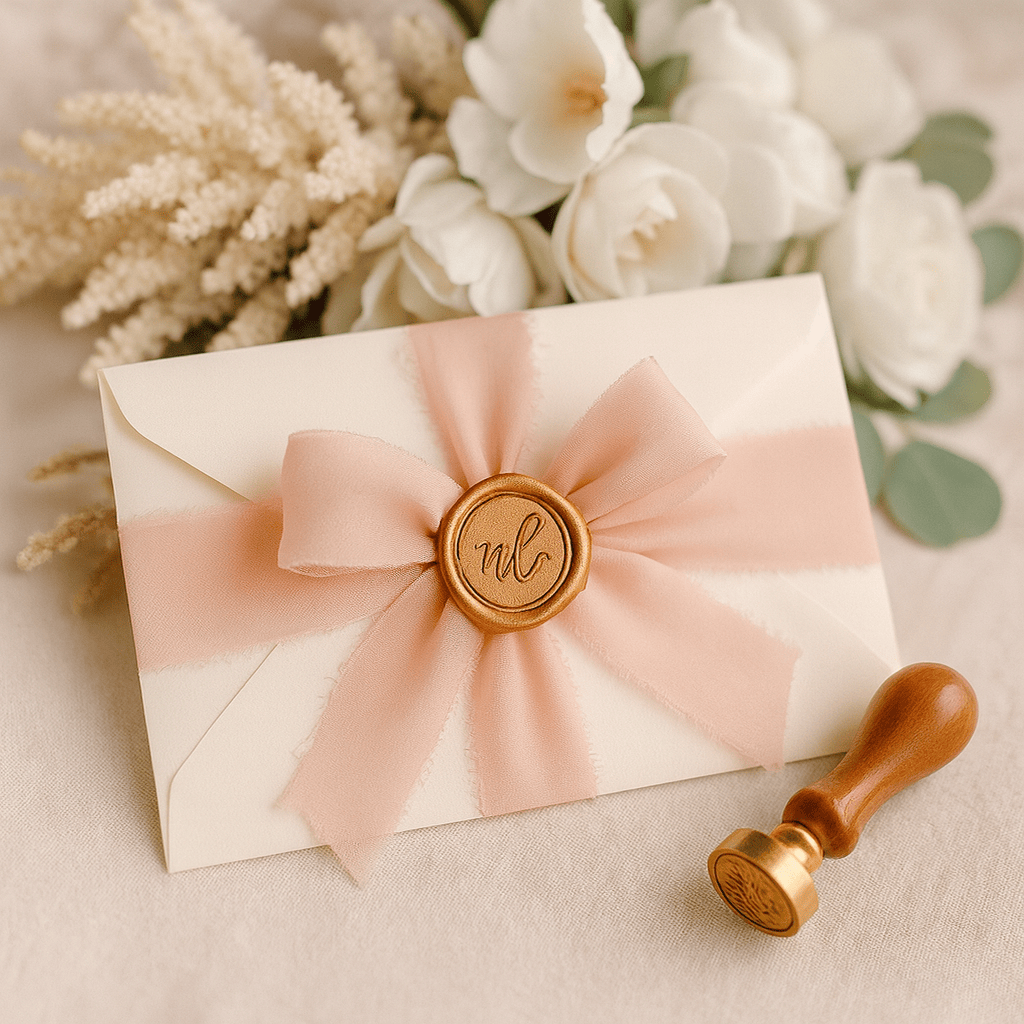
Blush & Champagne — blush ribbon, warm gray text, pearl wax. See matching ribbon & wax →
Black & Gold — black ribbon, matte white cardstock, gold wax. See matching ribbon & wax →
Tip: keep 2–3 tones total; let ribbon + seal carry the color.
Core Tools & Consumables
Printable Vellum Sheets (A4/US Letter) Amazon →
Inkjet Pigment Ink (smudge-resistant) Amazon →
Metallic Wax Beads — gold, copper, sage Amazon →
Monogram Stamp (custom A+B) Amazon →
Ribbon & Wax Planner
| Width | Best For | Bow Length per Invite | Look |
|---|---|---|---|
| 0.5″ (6–10 mm) | Place cards | 24–28 in | neat, tiny knot |
| 1″ (15–25 mm) | Invite wraps | 30–36 in | easiest to tie |
| 1.5″ (38 mm) | Gift bows/menus | 36–42 in | dramatic, full |
Wax math (25 mm seal): 2–3 beads per seal.
How many beads to buy? seals = invites × 1.1 → beads = seals × 2.5.
Big-Ticket Wedding Essentials (Worth the Splurge)
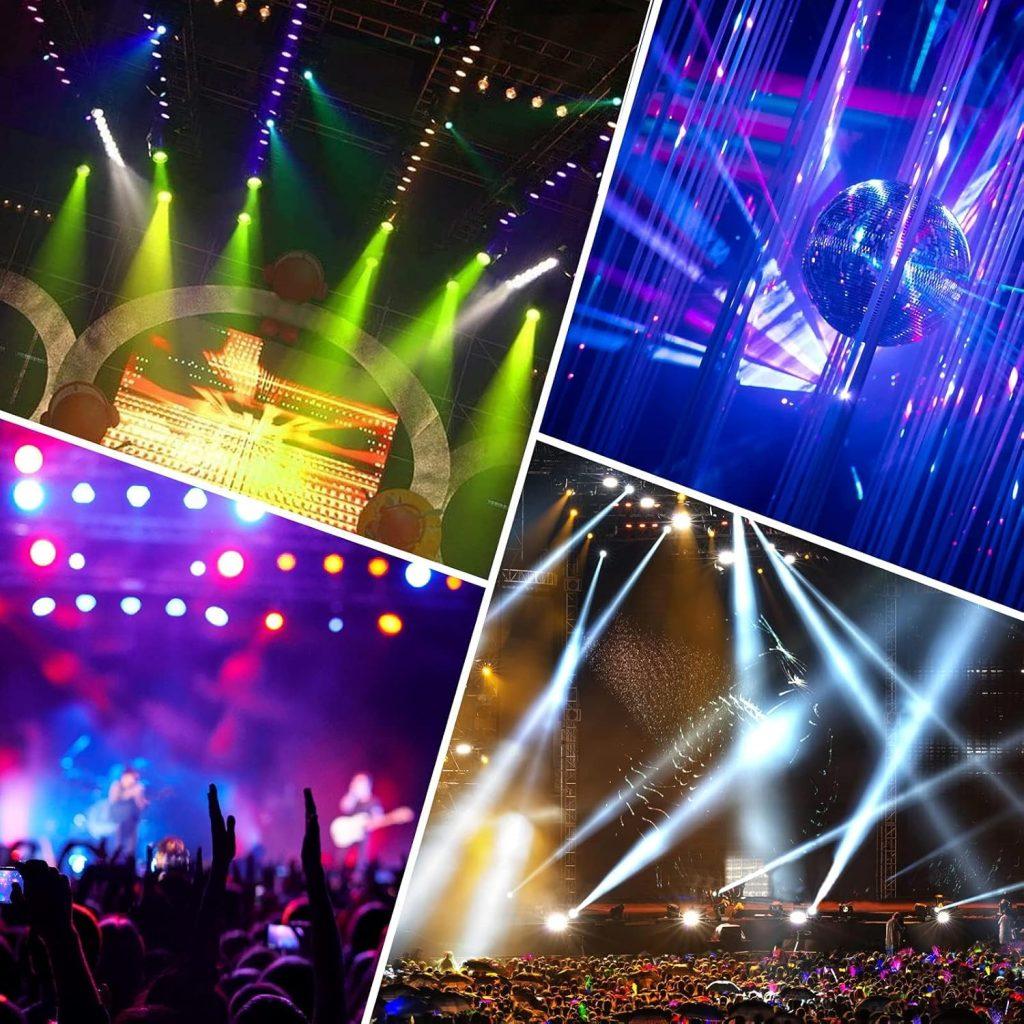
Lighting & Atmosphere
- LED uplights (8–12 pack) — instant room “wow”. Instant glow →
- Curtain / fairy lights (9.8×9.8 ft) — backdrop for the sweetheart table or photo wall. Create the backdrop →
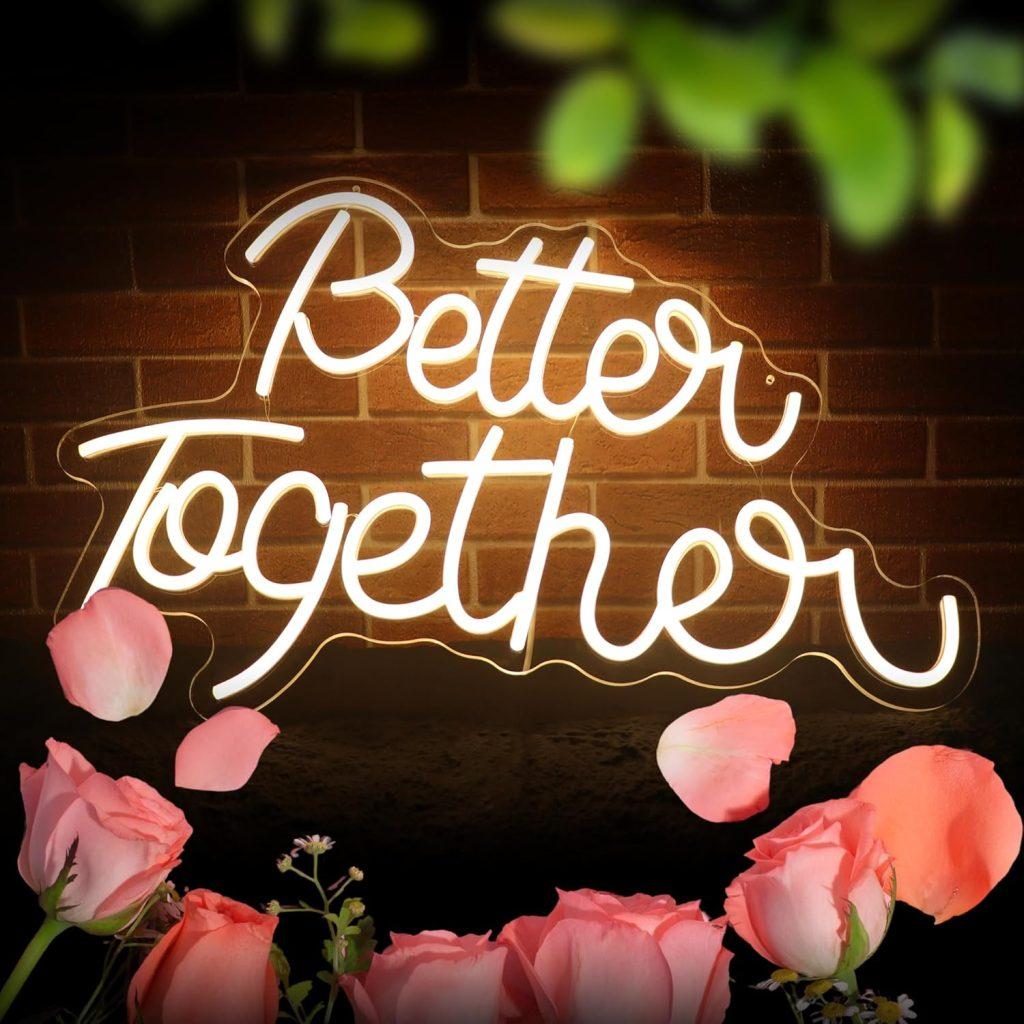
- “Better Together” neon sign — super-popular backdrop. Statement moment →

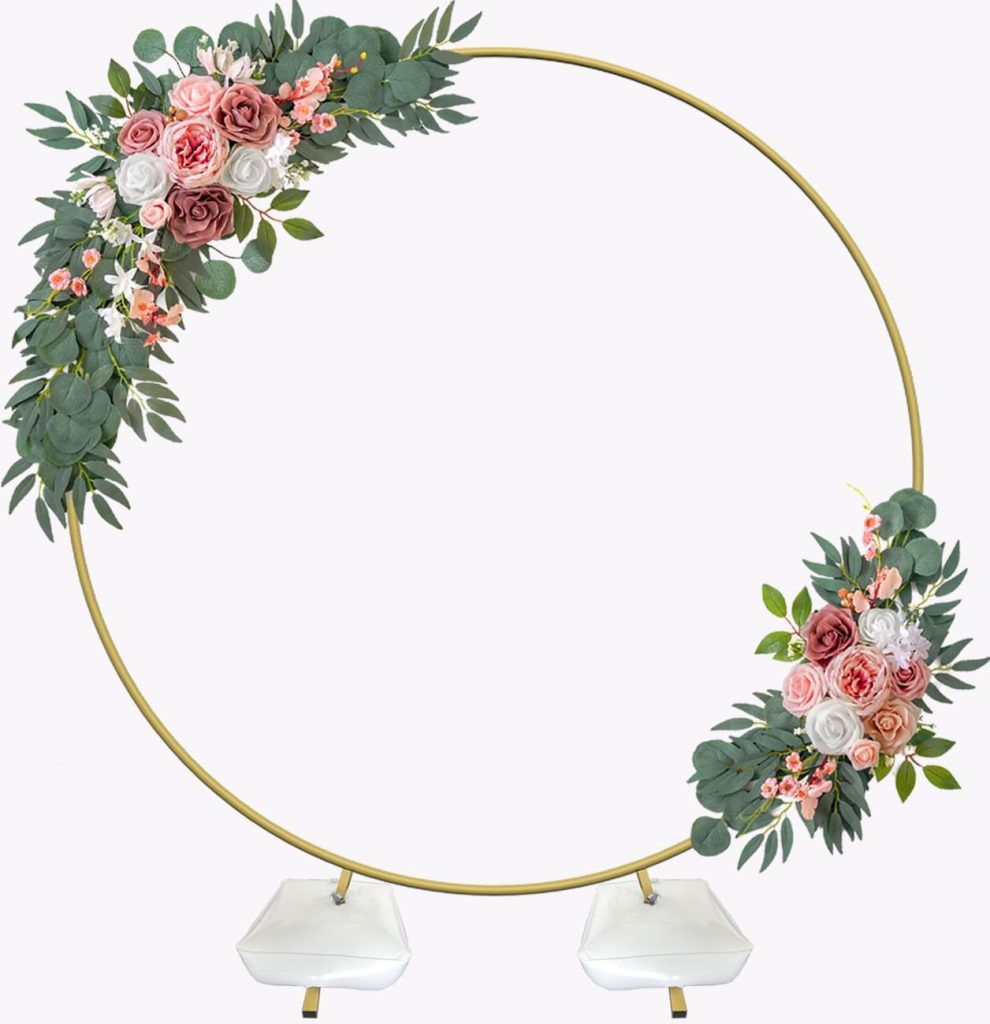
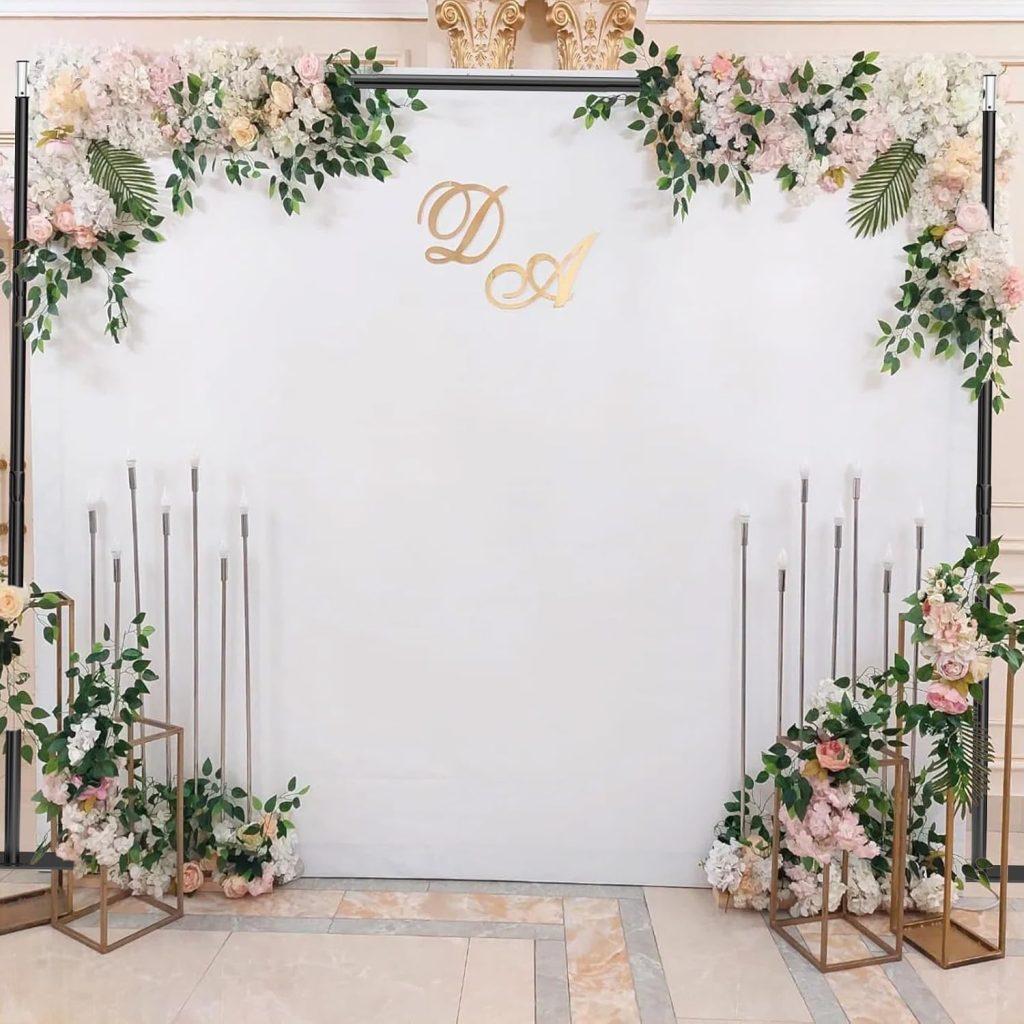
Backdrops & Arches
- Metal wedding arch (7–8 ft) — base for florals or draping. Ready to dress →
- Pipe-and-drape kit (10×8 ft) — clean ceremony or photobooth background. Clean backdrop fast →
Sound & Mics
- Portable PA speaker + wireless mic — toasts and outdoor ceremonies. Ceremony-ready sound →
- Dual wireless handheld mic set — emcee + toasts. Toast-ready mics →
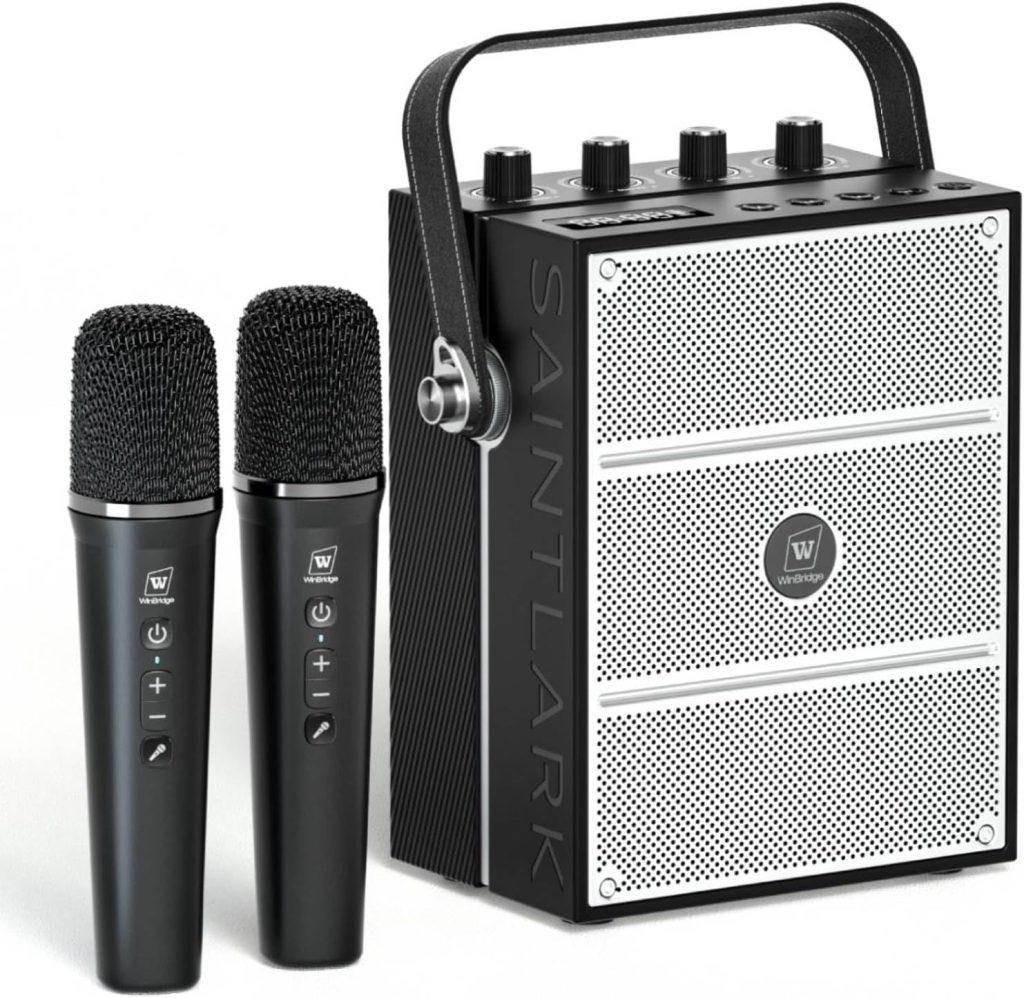

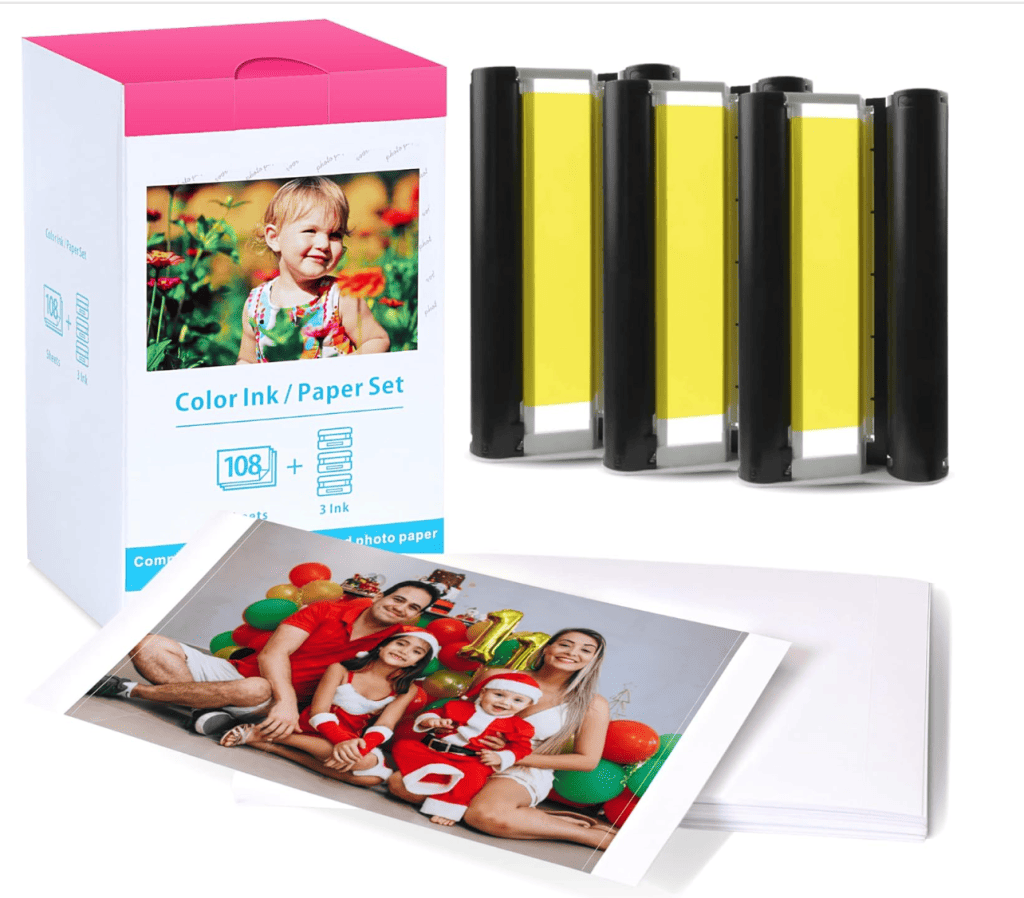
Photo & Guestbook
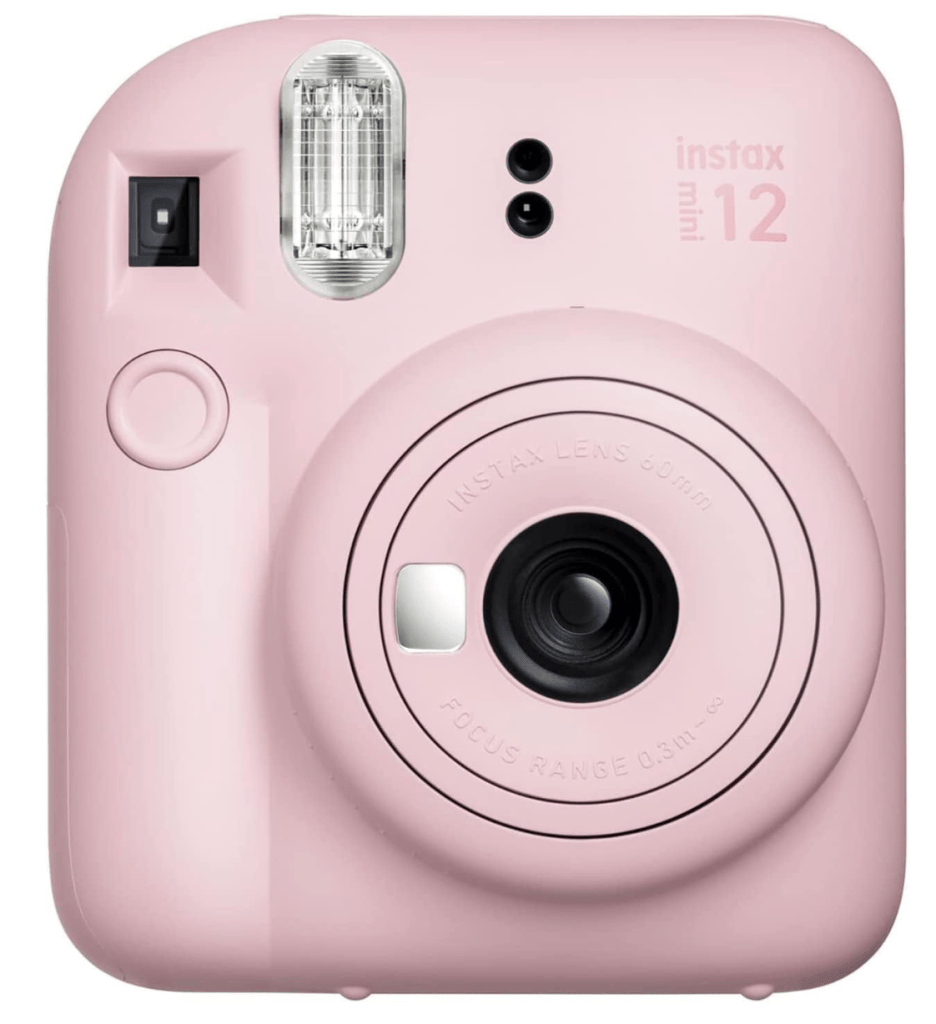
- Fujifilm Instax Mini camera + film — instant photos for guests. Instant smiles →
- Canon Selphy CP1500 + paper/ink — on-site printing. Print on-site →
- Backdrop stand kit (≈8.5×10 ft) — for a photo wall or draping. Frame the moment →

Premium Florals & Decor
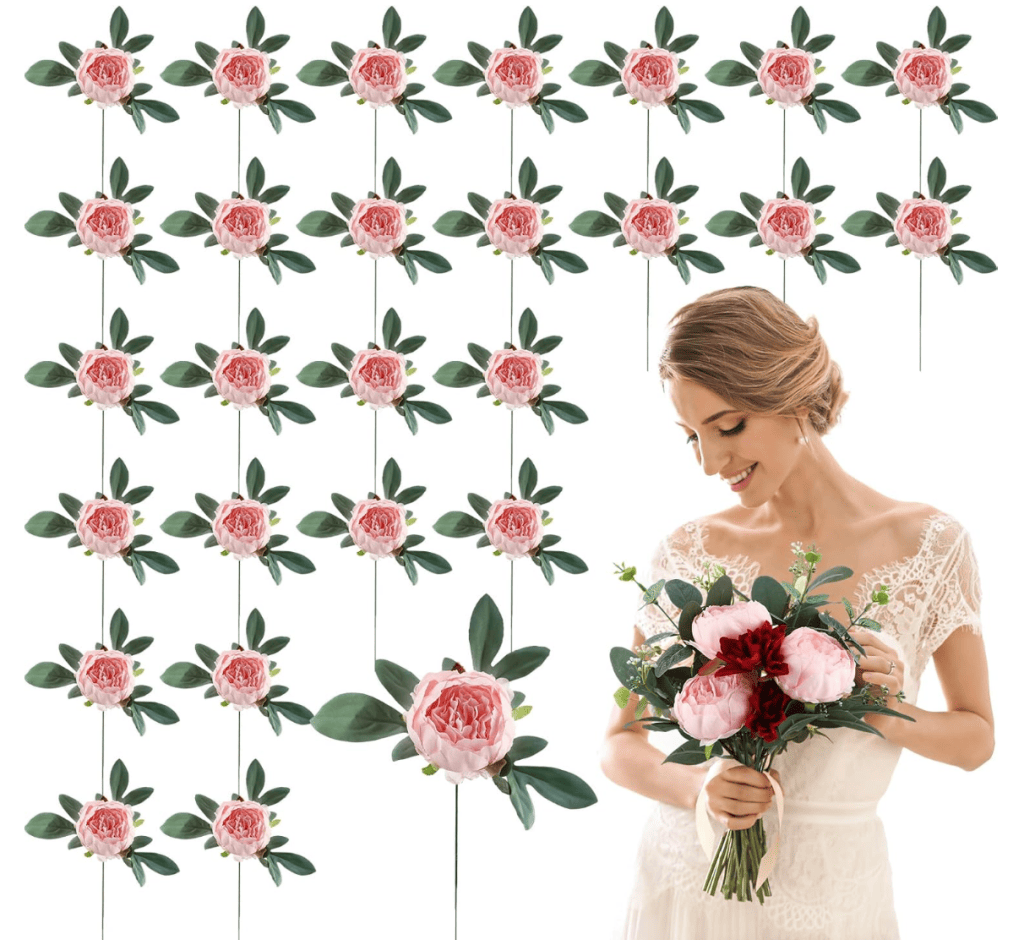
- Bulk silk roses/peonies (premium sets) — arches, centerpieces, bouquets. Luxe without wilting →
- Eucalyptus garlands (8–12 pack) — tables, chairs, neon backdrop. Green everything →
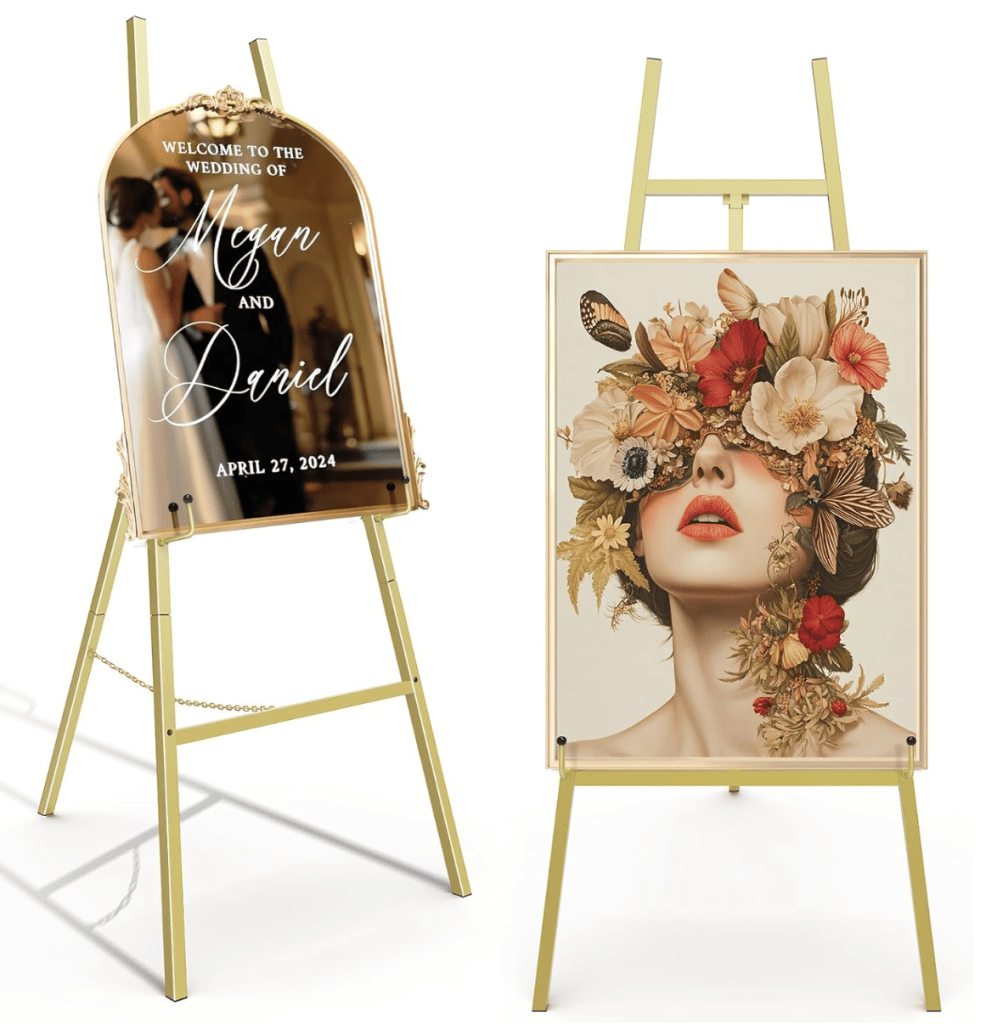
- Acrylic sign blanks (18×24 / 24×36) — welcome / bar menu. Make your welcome sign →
- Heavy-duty easel — stable stand for large signs. Stand it tall →

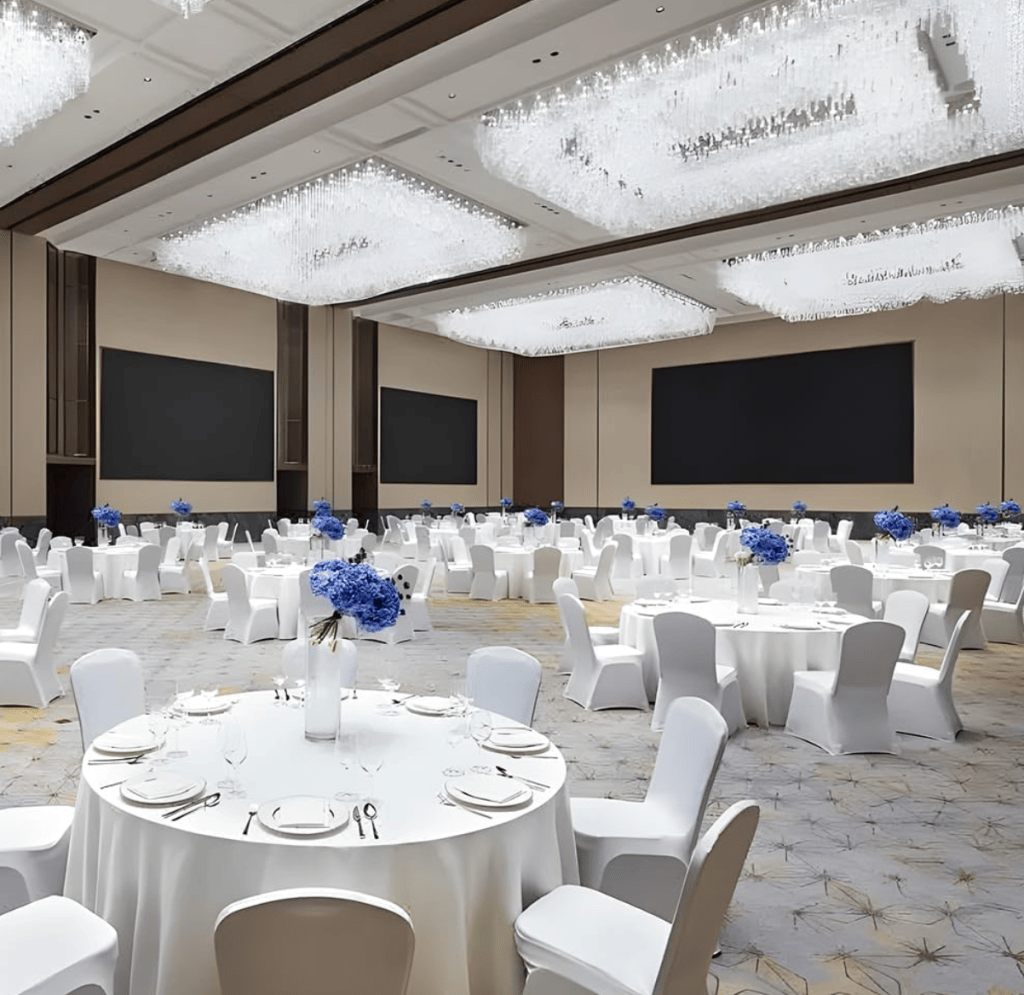
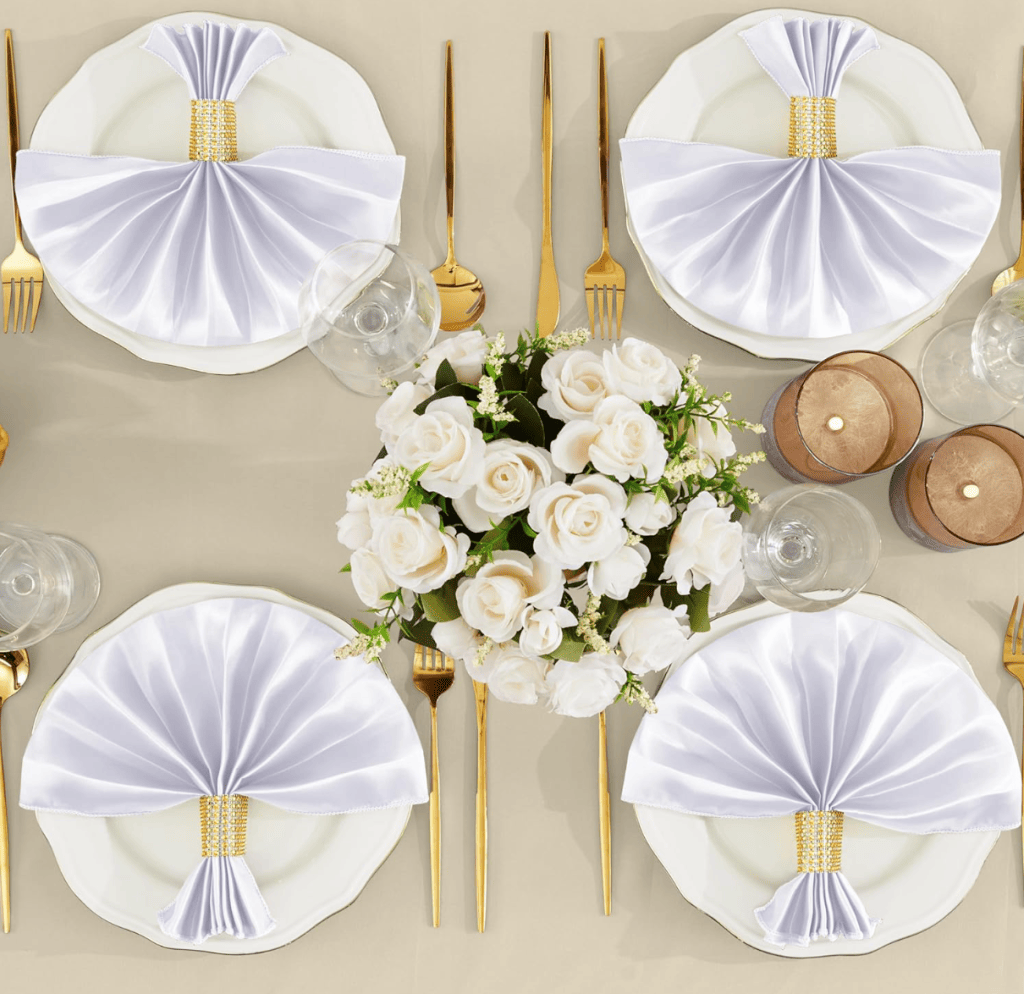
Tabletop & Rentals-at-Home
- 120″ round tablecloths (sets) — banquet tables. Hotel-level finish →
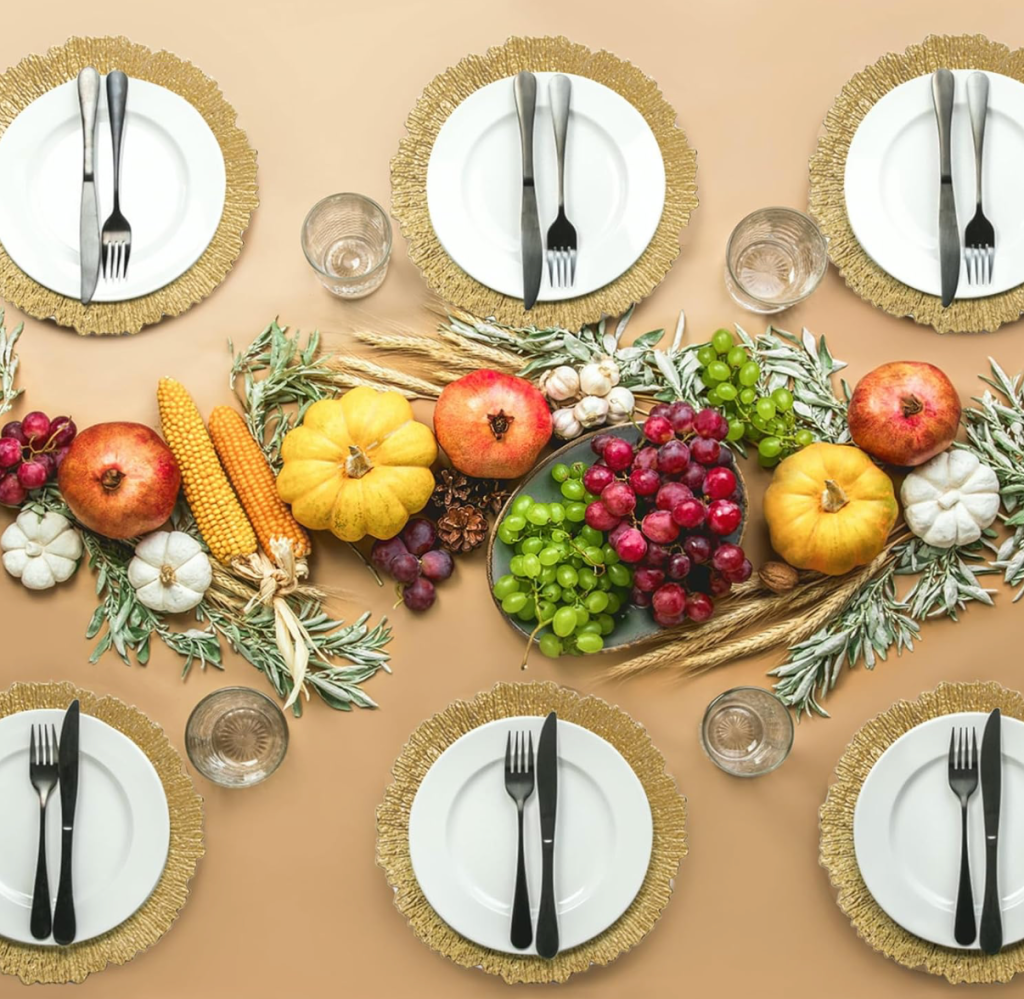
- Gold charger plates — instant “luxe” in photos. Elevate the place setting →
- Cloth napkins (24–50 pack) — better than disposable. Photo-friendly linens →
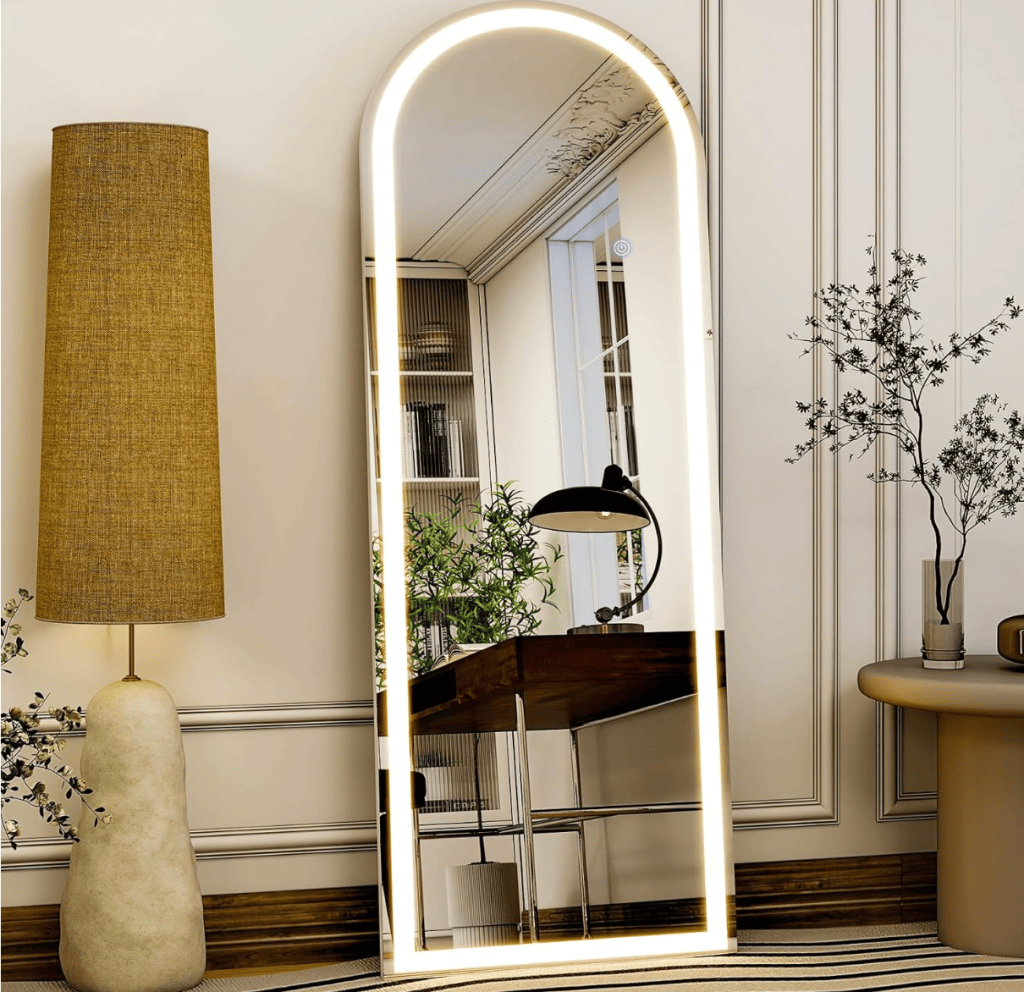
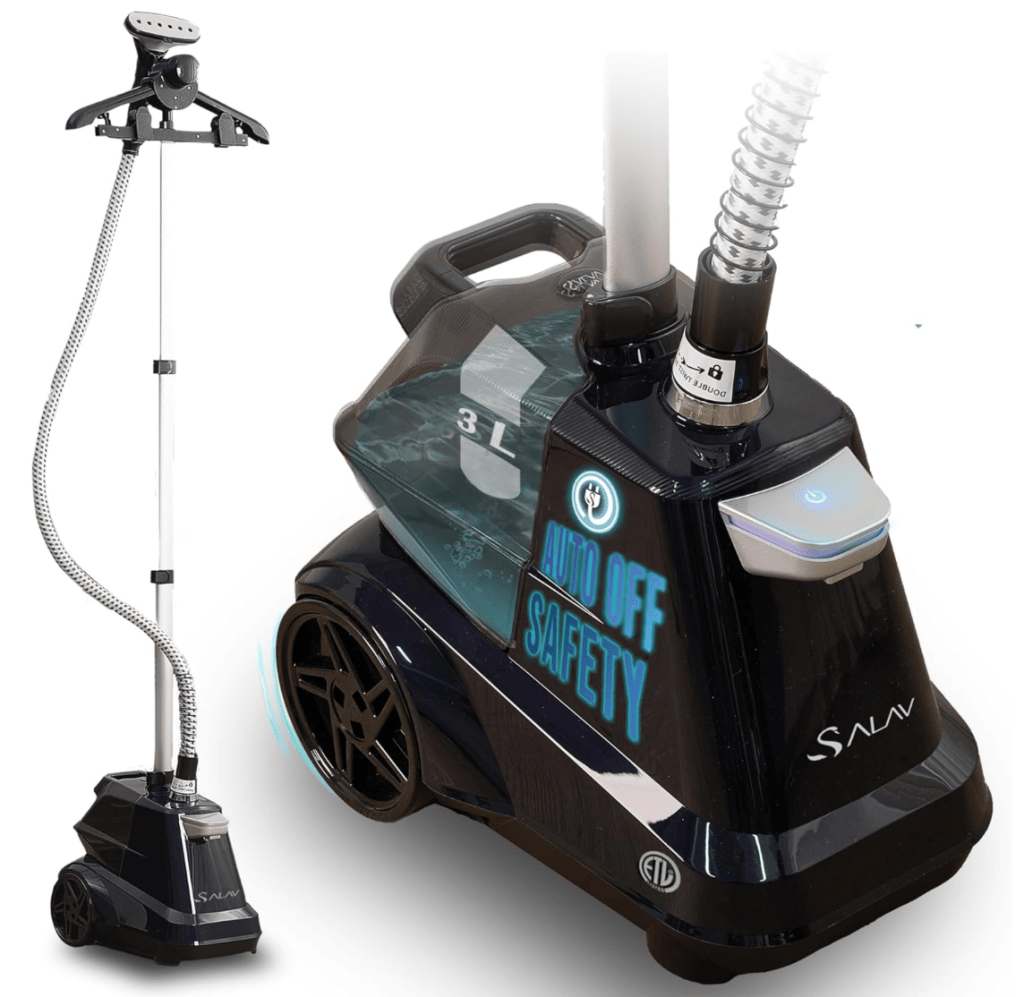
Bridal Prep & Fashion Helpers
- Professional garment steamer — dresses, veils, suits. Crease-free gowns →
- Full-length mirror with lights — prep + quick portraits. Prep like a pro →
Outdoor Essentials
- 10×10 pop-up canopy (white) — ceremony/veranda shade. Weather-proof plan →
- Quiet inverter generator — when the venue needs help. Power, quietly →
One-click option: See everything in one place →
Invites & Stationery Set (how to assemble the look)
Palette → Fonts → Clipart → Materials → Finishing.
- Palette: pick 2–3 tones (e.g., sage, ivory, warm gray).
- Fonts: headline script + clean serif/sans for body.
- Artwork: watercolor florals / monogram / minimal line art.
- Materials: matte or textured cardstock, A7 vellum envelopes, 1”–1.5” satin ribbon.
- Finishing: matching wax seal in warm gold, copper, or pearl.
Mini‑workflow
- Print invite + RSVP on cardstock.
- Stack invite set; wrap with ribbon (30–36 in per invite).
- Fix tails with a glue dot under the wax seal.
- Slide into vellum envelope; add address label or calligraphy.
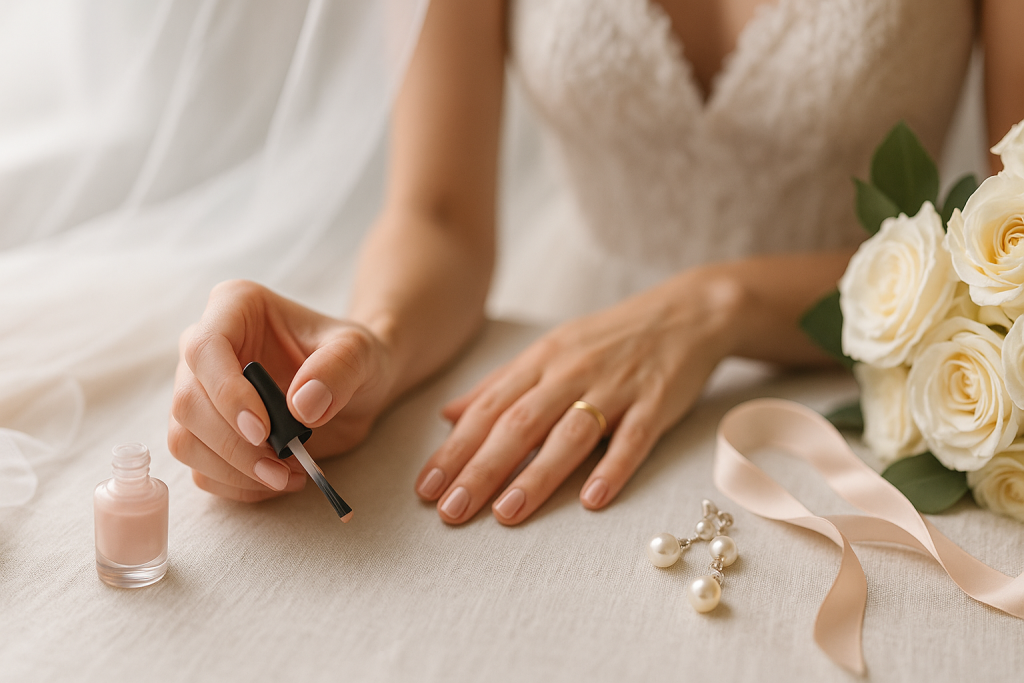
Bridal Manicure: Looks, Kits & Quick Fixes
Soft, photo-ready nails that last through hugs, rings, and cake. Pick a look, then choose the fast “press-on” kit or the longer-wear gel kit.
Trending Bridal Looks (2026)
- Milky white / sheer nude — clean, timeless.
- Glazed “pearls” chrome — subtle pearl sheen.
- Micro-French — ultra-thin, natural tip.
- Soft latte / blush — warm, skin-tone tints.
- Tiny bows / pearls — one accent nail per hand.
Quick Starter Kit (under 20 minutes — press-ons)
- Almond nude press-on set — Get the set →
- Nail glue + adhesive tabs — Secure hold →
- Glass nail file (shape & smooth) — File & refine →
- Cuticle oil pen — Instant glow →
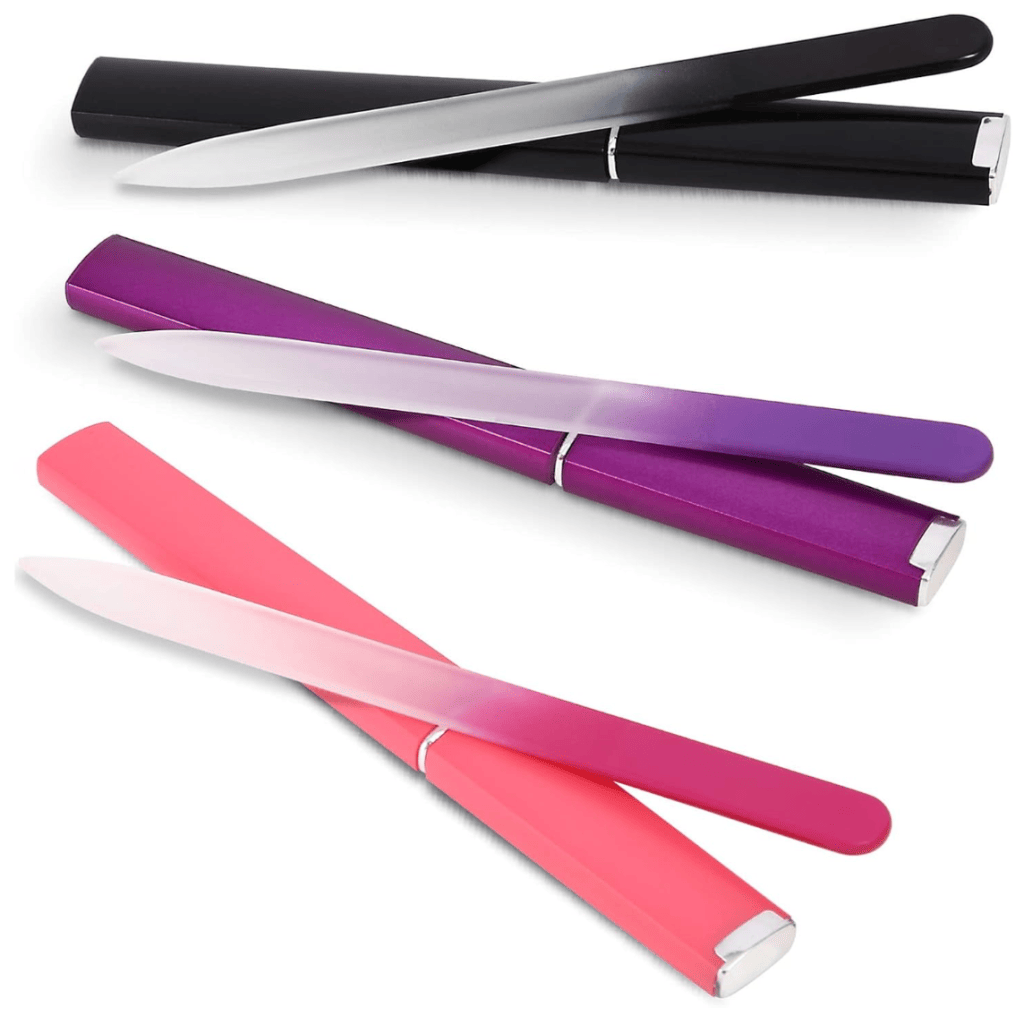
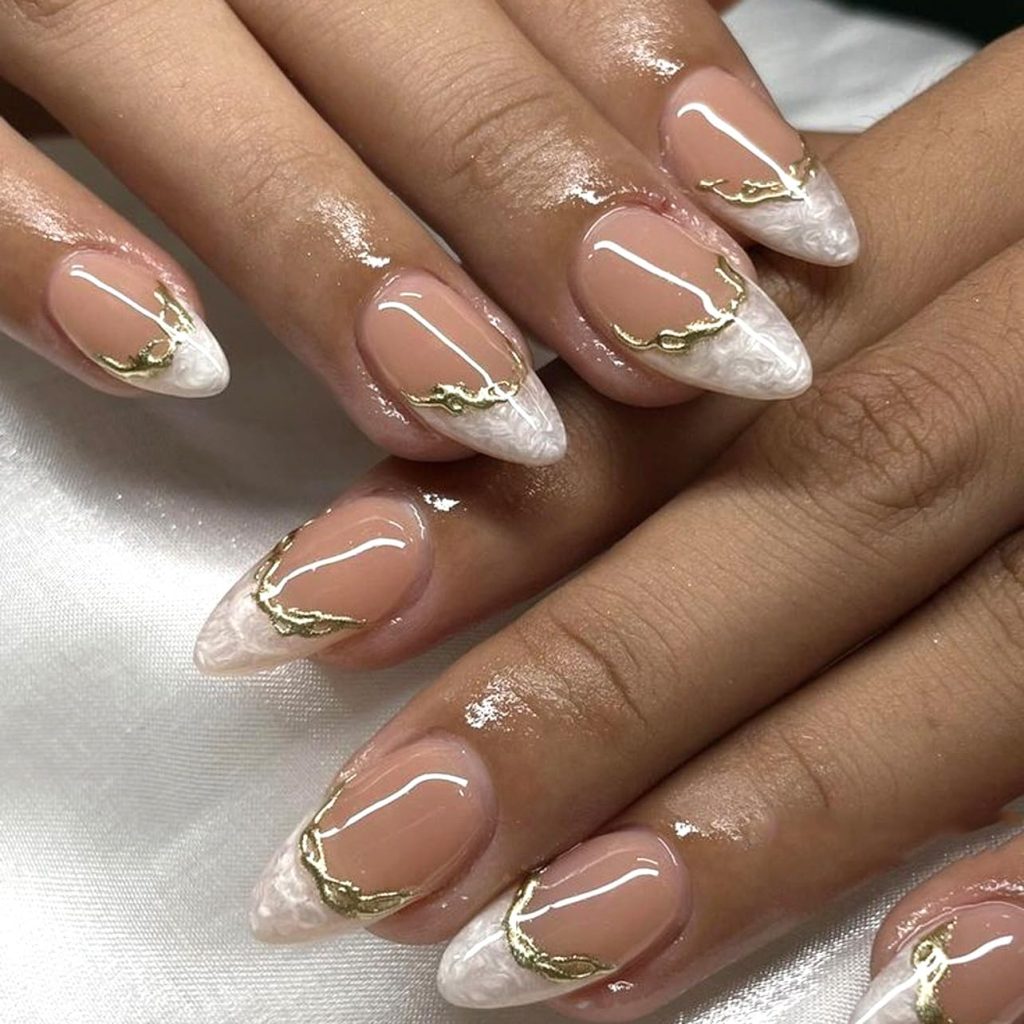
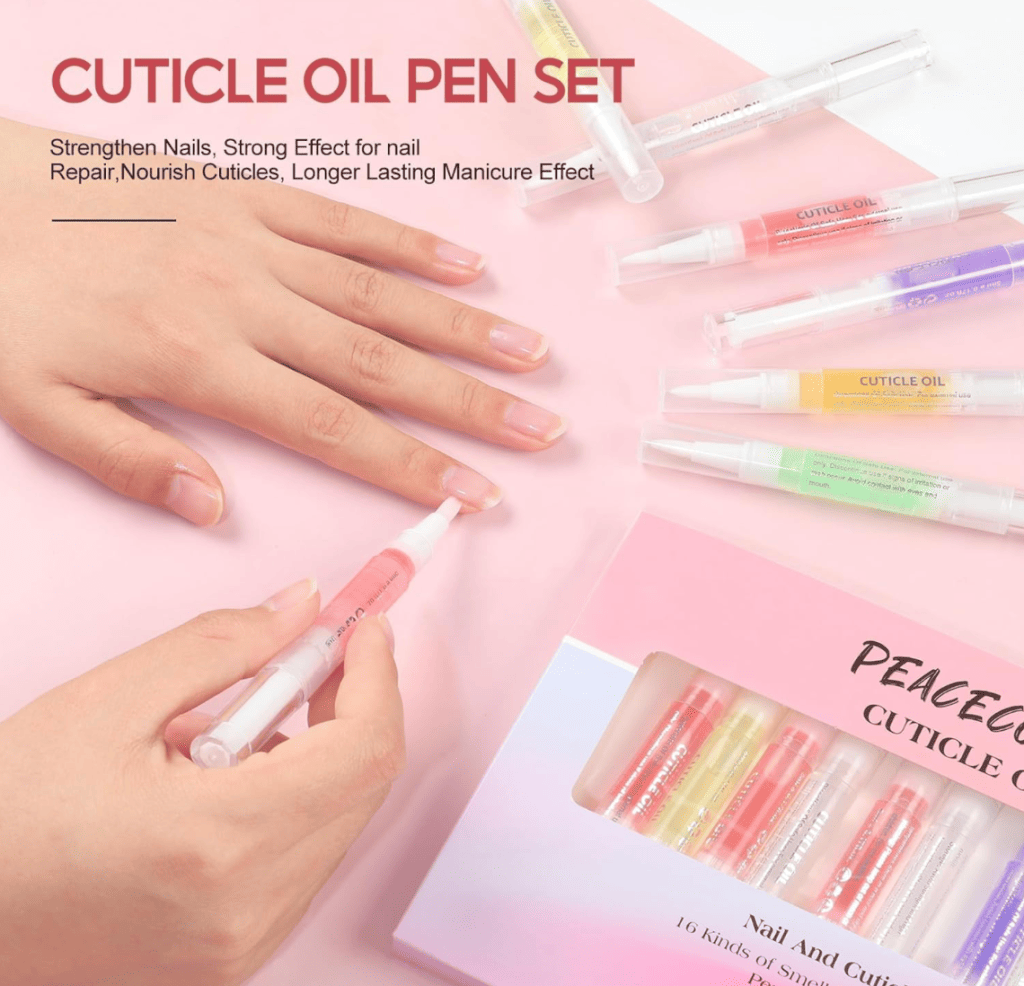
Photo-ready in 20 min → · No salon needed →
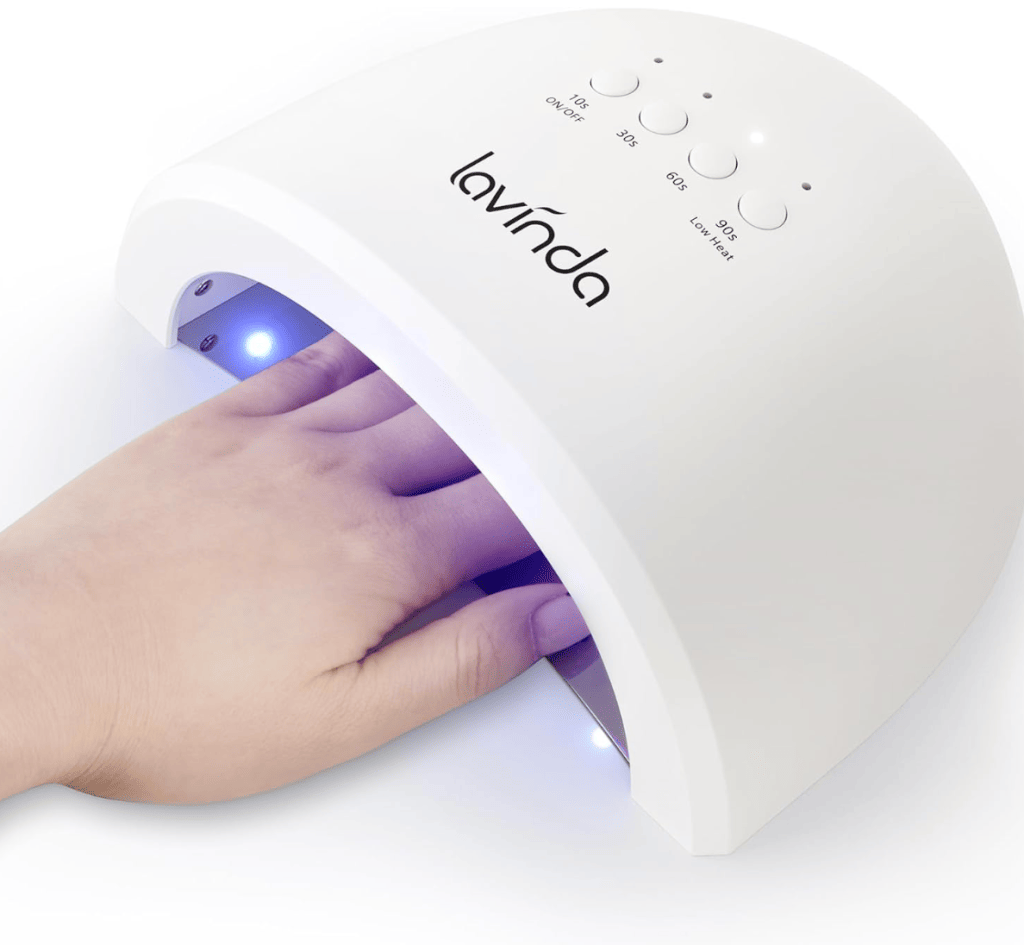
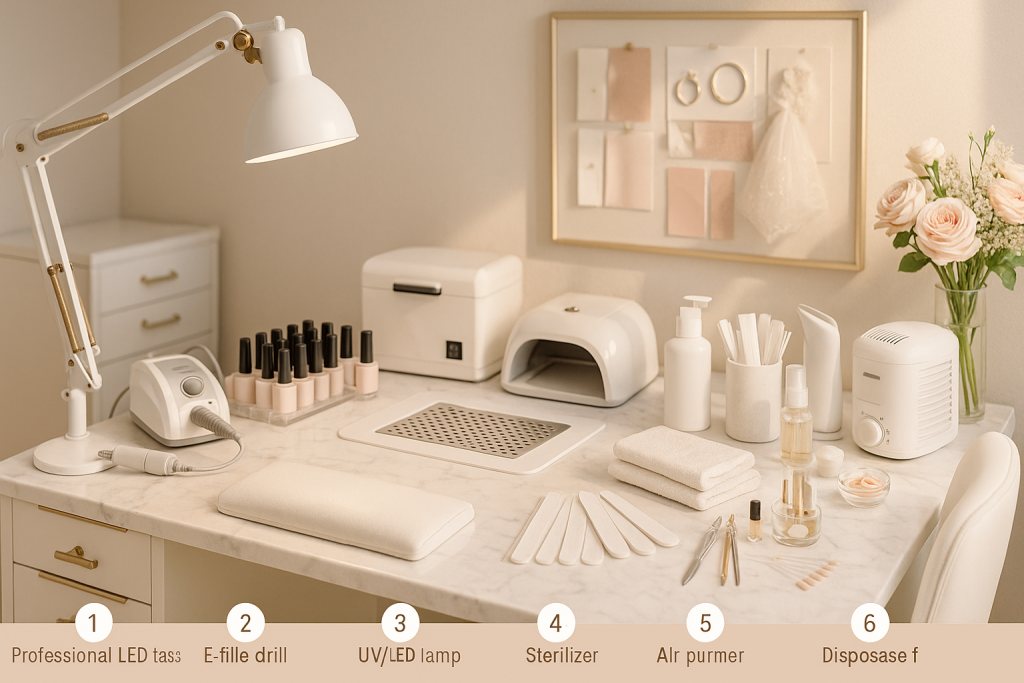
Pro Gel Kit (salon at home — 45–60 minutes)
- UV/LED nail lamp (48W+) — Cure like a pro →
- Nail dehydrator + primer — Longer wear →
- Nude gel polish set (milky/peach/pink) — Your-skin-but-better →
- No-wipe glossy top coat — Glass shine →
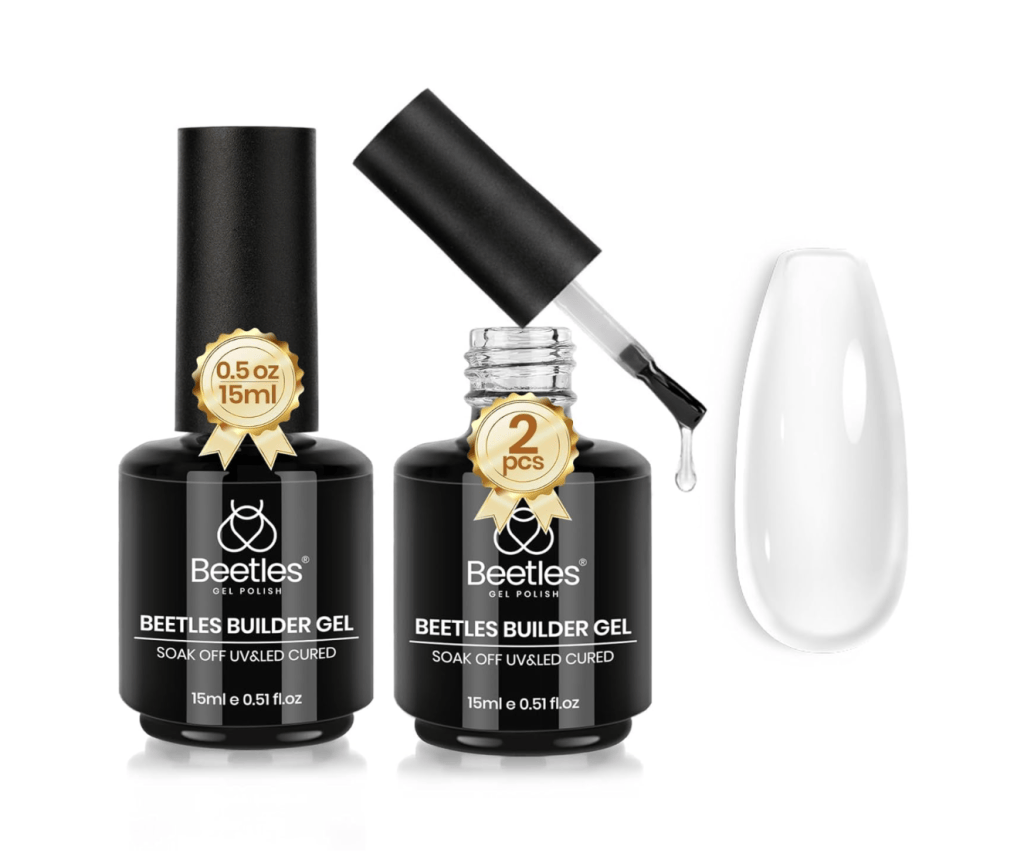
- (Optional) Builder gel for strength — Thin, strong base →
UV/LED lamps emit UV light; follow manufacturer instructions. Patch-test glues and gels 24 h in advance. Not medical advice.
Milky nude that photographs beautifully →
Accents & Nail Art
- Pearl chrome powder (“glazed donut”) — Pearl glow → · Glazed finish →
- French tip guides (micro-French) — Crisp tips →
- Pearl/mini bow decals — One accent nail →
Wedding-Day Nail Rescue Kit
- Spare press-on nails (2–3 sizes) + glue tabs — Quick fix →
- Mini glass file — Smooth a snag →
- Top coat (travel) — Shine & seal →
- Isopropyl alcohol wipes — De-smudge →
- Hand cream (non-greasy) — Photo-ready hands →
Nails — Common Mistakes & Quick Fixes
- Chips or lifting: use dehydrator + primer before gel; keep tips thin.
- Press-ons pop off: switch to brush-on glue and lightly buff nails first.
- Top coat looks gummy: cure longer or use a true no-wipe top.
- Smudges before photos: spritz quick-dry spray.
One-click option: see everything in one place → My Amazon list
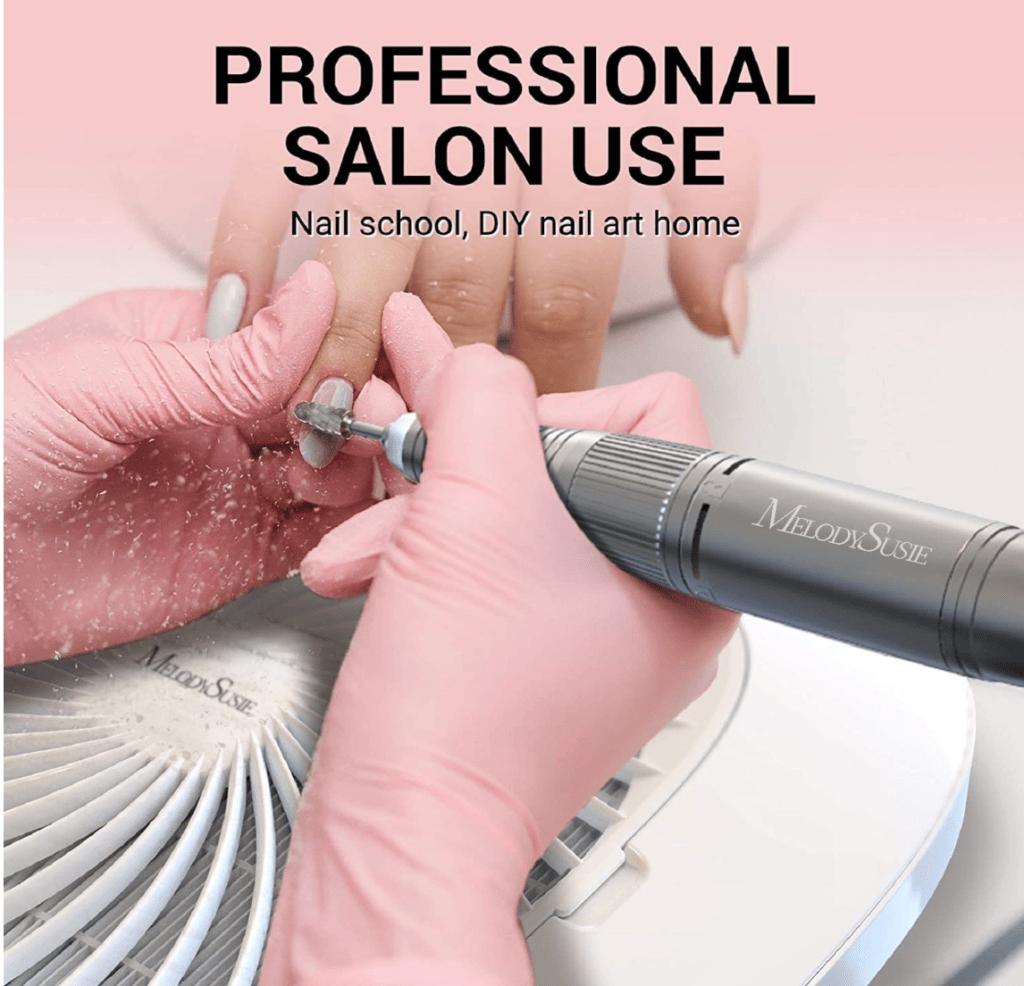
Wedding Manicure: Pro Picks (salon-grade)
Pro Gear
- Rechargeable e-file, 35K rpm (Kiara Sky / Kupa) — Salon-grade finish → | KUPA Passport →
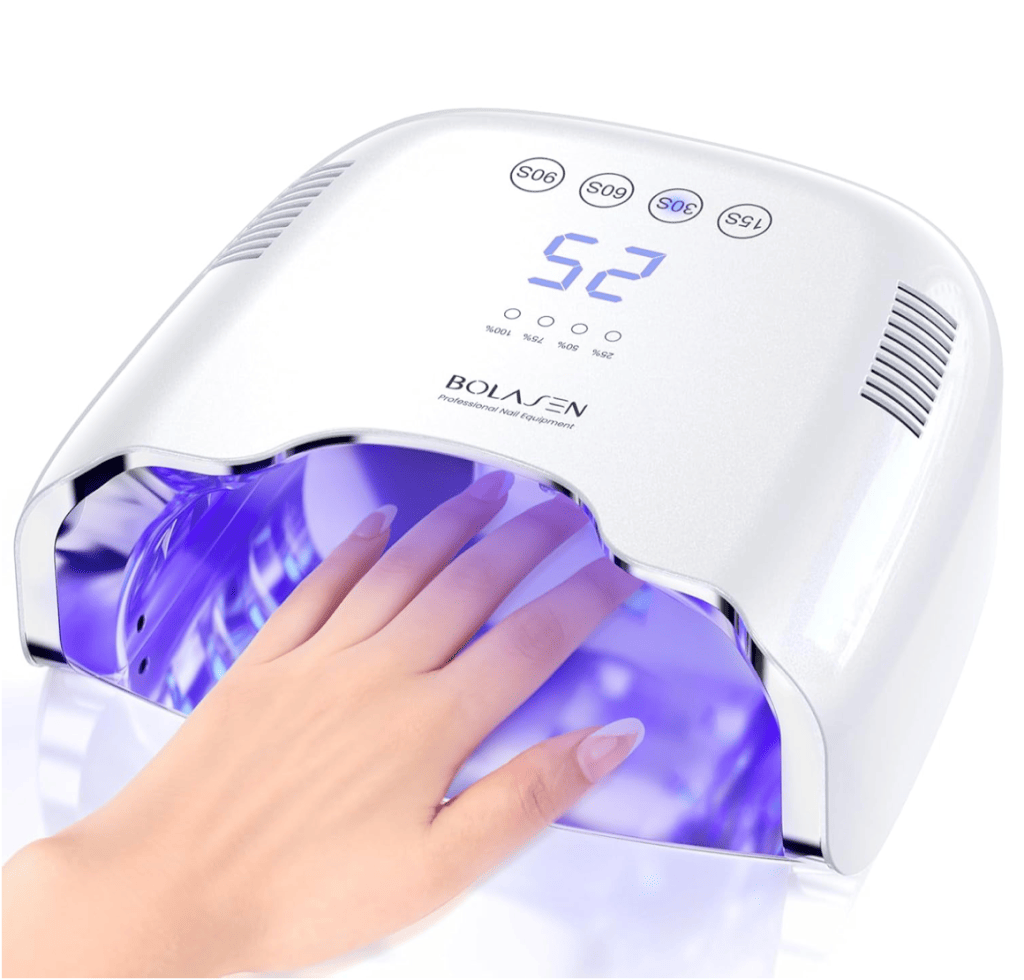
- LED/UV gel lamp 36–48W+ (Gelish 18G / Kiara Sky) — Cure like a pro → | Premium LED →
- Cordless UV/LED lamp — Cord-free curing →
- Nail dust collector (pro) — Breathe clean →
- Dry-heat sterilizer / Ultrasonic cleaner — Salon hygiene → | Ultrasonic →
UV/LED lamps emit UV light; follow manufacturer instructions. Patch-test glues and gels 24 h in advance. Not medical advice.
Premium Systems & Kits
- Aprés Gel-X Starter Kit — Soft-gel extensions that last →
- OPI GelColor / CND Shellac / Gelish kits — OPI GelColor → | CND Shellac → | Gelish →
Luxe Décor & Tools (Upsells)
- Kolinsky brush set (pro) — Crisp lines →
- Nail art printer — Custom art in seconds →
- Crystal packs (Preciosa/flatback) — Elegant sparkle →
- Paraffin wax bath (hands) — Spa-level prep →
Workspace & Photo
- Portable manicure table — Set up a pro station →
- Ring/Key light for nail photos — Photo-ready nails →
One-click: see everything in one place → My Amazon storefront
Paper & Envelope Guide
| Size | Fits | Paper Weight (gsm / lb) | Notes |
|---|---|---|---|
| A7 (5×7) | Main invite | 200–250 gsm / 80–100 lb | classic US wedding size |
| A6 (4½×6¼) | RSVP, enclosure | 160–200 gsm / 65–80 lb | prints well at home |
| 4-bar (3½×5) | Thank-you | 120–160 gsm / 60–65 lb | mini signage & notes |
| Vellum A7 | Wrap/outer | 120–170 gsm | ink-friendly, hides smudges |
| Matte Cardstock | All cards | 120–150 gsm | safe for most inkjets |
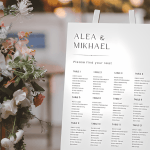
Table Stationery (place cards, numbers & stands)
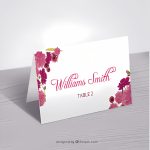
- Place cards: tent or flat; round the corners to match the invite style.
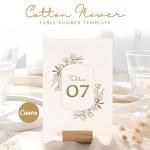
- Table numbers: print 5×7 or 8×10; slot into acrylic stands.
- Menus: 4×9 or A5 works well; a slim satin bow at the top looks refined.
Ribbon width guide (copy into a native Table block):
- 0.5” — place cards; small knot works best.
- 1” — invitation wraps; easiest to tie neatly.
- 1.5” — gift boxes, bouquets, dramatic menus.
Signage & Photo Corner
- Welcome sign: foam board or acrylic; add greenery, keep text minimal.
- Bar & dessert menus: print 5×7; display in acrylic stands.
- Photo corner props: your ribbon color on frames/corners ties it together.
DIY Toolkit (time‑saving basics)
- Corner rounder (large) — hides micro-cuts on cards
- Rail trimmer (12″) — dead-straight edges faster than a craft knife
- Bone folder — crisp folds without shine
- Heat-resistant mat + wax spoon (non-stick)
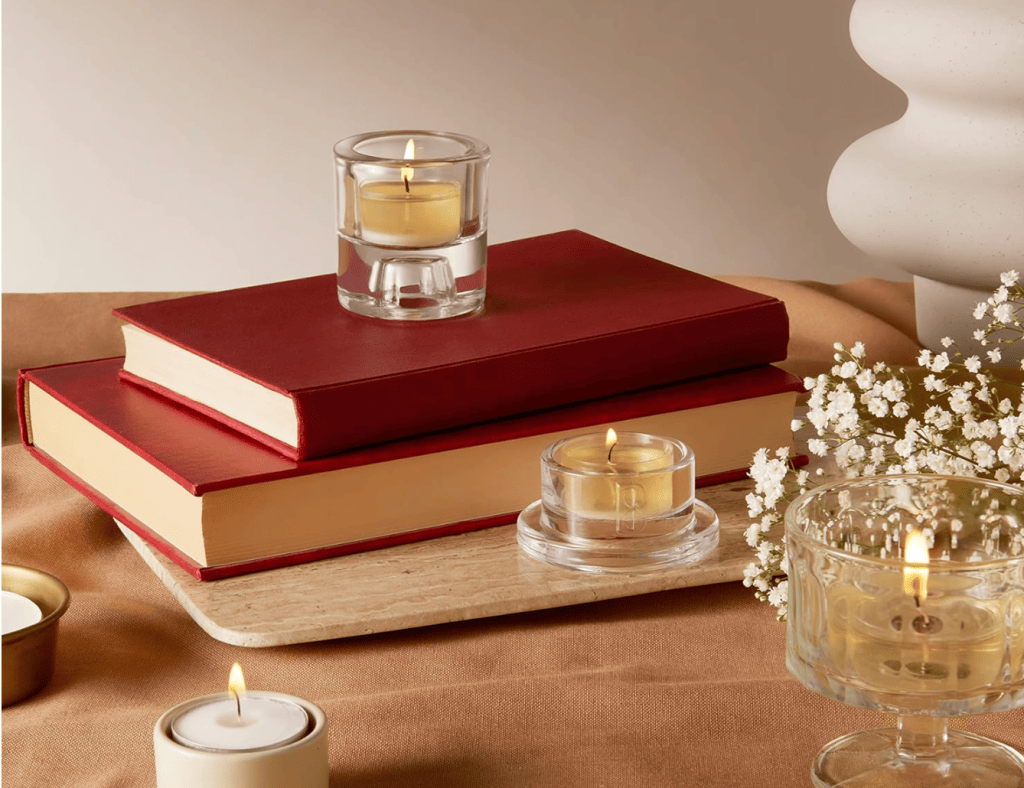
- Extra tealights & a mini lighter
- Glue dots for seals + tape for placement
Upgrades: silicone wax pad, quick-melt bead warmer, anti-static cloth for acrylic.
Quantities Cheat-Sheet (100 guests ≈ 10 tables)
- Vellum envelopes: 50–60 (couples/families share)
- Ribbon: 1 roll 25 yd per ~25–30 invites (1”–1.5” width)
- Wax beads: 2–3 beads per seal × invites + 10% extra
- Acrylic stands: 10–12 (table numbers + bar/dessert menus)
- Cardstock: 120–150 sheets for menus/place cards/spares
Scale up/down by your guest count.
Acrylic Signs (sizes that just work)
| Use | Size | Count | Note |
|---|---|---|---|
| Welcome / Bar | 8×10 | 2–3 | minimal, modern look |
| Table Numbers | 5×7 | 10–12 | one per table |
| Menus | 4×9 or 5×7 | 10–12 | slip into stands |
Assembly Mini-Workflow
- Print invite + RSVP on matte cardstock.
- Stack invite set, wrap with 1″–1.5″ ribbon (30–36″ per invite).
- Fix ribbon tails under the seal (a small glue dot).
- Slide into A7 vellum envelope; add clear address label or calligraphy.
- Pack RSVP + enclosure; post.
Common Mistakes & Quick Fixes
Ribbon slipping off: add a single glue dot under the seal – glue dot →
Seal breaks in mail: press slightly thicker; store flat for 24 h – rigid mailers (thicker mailer) →
Acrylic fingerprints: wipe with microfiber + isopropyl alcohol –microfiber + alcohol wipes →
Inky smudges: switch to pigment-based ink & matte paper; let dry – pigment ink + matte paper →
Ribbon fray: quick pass with a lighter or use Fray-Check – Fray-Check / mini lighter →
FAQs
What ribbon length per invitation?
30–36″ for a neat bow with trimmed tails (1″–1.5″ width). Wider ribbon needs more; thinner, a bit less.
Vellum vs. glassine envelopes?
Vellum is stiffer, ink-friendly, and photographs luxe. Glassine is softer/more translucent but can show adhesive.
How many wax seals should I make in advance?
Make invites × 1.1 and keep 10–15 spare seals for last-minute guests.
Best paper for home printers?
Matte 120–150 gsm feeds cleanly on most inkjets; set High quality, Plain/Matte media, no border.
Will 38 mm ribbon look too big?
It’s dramatic. Works best on menus/gift boxes and for highly styled photos.
- Fonts & monograms for invitations → https://creativefontscrafts.xyz/wedding-designs-free/
- Clipart/SVGs that match these palettes → https://creativefontscrafts.xyz/deals-discounts/
- Fresh deals & freebies → https://creativefontscrafts.xyz/deals-discounts/
- Laser-cut files for signage → https://creativefontscrafts.xyz/laser-cut-wedding/
This post contains affiliate links…